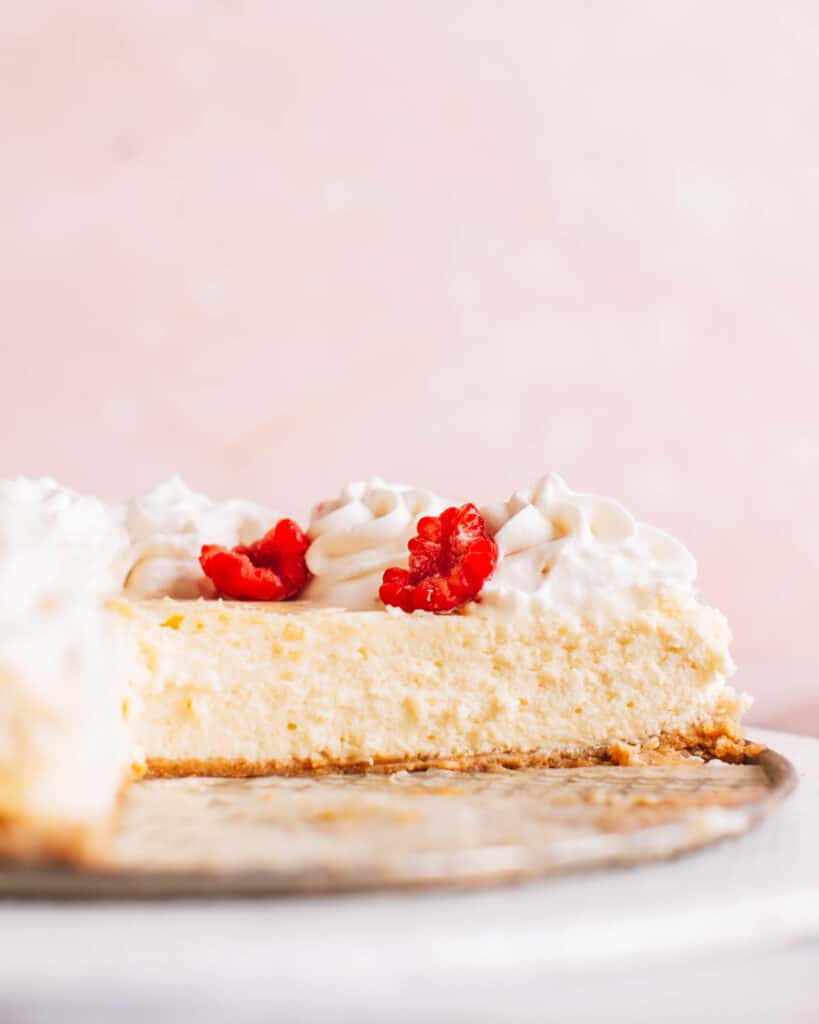
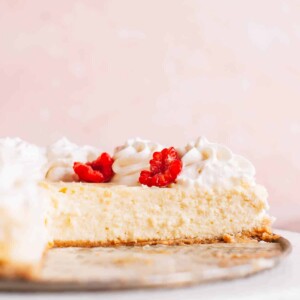
Make perfect Philadelphia Cheesecake with my pro tips and easy 3-ingredient filling. Once you’ve tried this recipe, you’ll know why it’s a classic favorite!
Reader Rating
⭐️⭐️⭐️⭐️⭐️ “This is my go to cheesecake recipe. I’ve made it for years and everyone loves it!”
– Linda
Why You’ll Love This Philadelphia Cheesecake Recipe
Do you love creamy cheesecake and love easy delicious dessert recipes?
Then you’re going to adore this Philadelphia Cheesecake with rich cream cheese filling (yum!) and one of my fav recipes for graham cracker crust (double yum!). Here’s why:
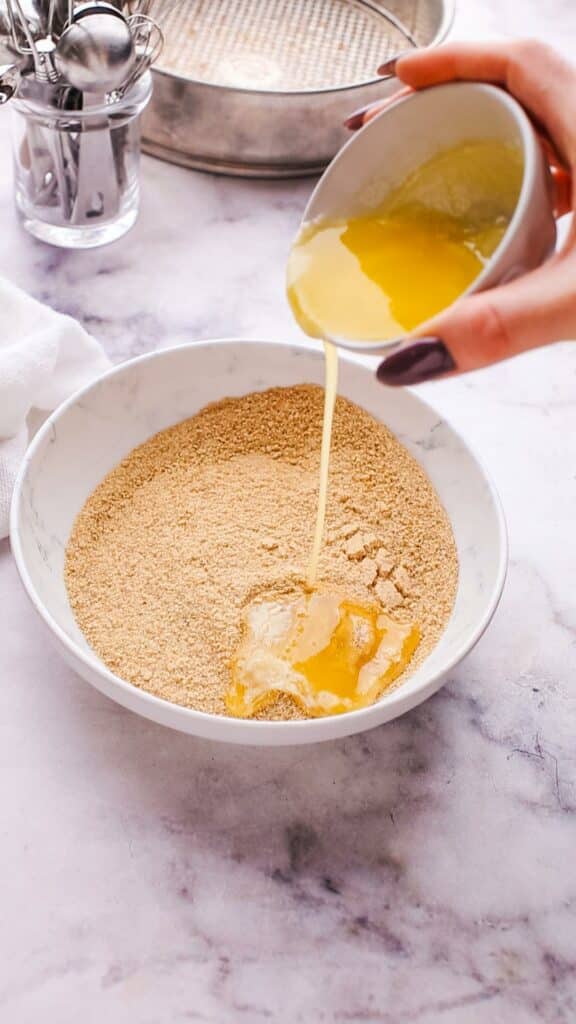
- 2-Ingredient Crust: The simplicity of the crust, needing just graham cracker crumbs and butter, helps make this a quick and easy recipe.
- Easy, 3-Ingredient Cheesecake Filling: This classic Philadelphia cheesecake recipe is super straightforward. Nearly foolproof.
- Creamy and Delicious: That rich, velvety cream cheese filling paired with a crumbly crust is a classic for a reason. Here’s my easy No Bake Cheesecake recipe if you prefer!
Here’s What You Need for this Philadelphia Cheesecake Recipe
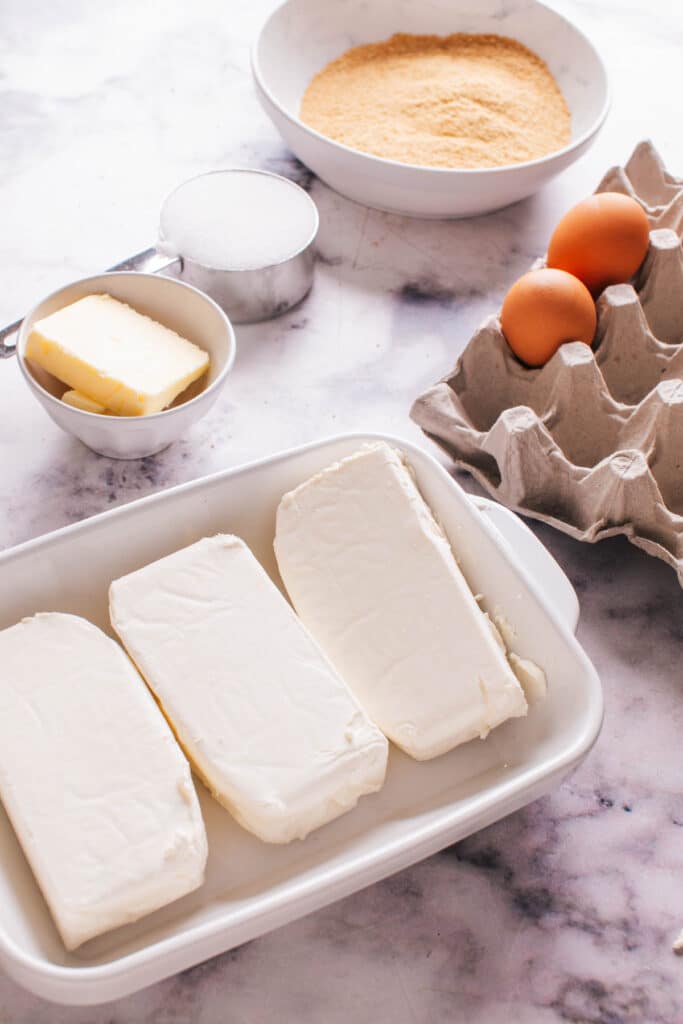
Ingredients
For the crust:
- Graham Cracker Crumbs: These form the base of the crust, providing a sweet, crunchy texture. You can make your own by pulsing whole graham crackers in a food processor.
- Melted Butter: Binds the crumbs together for the crust.
For the filling:
- Philadelphia Cream Cheese: The key ingredient for a rich and creamy filling. You’ll need full fat cream cheese.
- Granulated Sugar: Adds sweetness and balances the tanginess of the cream cheese.
- Eggs: Help to set the cheesecake as they cook, giving it structure.
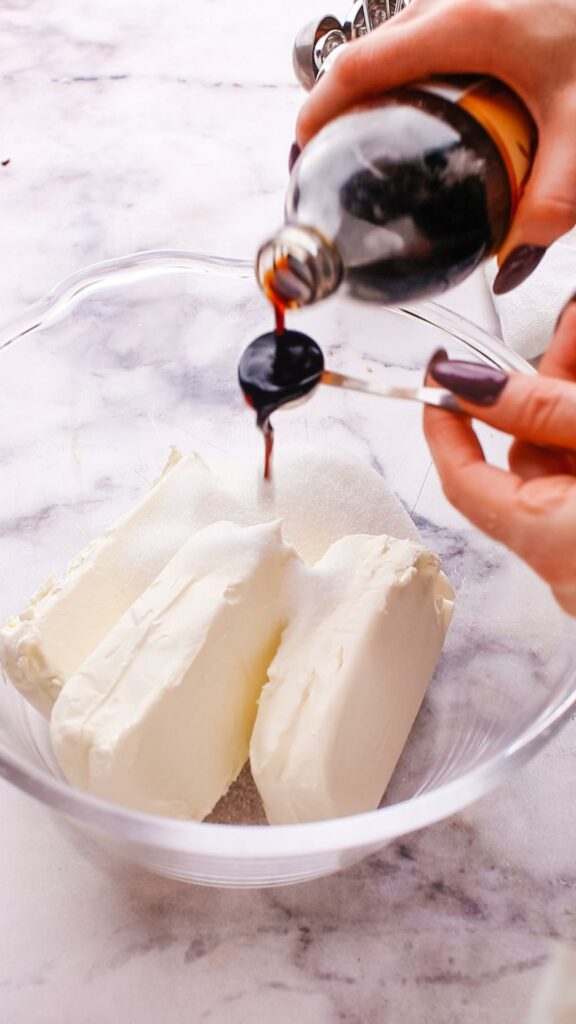
- Optional 4th Ingredient: A flavoring like vanilla extract, for a vanilla cheesecake flavor. Almond extract is nice, too, but only use 1/4 tsp because it is strong. For a lemony vibe, add the finely-grated zest of a lemon. Mini chocolate chips are tasty, too.
Variations and Substitutions
- Different Crumbs: For a gluten-free version, use gluten-free graham crackers. You can swap in chocolate wafer cookies (like my Oreo Cookie Cheesecake recipe), Nilla wafers, or your other favorite biscuits to change the base.
Grab these Tools
- 9- Inch Springform Pan: Essential for easy removal of the cheesecake.
- Electric Mixer: For blending the filling to a smooth consistency.
- Large Mixing Bowl: Needed for preparing the crust and filling.
- Measuring Cups and Spoons: For accurate ingredient measurements.
- Oven: To bake the cheesecake to perfection.
How to Make Philadelphia Cheesecake: An Easy Guide
Let’s dive into baking a classic Philadelphia Cheesecake.
It’s simpler than you think!
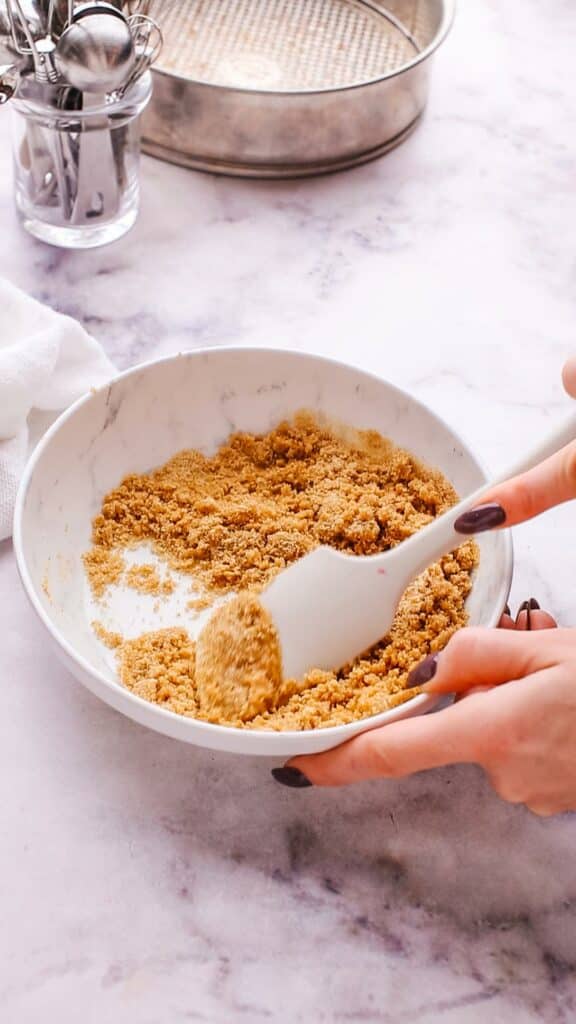
Preparing the Crust
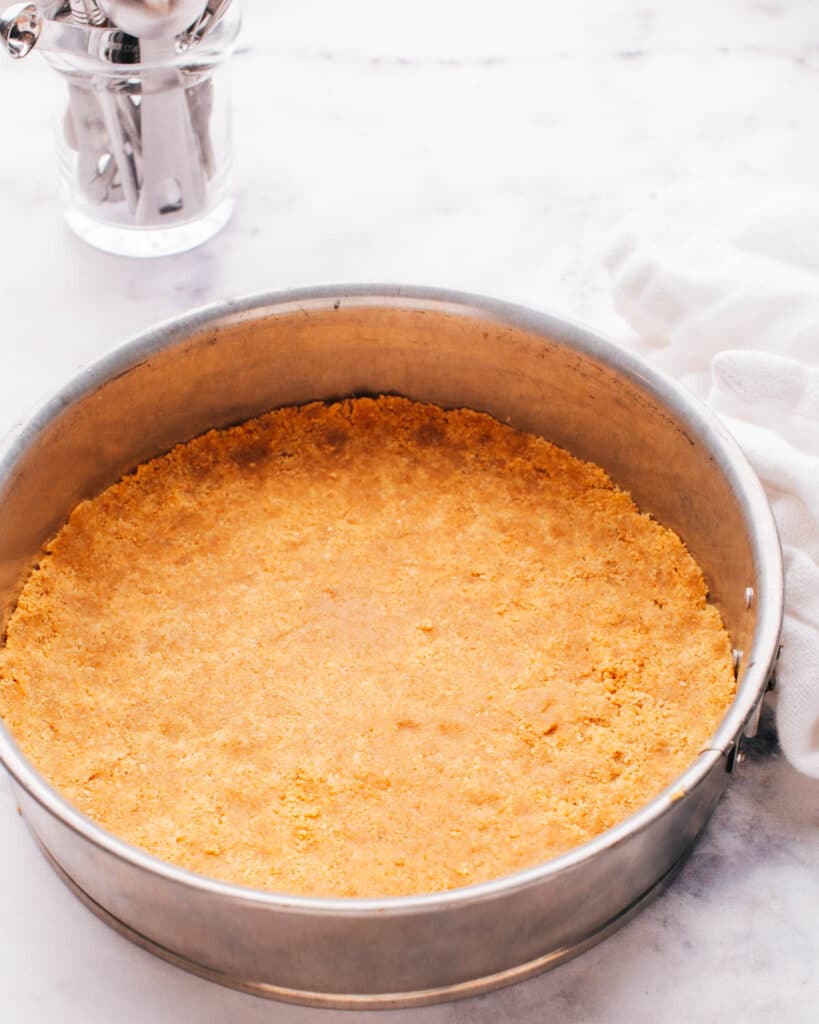
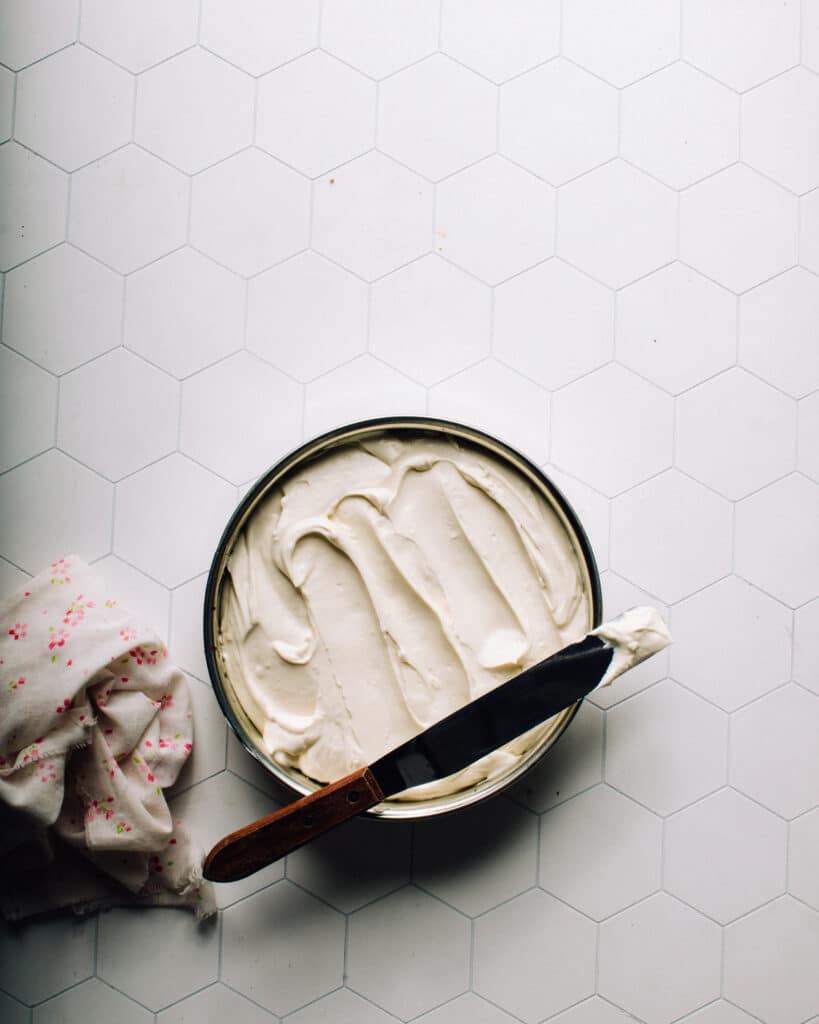
This will be your crust. Press the mixture firmly onto the bottom of a 9-inch springform pan. It’s essential to create a solid base for your cheesecake.
Start by preheating your oven to 350ºF. Then, take a bowl and mix 1 1/4 cups of graham cracker crumbs with 1/4 cup melted butter.
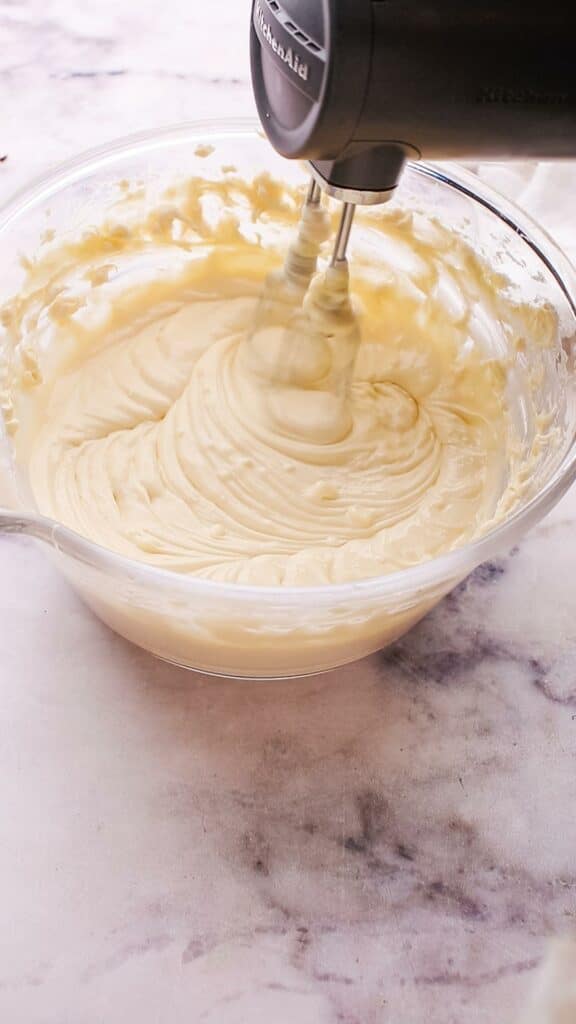
Mixing the Filling
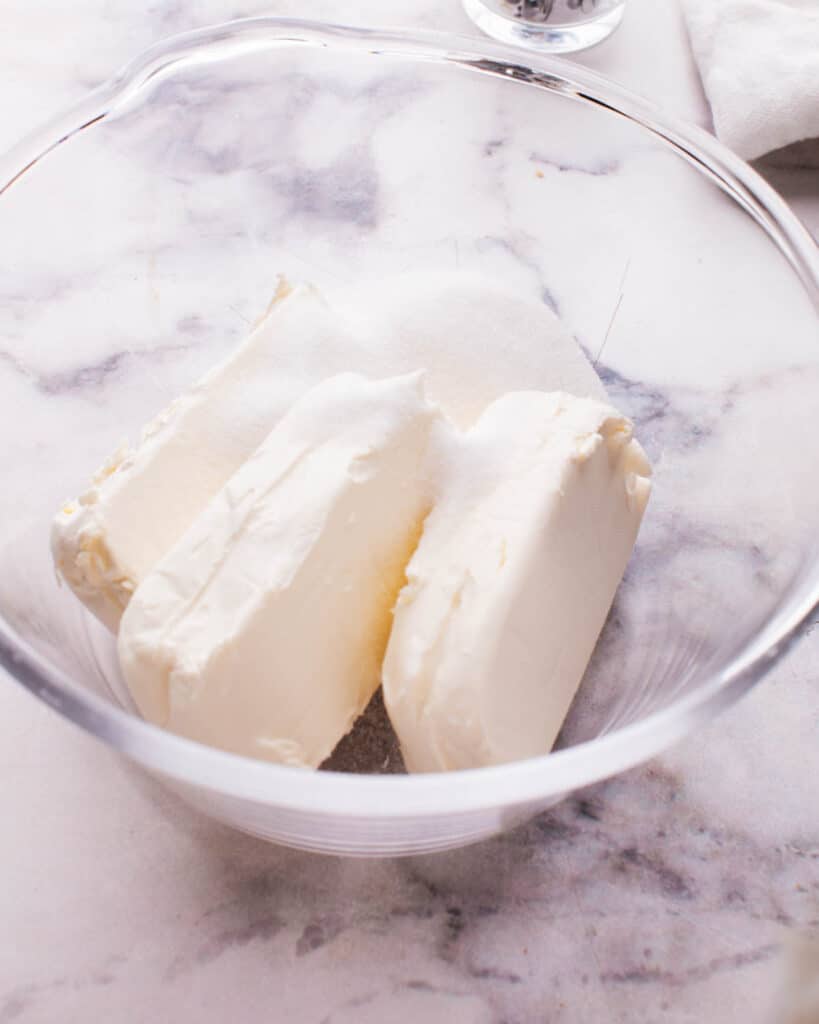
Now, for the creamy heart of the cheesecake: the filling. In a large bowl, beat 3 packages of softened Philadelphia cream cheese with 3/4 cup sugar.
Don’t go higher than medium speed. Too much air whipped in will cause your cheesecake to crack.
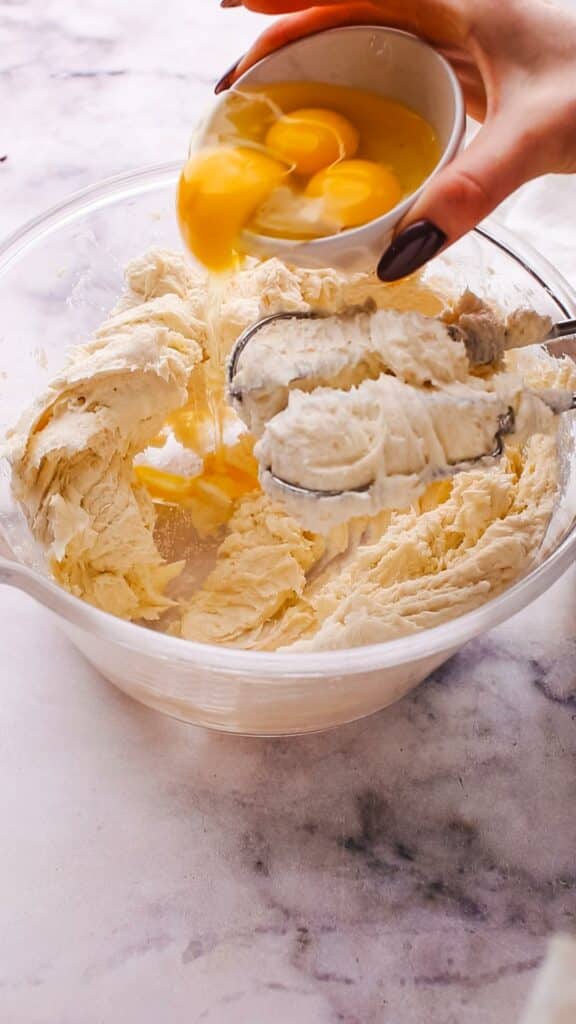
Add 3 eggs to the mixture. Again, mix on low speed and only until just combined. Whipping more air in will not make the cheesecake creamier.
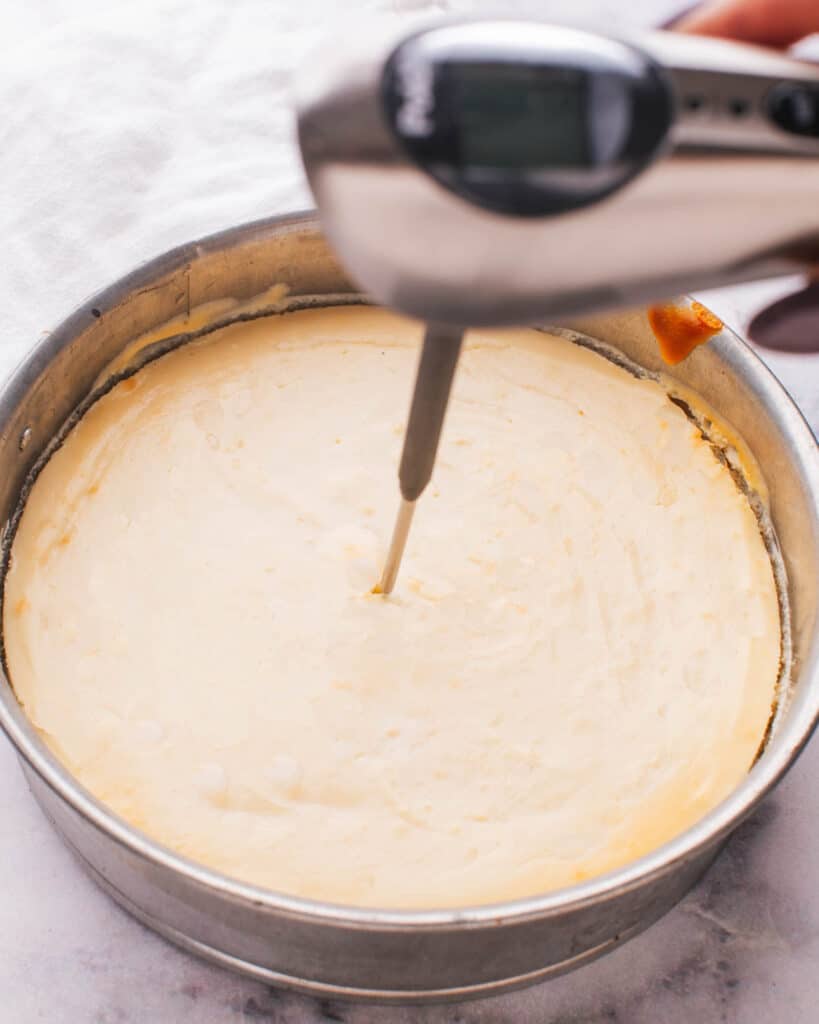
Baking Your Cheesecake
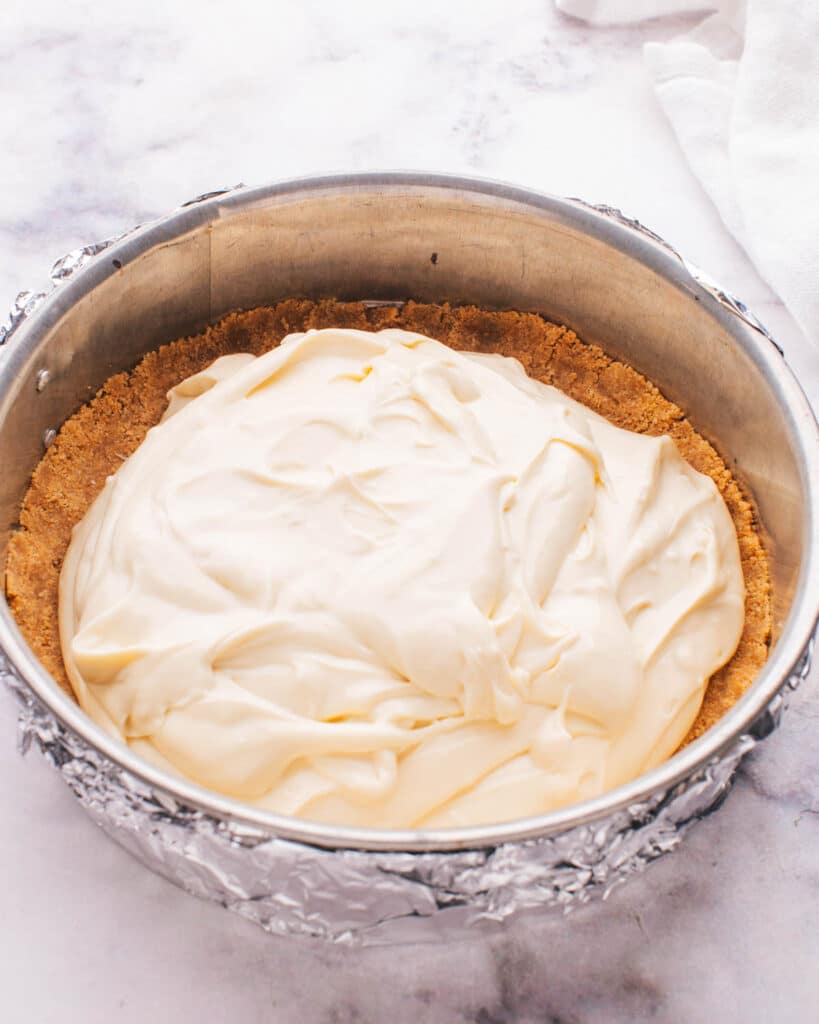
Pour your filling over the crust in the pan. Then bake it in the oven for 35-45 minutes. You’re looking for a center that’s almost set.
It should be 145ºF on an instant-read thermometer. The USDA recommends an internal temperature of 160ºF for dishes with eggs, but that will be achieved by carry-over cooking (the temperature will continue to rise as the cheesecake stands).
Once done, let your cheesecake cool on a wire rack. Run a knife around the inside of the pan to loosen the cake before removing the rim. Patience is key; refrigerate your cheesecake for at least 4 hours.
How to Serve This Philadelphia Cheesecake Recipe
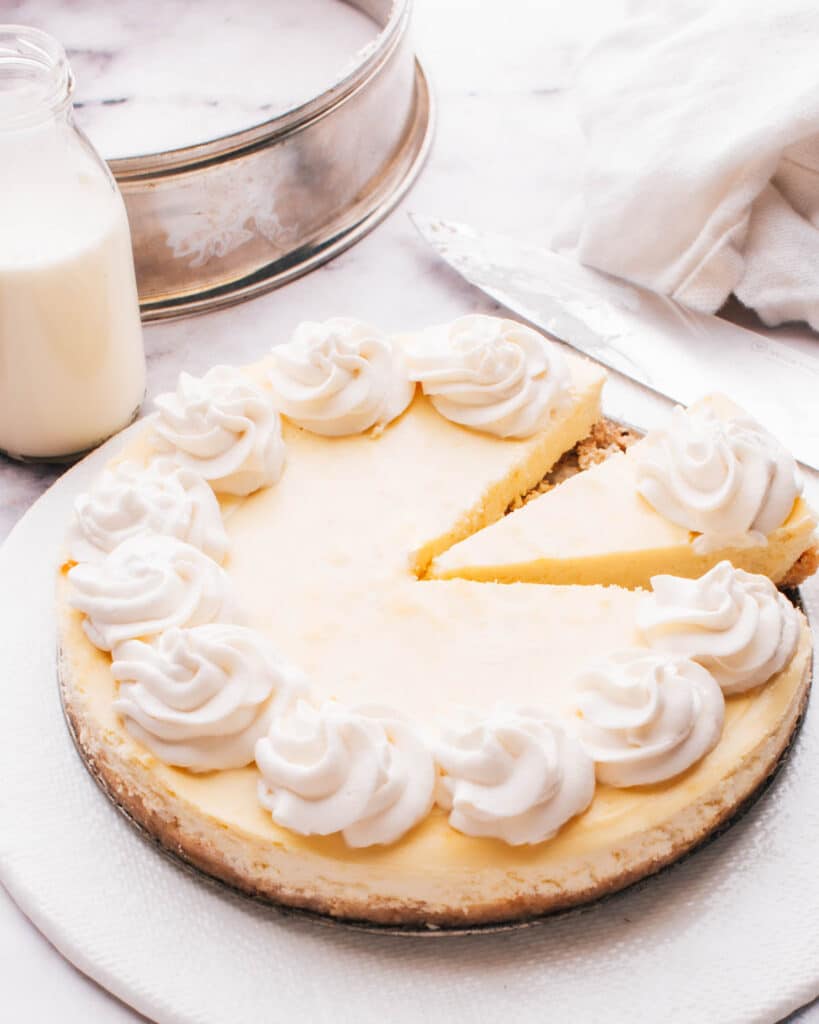
Serving your homemade Philadelphia Cheesecake is the cherry on top.
After your cheesecake has chilled for at least 4 hours, it’s ready to be served. You can serve it chilled or at room temperature.
To ensure perfect slices, use a sharp knife. Dip the knife in hot water and wipe it dry between each cut. This technique helps you get clean, beautiful slices.
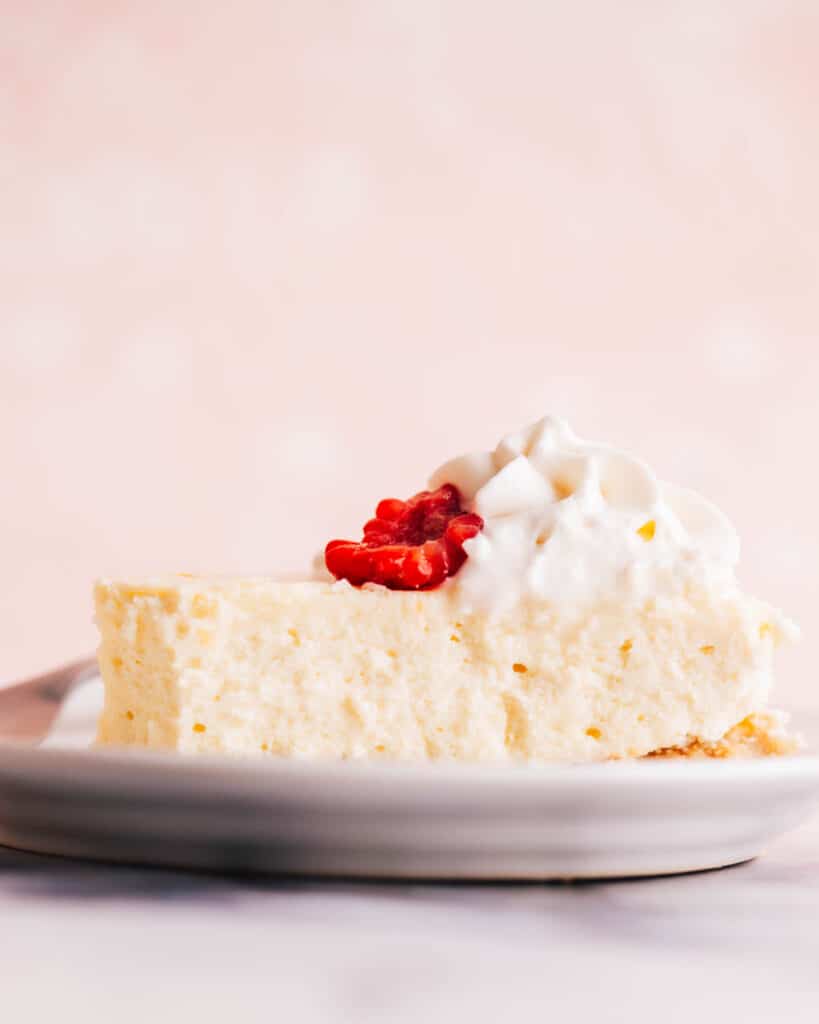
Tasty Toppings for Your Cheesecake
The beauty of a classic cheesecake is its versatility in pairing with various flavors on top. Here are a few of my favorite toppings:
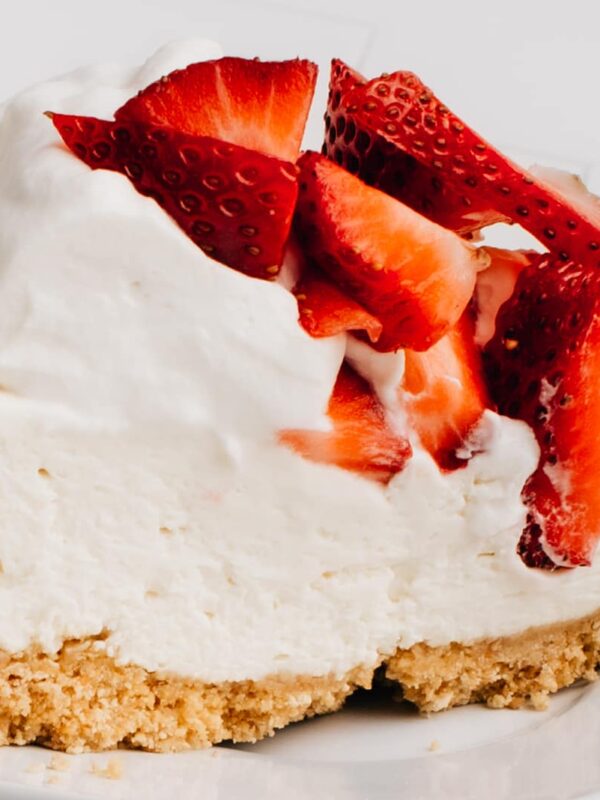
- Fresh Fruit: Top your cheesecake with fresh berries, sliced bananas, or kiwi for a refreshing twist. I love a strawberry cheesecake with simple fresh strawberries macerated in a little sugar.
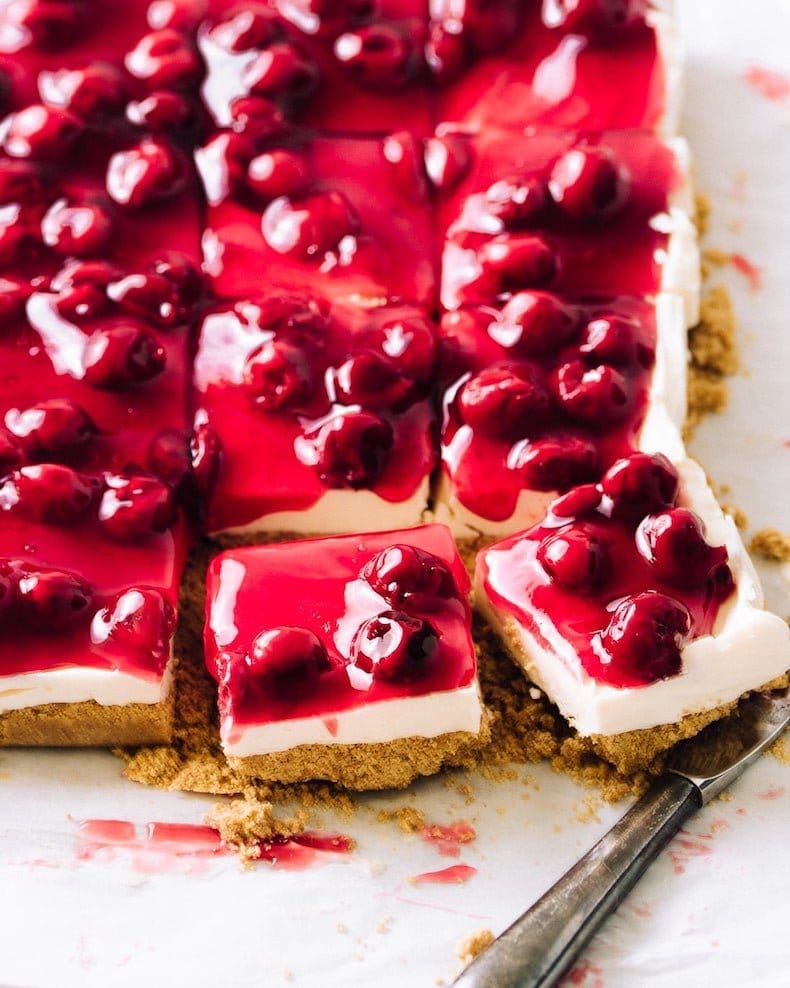
- Sauces and Syrups: Drizzle caramel, chocolate syrup, or fruit compote over each slice for added flavor. I often use store-bought cherry pie filling.
- Whipped Cream: A dollop of whipped cream adds a light, creamy touch.
- Crumbled Cookies or Nuts: For a bit of crunch, sprinkle crushed cookies or chopped nuts on top.
How to Prevent Cheesecake Cracking
I’m a food scientist and I LOVE sharing my science-backed tips for perfect baking. Here are my best tricks to prevent cheesecake cracks:
- Avoid Overmixing: Overbeating the eggs incorporates too much air, which can lead to cracks as the air bubbles expand during baking.
- Gentle Cooling: Let the cheesecake cool gradually in the turned-off oven with the door slightly ajar. This slow cooling process helps prevent sudden temperature changes that can cause cracking.
- Room Temperature Ingredients: Ensure all ingredients, especially the cream cheese and eggs, are at room temperature before mixing to achieve a smooth, even batter. Here’s my guide to bringing ingredients like eggs to room temperature quickly.
- Try a Water Bath: A water bath, also known as a bain-marie, involves placing the cheesecake pan inside a larger pan filled with hot water, which surrounds the cheesecake with gentle heat. It helps maintain moisture and temperature. It’s a bit finicky, but if you want to prevent any cracking, this is extra insurance.
- Use a Thermometer: Stop the baking when your cheesecake reaches an internal temp of 145ºF. As the cheesecake temperature rises, the likelihood of cracks also increases.
Note: The thermometer makes a small hole in the middle of the cheesecake but it isn’t noticeable as soon as you slice in.
How to Make a Water Bath for Cheesecake
Creating a water bath for baking a cheesecake is an optional extra step when baking a cheesecake. Here’s how you can do it:
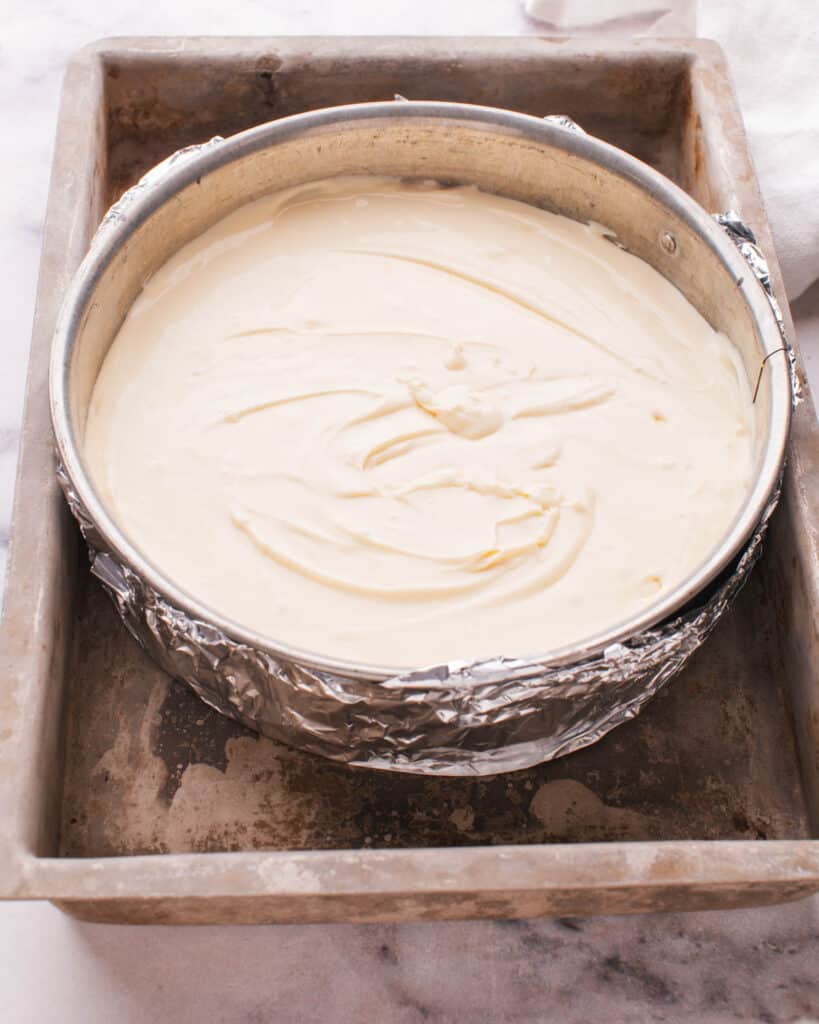
- Prepare the Cheesecake Pan: Wrap the outside of your springform pan in a double layer of heavy-duty aluminum foil. This helps to prevent water from seeping into the pan and ruining your cheesecake.
- Place the Pan in a Larger Pan: Put your foil-wrapped springform pan into a larger roasting pan or any other large, oven-safe pan that’s big enough to accommodate it.
- Pour in the Water: After placing your cheesecake batter into the springform pan and smoothing out the top, carefully pour hot water into the larger pan. The water should come up to about halfway up the side of the springform pan. Be careful not to splash any water onto the cheesecake.
- Baking: Gently place the roasting pan with the cheesecake and water bath into the preheated oven. Bake as per your cheesecake recipe’s instructions.
IMPORTANT SAFETY NOTE:
Use a heat-safe baking pan, preferably metal. Glass can break with quick temperature changes, so I recommend an aluminum baking dish.
The whole baking dish will get super hot as soon as you pour in the boiling water (even the rim, where the water doesn’t touch). Be sure to use oven mitts when you pick it up to put it in the oven.
Move slowly and carefully during the transfer so that you don’t splash hot water on yourself or into the cheesecake itself.
How to Soften Cream Cheese in the Microwave
Room temperature cream cheese is important to make a smooth cheesecake batter without lumps. To quickly soften cream cheese in the microwave, follow these simple steps:
- Unwrap the Cream Cheese: Remove the cream cheese from its foil wrapping. If it’s in a plastic container, you can leave it in there.
- Cut into Pieces: For faster and more even softening, cut the cream cheese into smaller pieces or cubes.
- Use a Microwave-Safe Dish: Place the cream cheese on a microwave-safe plate or dish.
- Microwave on Low Power: Set your microwave to a low power setting, around 50%. High power can cause the cream cheese to start cooking or melt unevenly.
- Microwave in Short Bursts: Heat the cream cheese in 15 second intervals. After each interval, check the consistency.
- Flip: Turn the cream cheese between bursts to even out the temperature.
- Repeat as Necessary: Continue with short bursts in the microwave until the cream cheese reaches your desired softness. Be careful not to overheat it, as it can become runny or lose texture.
Remember, microwaves vary in power, so the first time you do this, pay close attention to avoid overheating the cream cheese.
Philadelphia Cheesecake Make Ahead and Storage
Planning ahead and proper storage are key to enjoying your Philadelphia Cheesecake at its best. Here’s what you need to know:
- Making Ahead: You can prepare the cheesecake 1-2 days before serving. This allows the filling to be perfectly set.
- Refrigerating: Store the cheesecake in the refrigerator for up to 4 days. Cover it with plastic wrap or keep it in an airtight container.
- Freezing: Philadelphia Cheesecake can be frozen for up to 2 months. Wrap it tightly in plastic wrap and then in aluminum foil.
- Thawing: To thaw, leave the cheesecake in the refrigerator overnight. Avoid thawing at room temperature to maintain texture.
- Room Temperature: Before serving, let the cheesecake sit at room temperature for about 20 minutes for the best flavor and texture.
- Storing Toppings Separately: If using toppings, store them separately and add just before serving to maintain freshness and texture.

FAQs About Philadelphia Cheesecake
Just skimming through? Here are some quick answers to the commonly-asked questions.
What is the difference between Philadelphia and New York Cheesecake?
Philadelphia cheesecake is known for its lighter, creamier texture, primarily using cream cheese. New York cheesecake is denser and often includes sour cream or heavy cream, giving it a richer flavor.
How long is Philadelphia cheesecake filling good for?
Typically, Philadelphia cheesecake filling can last for about 4 days in the fridge when stored properly.
Is mascarpone better than Philadelphia for cheesecake?
Whether mascarpone is better than Philadelphia cream cheese for cheesecake depends on personal preference. Mascarpone gives a richer, creamier texture, while Philadelphia offers a lighter, more tangy flavor.
How long can cheesecake filling last in the fridge?
Cheesecake filling, when refrigerated, can last up to 4 days. Ensure it’s covered or stored in an airtight container.
How do you store extra cheesecake filling?
Store extra cheesecake filling in an airtight container in the refrigerator. It can be used within 4 days or frozen for longer storage.
How do you thicken Philadelphia cheesecake filling?
To thicken Philadelphia cheesecake filling, ensure you’ve mixed it adequately. You can also add a bit more cream cheese or cook the mixture on low heat to reduce and thicken.
What to do with extra cheesecake filling?
Use extra cheesecake filling to make cheesecake bites, as a dip with fruit, or as a spread on toast or pancakes.
How long does Philadelphia cheesecake filling last?
In the fridge, Philadelphia cheesecake filling can last up to 5 days. If frozen, it can last for a couple of months.
How do you get lumps out of cheesecake filling?
To remove lumps, ensure the cream cheese is at room temperature before mixing. You can also pass the mixture through a fine sieve or blend it briefly.
What is in Philadelphia cheesecake filling?
The typical Philadelphia cheesecake filling contains softened Philadelphia cream cheese, sugar, eggs, and optional flavorings like vanilla or almond extract.
Can you freeze Philadelphia cheesecake?
Yes, Philadelphia cheesecake can be frozen. Wrap it tightly and freeze for up to 2 months. Thaw in the fridge before serving.
Why did my Philadelphia cheesecake crack?
Cracks can occur if the cheesecake is overmixed, baked at too high a temperature, or cooled too quickly. Avoid these to prevent cracks.
Can I make Philadelphia cheesecake without a springform pan?
Yes, you can use a regular cake pan lined with parchment paper for easy removal.
What toppings go well with Philadelphia cheesecake?
Popular toppings include fresh berries, fruit compote, caramel sauce, chocolate syrup, and whipped cream.
Is it necessary to use a water bath for Philadelphia cheesecake?
While not necessary, a water bath helps bake the cheesecake gently, preventing cracks and ensuring even cooking.
Other Fan-Favorite Cheesecake Recipes
Philadelphia Cheesecake Recipe
Video
Ingredients
- 1 ¼ cups graham cracker crumbs
- ¼ cup melted butter
- 3 8-ounce packages Philadelphia cream cheese softened
- ¾ cup sugar
- 3 eggs
- Optional: 1 tsp Vanilla Extract or ¼ tsp Almond Extract
Instructions
- Preheat your oven to 350ºF.
- Mix graham cracker crumbs and melted butter. Press onto the bottom of a 9-inch springform pan to form the crust.
- In a large bowl, beat softened cream cheese with sugar until blended. Add vanilla or almond extract if using.
- Add eggs one at a time, mixing on low speed after each addition just until combined.
- Pour the mixture over the crust in the pan.
- Bake for 35-45 minutes or until the center is almost set. It should be 145ºF on an instant-read thermometer.
- Turn the oven off and open the door halfway. Let it cool in the oven to room temperature and then refrigerate for at least 4 hours before serving.
- Run a knife around the inside of the pan to loosen the cake then remove the rim and slice to serve.
Notes
- Avoid over-mixing the batter, especially after adding eggs, to prevent cracks.
- See notes in article about how to make a water bath, if you want extra insurance against cracking.
- For a smooth texture without lumps, ensure the cream cheese is at room temperature before mixing.
- See section in article about how to use the microwave to quickly soften cream cheese.
- Pull the cheesecake out of the fridge 20 minutes before serving for best texture.
- Add toppings like fresh berries, fruit pie filling, or whipped cream for extra flavor and presentation.
- Refrigerate leftovers and eat within 4 days. Freeze for longer storage. See notes in article.
Nutrition
Nutrition information is automatically calculated, so should only be used as an approximation.


When you take it from oven, run a thin blade carefully around the inside rim of the springform pan to free the cheesecake from the pan. This will keep a ridge from forming around the cake.
I used maple/vanilla flavorings and topped it with Heath Bar toffee bits, for a variation. It was great! Thanks.
I like this recipe with the zest of 1 lemon. For a simple topping you can take a bag of sour lemon hard candies and grind them fine… just sprinkle it on the cheesecake when it comes out of the oven.
Thank you for your no fail recipe. We love it. I’ve tried to make other cheesecake recipes many times with no success.
This has been my go to recipe for cheesecake for many years.. I also sometimes use macaroons for the base .. just open the package and press them on to the bottom of the spring form pan.. Always a hit.. this is the most delicious cheese cake and easy to make also
10/10! This made the best cheesecake we have ever had! Thanks a bunch! Your tips made all the difference! Only try this recipe if you’re ready to eat the whole thing!
Yes, it is that good!!
I love cheesecake!!! I need to try your recipe sometime, it looks so mouthwatering. ❤
This cheesecake is a classic, and your recipe is spot-on Jennifer
That’s so great to hear, thank you Savannah!
Your cheesecake is so perfect, just like from a bakery.
I made this for my husband’s birthday, and it was a hit. Creamy, rich, and absolutely delicious. Your instructions were so helpful!