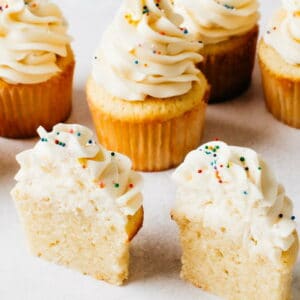
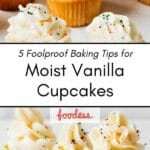
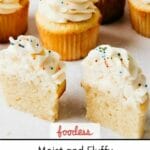
This perfected recipe makes the best Moist Vanilla Cupcakes with 5 Foolproof Science Tips to ensure a fluffy, melt-in-your-mouth texture.
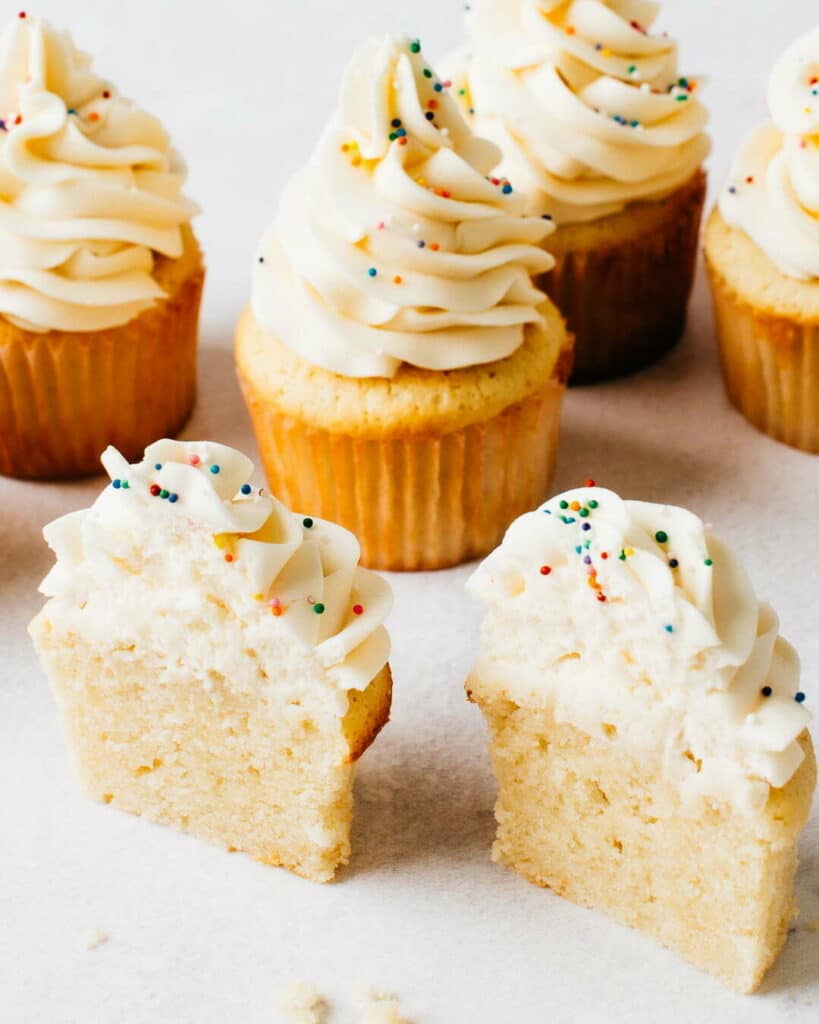
Vanilla cupcakes are notoriously difficult to make really well. You want fluffy, tender, moist, light-textured cupcakes but you often get some combination of heavy, dry and/or coarse-crumbed.
You see, vanilla cupcakes have nothing to hide behind. Their fluffy texture and soft crumb are the epitome of baking as a science. Precise measurement is non-negotiable. Specific ingredients and their temperatures matter. Technique and timing are of utmost importance. But GET EXCITED. I’ve spent months (years?) putting together a no-fail recipe and guide so you can have the most foolproof and best vanilla cupcake recipe experience ever. It’s easy.

The Moist Vanilla Cupcake Ingredients:
- Bleached Cake Flour (or Cake & Pastry flour, as it’s typically sold in Canada). This flour has a lower protein content than all-purpose, meaning less gluten will form to toughen the batter. There’s a second bleaching technique used for cake flour different from and beyond what is used for all-purpose. It increases the flour’s absorptive capacity and thereby increases the height and fluffiness of the final cake.
- Soft butter. Unsalted is called for but salted is just fine, but halve the amount of salt in the recipe.
- Large eggs, warmed to room temperature. We are going to whip the whites first, and warm whites whip better. Also, cold eggs would harden the soft butter. The yolks contain lots of emulsifiers to help the butterfat incorporate with liquid ingredients to yield a smooth-crumbed cake. Keeping the ingredient temperatures the same makes sure we harness that superpower.
- Whole milk, warmed as well to room temperature. We do this because once you’ve created that luscious foam of air bubbles trapped in a soft butter matrix, you don’t want to add cold milk and harden the butter again. Furthermore, having your ingredients the same temperature makes for a smoother, more uniform batter and reduces the guesswork in baking time. See quick warming tips below.
The 5 Science-based KEYS to perfect moist and fluffy vanilla cupcakes:
1.Precise measuring. Cake flour is silky-fine in texture, which means it compacts more in a bag and measuring cup than all-purpose flour. For this reason, super-precise measurement by volume is almost impossible. I strongly recommend weighing it. A cup measured by me does not weigh the same as a cup scooped by you, and the extra 1/2 oz of flour can turn a tender cupcake dry. You don’t need expensive equipment. A $15 scale is just fine.
2. Temperatures: temperature of the ingredients is important for so many reasons but you don’t need to plan in advance and you don’t need a microwave. Here are my Pro Tips: How to Quickly Bring Ingredients to Room Temperature. It also answers WHY ingredient temperatures matter.
3. Reverse creaming (see what this means below). This technique is an insurance policy against over-mixing (which is a primary culprit in producing tough cupcakes). Starting with this method yields the most absolutely melt-in-your-mouth, velvety tender crumb I’ve ever experienced.
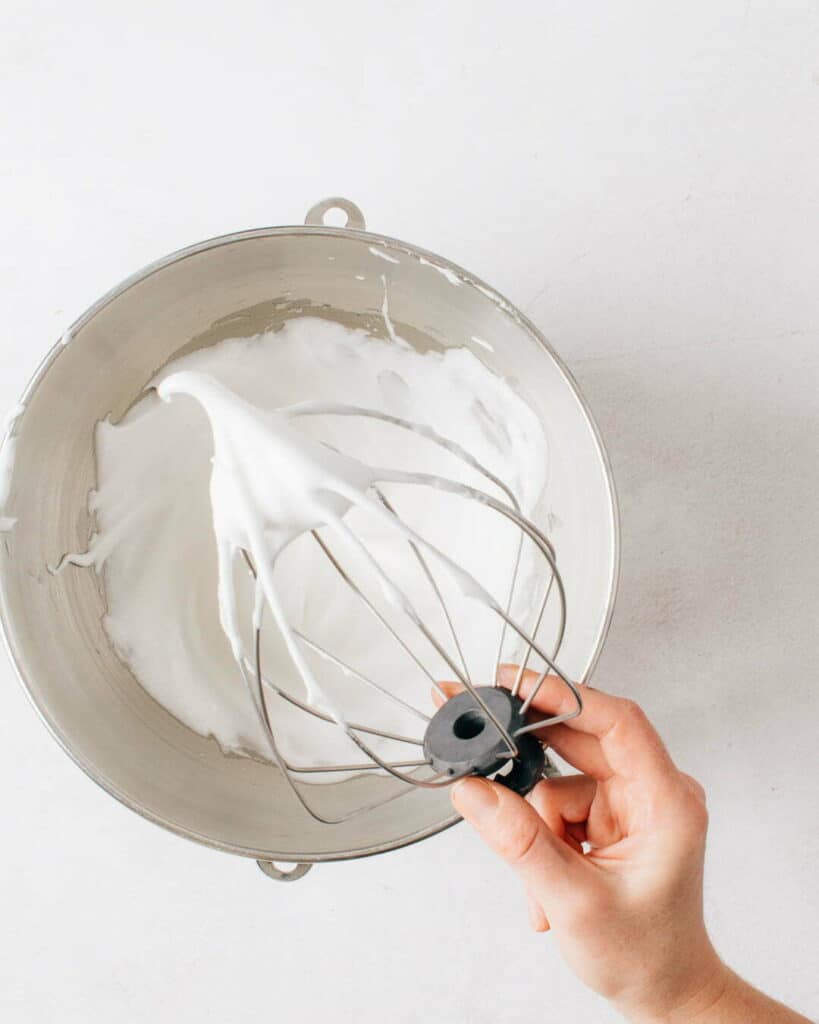
4. Beating egg whites first. Any recipe that asks for separately beaten whites is annoying, I get it. PLEASE bear with me. Beating the whites to peaks and folding them into the finished batter is the SECRET to making these moist and tender cupcakes ALSO light and fluffy cupcakes.
5. Minimize the final beating. You really can do no harm in this recipe until the liquids are added, because gluten (the batter-toughening protein complex) is only formed once water interacts with individual flour proteins. This goal is to incorporate the wet ingredients with minimal agitating of the dough. BUT KEEP IN MIND. We did Step 2. as an AWESOME safeguard against too much beating, so this is a precaution. Don’t sweat.
What Is Reverse Creaming?
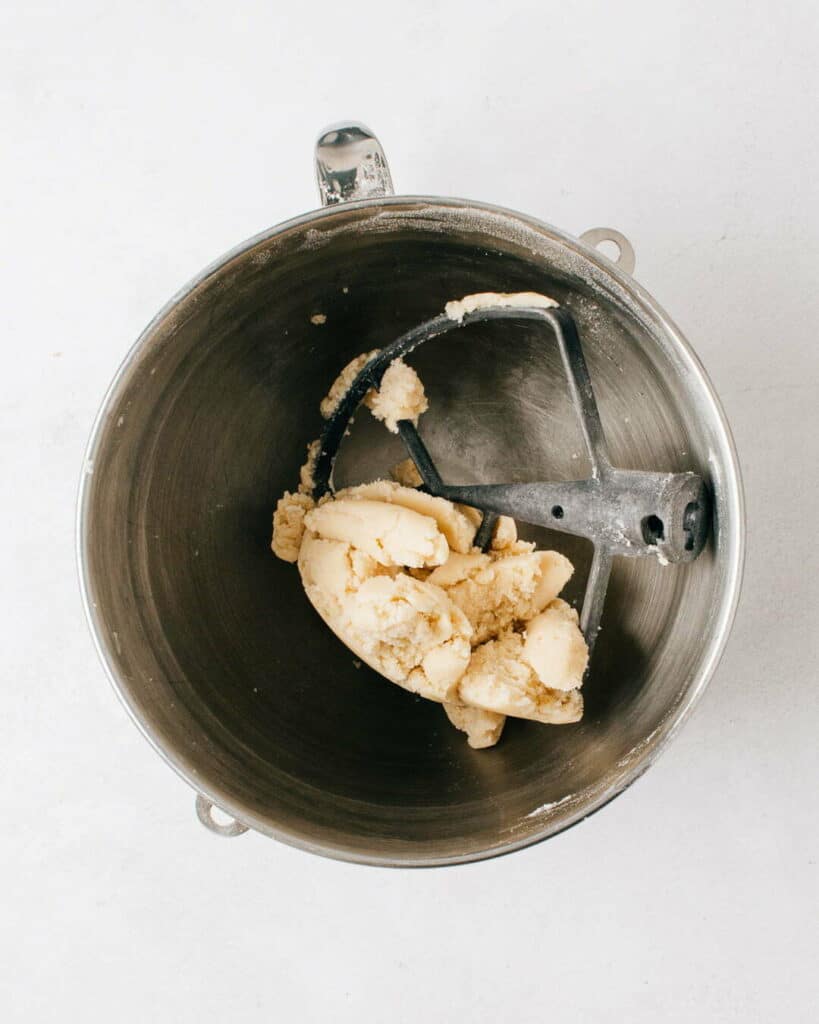
Reverse creaming means you start by mixing your dry ingredients, then add the butter and beat it right in. This is opposed to traditional creaming of the butter and sugar, followed by gradual incorporation of flour and liquids. Why use reverse creaming? It’s about gluten. Gluten is a protein matrix formed by proteins after they are hydrated with water. The more gluten formed, the tougher and more rubbery the cake. Reverse creaming allows you to coat the flour with fat before any liquid is added, preventing long strands of gluten from forming and yielding an absolutely meltingly soft and tender crumb.
Many reverse-creaming recipes I’ve seen call for butter to be added to the flour until they form coarse crumbs. This is not reverse creaming, this is just adding butter. You can’t cream crumbs. True creaming incorporates air.
Other recipes I’ve seen involve adding some liquid along with the butter, just enough to make it creamable. Unfortunately, this kinda defeats the purpose, because with liquid and beating comes gluten.
MY solution is simple: temperature. Warmer butter will come together with the dry ingredients to form a dough. You just have to apply a hot-water-soaked dishtowel to the bottom of the mixer bowl to take the mixture from crumbs to a cohesive dough and then you can truly reverse cream it.
Here’s my favourite Easy 5-Minute Fluffy Vanilla Frosting recipe.
The Ultimate Moist and Fluffy Vanilla Cupcakes
Ingredients
- 3 large eggs, room temperature whites separated from yolks
- 198 g bleached cake flour (also known as cake & pastry flour. Not self-raising.) (approx. 1 2/3 cups sifted, spooned in, and levelled off)
- 1 ¼ cup granulated sugar (248 grams) divided use
- 1 ½ tsp baking powder
- ¾ tsp fine sea salt
- ¾ cup unsalted butter (170 g or 12 tbsp)
- ¾ cup whole milk, room temperature (about 22ºC/71.6ºF)
- 1 tbsp pure vanilla extract
Instructions
- Preheat oven to 350ºF. Line 15 standard muffin cups with paper liners.
- Place egg whites in stand mixer with whisk attachment and beat on medium speed until white and foamy. With mixer running, slowly pour in 1/4 cup (50 g) of the sugar and continue beating on medium-high until medium-stiff peaks form. Scrape the beaten whites into a bowl and set aside. Wipe out mixer bowl and dry.
- Measure flour, remaining sugar, baking powder and salt into the mixer bowl. Switch to paddle attachment and beat the dry ingredients on medium speed for 1 minute (this replaces sifting and thoroughly combines).
- Toss in the chunks of soft butter. The mixture will go from lumps of butter, to coarse crumbs, to one cohesive lump of dough. When it comes together in that lump, set timer for 4 minutes and beat on medium until light and fluffy. **If the texture remains like sandy crumbs instead of coming together into a cohesive ball of dough, this means your butter isn't soft/warm enough. Simply soak a dishtowel with hot water and hold it on the bottom of the mixer bowl as it beats. Repeat as the towel cools until the dough comes together. It won't take long.
- Add egg yolks to creamed butter mixture and beat on medium, pausing to scrape down sides and paddle, until combined.
- Reduce mixer speed to low and drizzle in the milk and vanilla. Right away scrape down the sides of bowl and paddle, then beat on medium-low, pausing to scrape down sides and paddle again once or twice, until the batter has no more big lumps – 40-60 seconds in total. The batter will look fluffier but curdled, with tiny lumps uniformly through the batter.
- Remove bowl from stand mixer and use a large spatula to fold 1/3 of the beaten egg whites into the batter. (This lightens the batter making it easier to gently incorporate the rest.) Gently fold in remaining egg whites until no white streaks remain.
- Portion batter into muffin cups (about 1/3 cup batter per cupcake) and bake for 18-22 minutes, rotating pans once around 14 minutes. They should be around 190ºF internal temperature. They will not necessarily be golden on top when done. Cool completely on wire racks before frosting.


Can I make this a few days in advance and then refrigerate? We have a birthday party on Saturday (today is Wednesday).
Hi Andrea, don’t refrigerate them, that makes them stale FASTER than room temperature. The freezer is your friend. If I’m making these (or any cake/cupcake) more than a day in advance I just freeze it.
Amazing recipe !!!
This is the first i have ever made cupcakes and they turned out soooo delicious!! Everybody loved the cupcakes
They even told me I should open a cupcake shop, lol
Thank you so much
When I first saw this recipe on Pinterest, I was contemplating on whether I should skip it or not because it seemed so complicate when I read the instructions and I didn’t think I would have the time, skill or patience to do it. Then I decided I needed a challenge and got started. I am so happy I chose to do that because the cupcakes taste amazing, they look delicious and the top got a bit crispy-golden in a good way and I’m obsessed!!! I’m definitely sticking with this recipe for the rest of my life now. It is so worth it and it is extremely rewarding for someone who has never made cupcakes except using cake mix. Thank you for sharing it.
I made these yesterday and I am absolutely in awe! Best cupcakes I’ve ever made in my whole life. Where has this recipe been!!!!! Thank you!
I made this today. For some reason the egg whites would just not firm up they remained in a liquid state, i whisked for about 5 min. I was about to give up but decided to complete the recipe. Even though I added them in the liquid state it did not affect the cupcake. So glad I didn’t give up. The cupcake was absolutely amazing. Delicious and moist as you said it would be. Thank you so much for sharing your recipe.
Stephanie
South Africa
Can I use vanilla bean with this recipe? And if I can, how much is recommended in conjunction with the extract or should I simply replace the extract with the vanilla bean?
Hi Krissy, YUM! Yes you absolutely can. 1 tbsp vanilla extract is equal to the seeds from about 1 1/2 to 2 vanilla bean pods. You can use it to replace the extract or use 1 vanilla bean and 1 1/2 tsp extract if you like.
Thank you so much for the response. I really appreciate your articles, especially the one about getting ingredients to room temperature fast. I’m so excited to make these cupcakes!
Question for you! Do you think I would be able to add sprinkles to these? I’m making cupcakes for my friend’s kid’s birthday and she wants confetti cupcakes. I love all your recipes so I’m wanting to use this as a base if possible!
Yes you absolutely could! I wouldn’t add more than 1/2-3/4 cup to make sure it’s not too many.
I made your moist chocolate cake. And chocolate frosting.
And it was so delicious.
And everyone at my party said the cake was fabulous.
Thank you for your recipes.
Next I will bake these great looking cupcakes then your vanilla cake.
I am sure they will all be just as delicious as your chocolate cake.
Thank you so much for coming back to comment, Sheila! I’m so happy to hear it! Let me know how the cupcakes and vanilla cake turn out!
Would I be able to freeze these and thaw them when I need them a few days later???
Hi Carragen, yes 100%, that keeps them as fresh as the day you baked them!
Wow. These are hands down the best cupcakes I have ever baked. I learned so much in the process, too. Thank you! I
Oh my gosh Andrea, this is such a kind comment. Thank you so much!