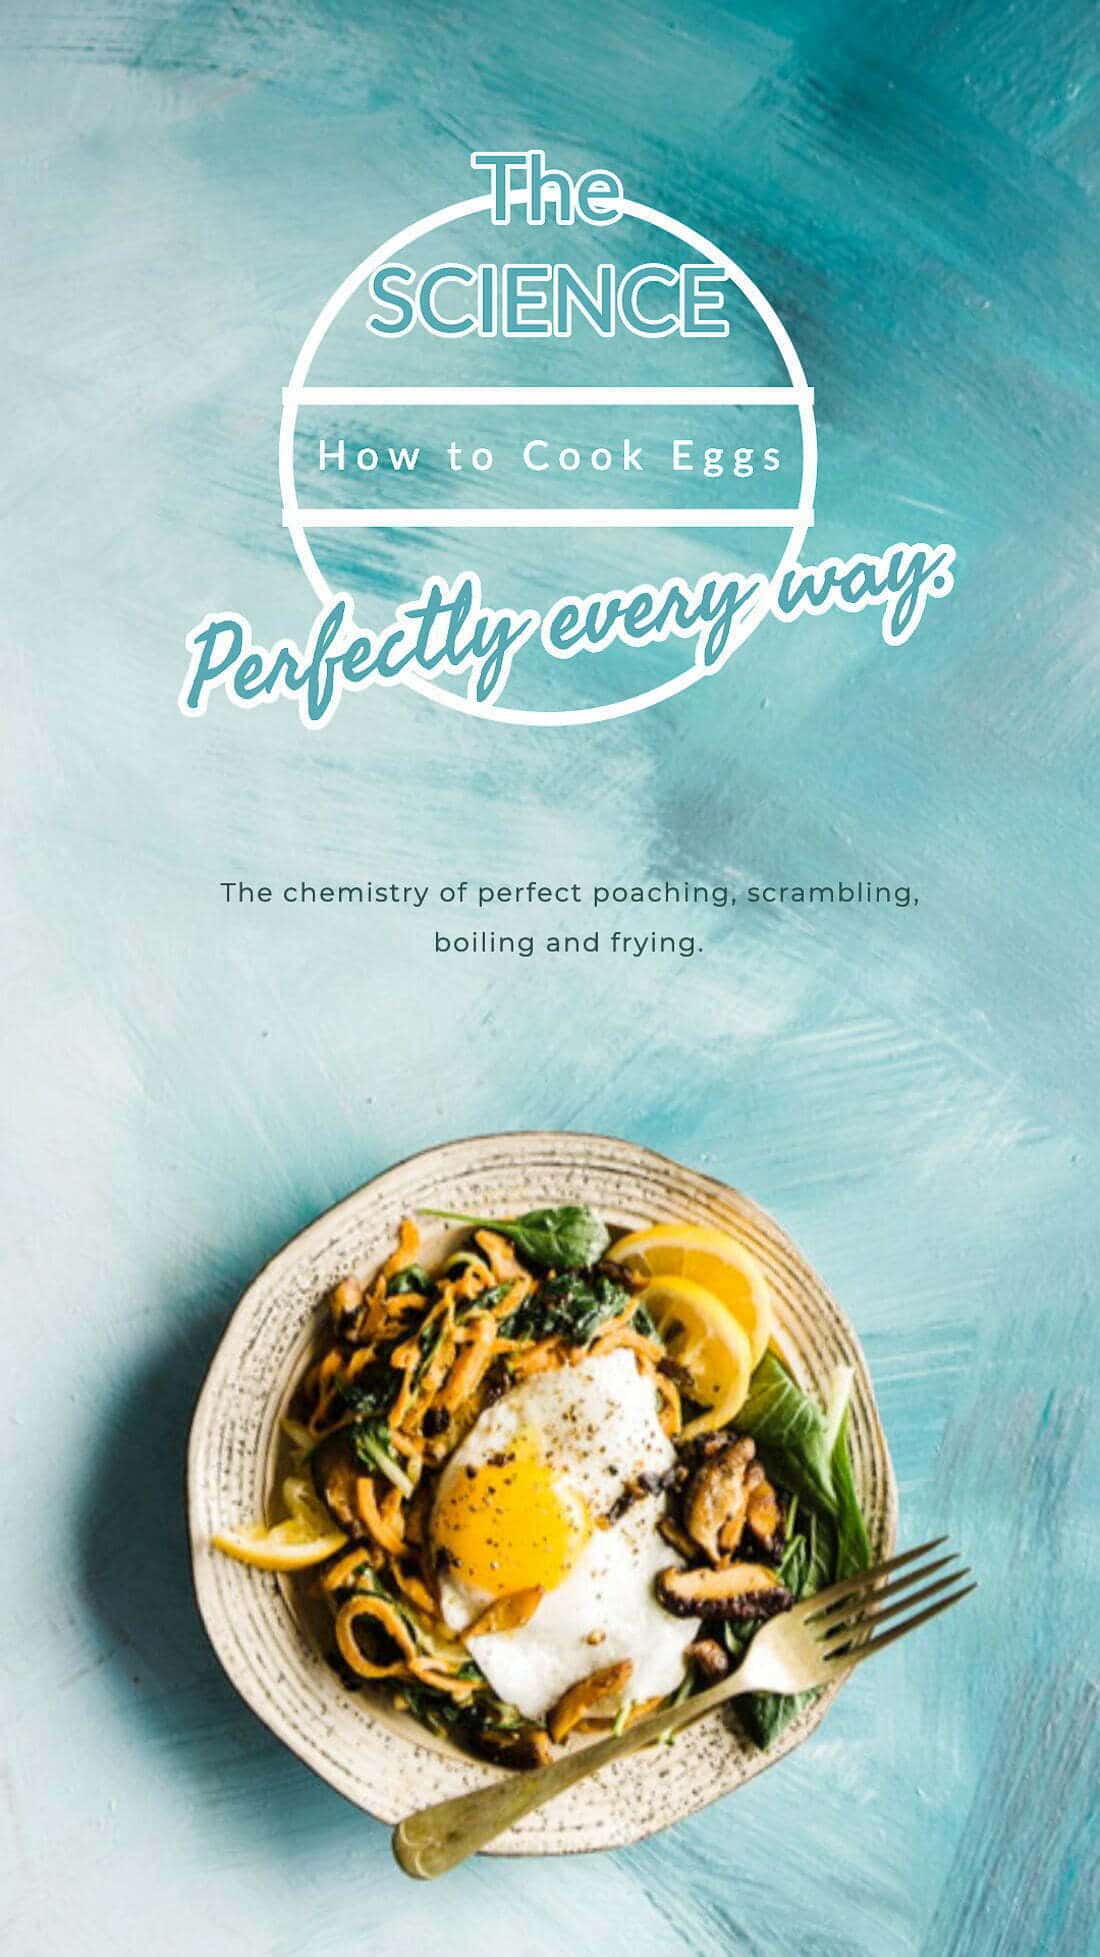
How to Boil, Poach, Fry and Scramble Eggs Perfectly, Every Time
Updated Feb 28, 2024
The ultimate, science-based guide for cooking eggs every way you like them, whether boiled hard or soft, poached, fried or scrambled — perfectly every time.
Eggs are a quick, filling, inexpensive, protein-rich, delicious staple.
If you hang out with me here, you might know that I come from a science background, with a degree in food, nutrition and health and a particular passion for cooking science. Today, I’m offering my nerdiest science-based tricks for making perfect fried, scrambled and poached eggs — tips you probably haven’t heard before. Let’s get cracking! (I’m sorry. It’s very hard to turn off.)
Read on to see methods and have your burning (er, I mean perfectly-cooked) egg questions answered.
How to Boil Eggs
- Grab a pot. Add your desired number of large eggs.
- Fill the pot with enough water to cover the eggs by 1 inch. Bring pot to a boil over high heat.
- IMMEDIATELY remove pot from heat, cover, and let eggs stand in the hot water for 12 minutes.
- Transfer eggs to a bowl filled with ice and water to cool (if being served cold), or run under cold running water until just cool enough to peel (if being served hot).
- Peel eggs by cracking their fat bottoms on the counter, then remove the shell under cool, running water. Place a colander underneath to catch shell fragments.
The higher the cooking temperature and the longer the egg is cooked, the more likely it is to turn appetizingly greenish where the yolk meets the white. High heat/longer cooking also increases the sulfur smell that makes your colleagues run from you when you open your lunchbox. Cook an egg too long and the yolk goes from creamy and wonderful to chalky and dry.
The other popular method, which involves lowering eggs into boiling water, risks tough whites. The high heat can cause the proteins to bond super tightly together, which squeezes out the moisture, making it turn hard and rubbery.
These are all very good arguments for gentler cooking temps and precise timing, don’t you think?
This 12-minute, off-boil method ensures perfectly set (never rubbery!) whites and perfectly cooked (never dry or greyish green, yuck!) yolks. Note that it is specifically for large-sized eggs. If you’re using another size, you’ll have to experiment with slight adjustments in timing.
How do you Soft-Boil an Egg?
- Grab a pot. Add your desired number of large eggs.
- Fill the pot with enough water to cover the eggs by 1 inch. Bring pot to a boil over high heat.
- IMMEDIATELY remove pot from heat, cover, and let eggs stand in the hot water for 3 1/2 minutes.
- Transfer eggs to a bowl filled with ice and water to cool (if being refrigerated to serve later), or run under cold running water until just cool enough to peel (if being served hot).
- Peel eggs by cracking their fat bottoms on the counter, then remove the shell under cool, running water. Place a colander underneath to catch shell fragments.
There are many schools of thought on soft-boiling an egg, the most popular being the 6-minute egg, however I prefer this different method. You see, the 6-minute egg requires boiling the water first, then adding the eggs to the pot. Some recipes will ask you to bring your eggs to room temperature first, but seriously, who has an extra half hour before breakfast is served? The problems with adding cold eggs to boiling water are that:
1. Cold eggs will potentially crack when they hit the hot water.
2. Cold eggs cool down the water. The more eggs you have, the more water you need to prevent the temp from plunging when you add them, and then there’s a lot of variability in how much time it takes for the water to come back up close to a boil.
3. Vigorous boiling will cause the whites to be rubbery, so you have to really babysit them to watch that water temperature stays at a rapid simmer.
Since in North America we refrigerate our eggs, I think it makes sense to use the same method we used for hard-boiling, which is cold-egg friendly and requires minimal attention.
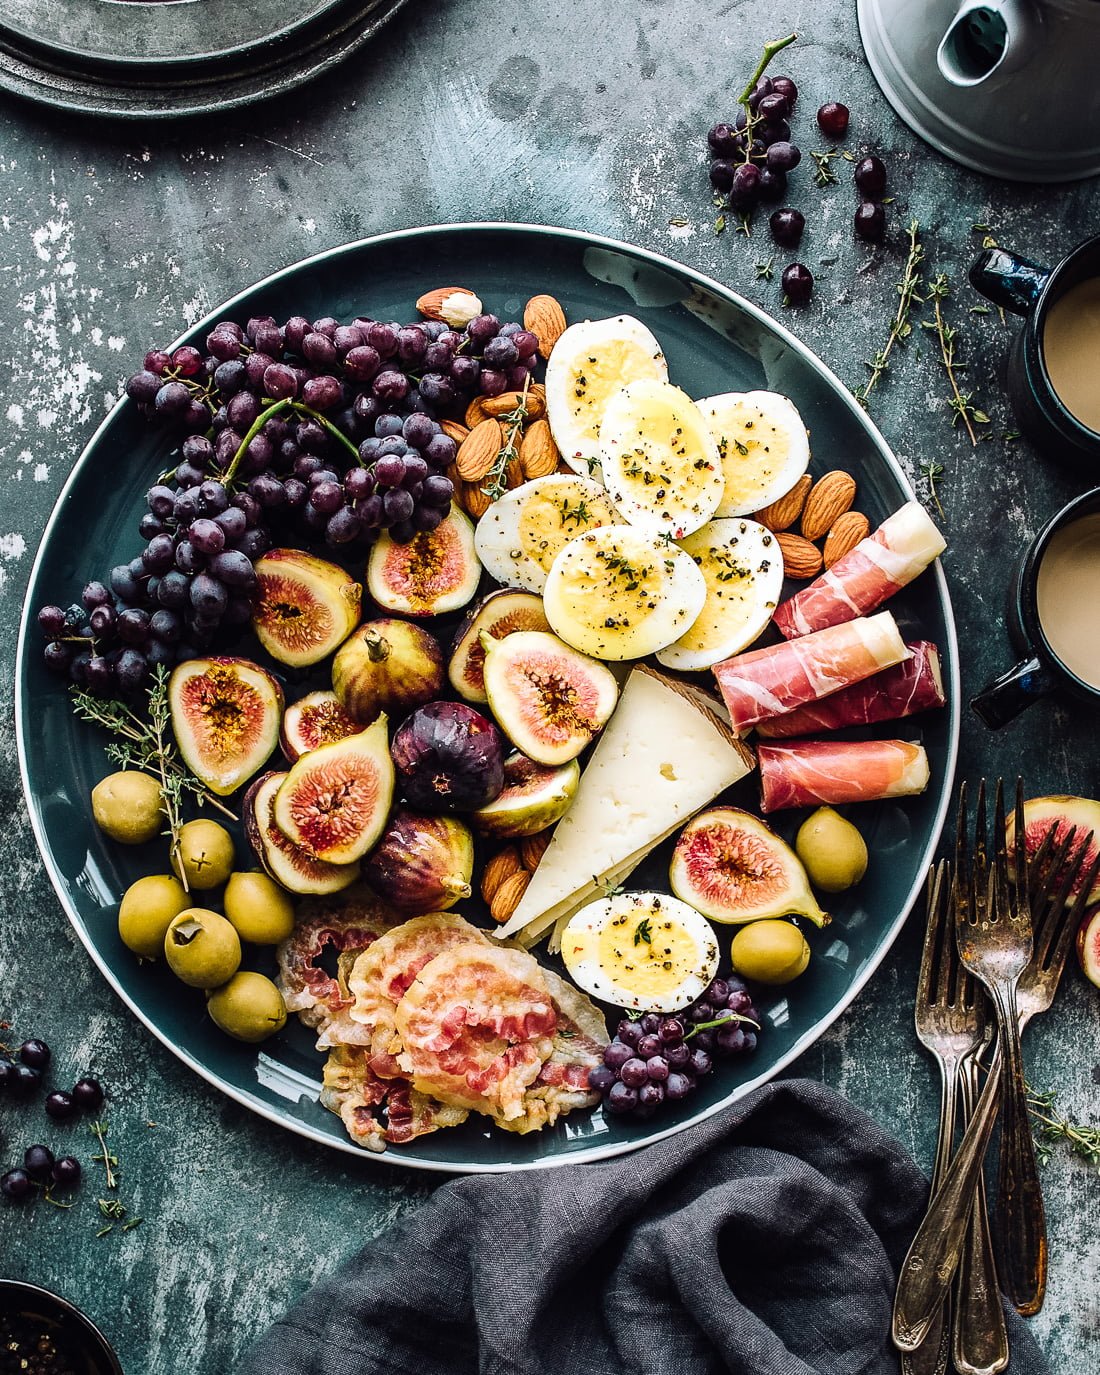
Peeling Hard Boiled Eggs
Have you ever noticed how sometimes, it’s incredibly easy to peel hard boiled eggs, and sometimes… not so much?
As eggs get older, they lose moisture via their permeable shells. That means the actual liquid contents of the egg shrinks, and as this happens, the air cell inside expands. A larger air cell makes an older egg more likely to float (fun science experiment!), but more practically, makes it easier to peel than a fresh egg.
On the important flip side, older specimens are less likely to have nicely-centred yolks for pretty boiled eggs. They are harder to fry or poach, as the white loses thickness in texture as it ages and therefore spreads more. An older egg’s yolk is also more likely to break when you crack it as the yolk membrane is weaker.
Bottom line: fresher eggs are better, except for the purpose of peeling.
How to Make Scrambled Eggs
How to make fluffy scrambled eggs:
- Grab a pan, either nonstick or well-seasoned cast iron and heat it over medium heat.
- Whisk your eggs vigorously with salt (a scant 1/8 tsp coarse salt per large egg) until light and frothy.
- Add butter to pan. I use a tablespoon of butter for 4 eggs.
- As soon as butter melts, re-whisk eggs and add to the pan. Scrape the bottom of the pan as the eggs begin to cook and gently, frequently move the curds around the pan. Being gentle is key for large, fluffy scrambled eggs (stir like crazy if you prefer custardy, smaller curds).
- Remove eggs from pan when they appear about 90% cooked. They should still be moist, as they will continue to firm up with residual heat and carry-over cooking. Add a splash (1-2 tbsp) of milk or cream at this time and gently fold in to stop cooking and add creaminess if you like.
I am a purist and prefer my scrambled eggs to cook with nothing but salt. This started because my childhood attempts and making scrambled eggs with milk always ended up a weeping disaster. Now I know that this is caused by overheating. As the proteins coagulate tighter with higher or prolonged heat, they won’t bind the liquid (milk/cream) anymore, resulting in tough egg proteins floating in a watery curdled mess. Yum?
Nothing by seasoning for a foolproof scramble, and gentle cooking over moderate heat. Relying on carry-over cooking for the last 10% means never worrying about tough or dry eggs.
How To Fry an Egg (Sunny Side Up, Over Easy)
- Grab a well-seasoned cast iron pan. Add two tablespoons of canola, vegetable or peanut oil (something that likes high heat). Heat it on high until shimmering hot.
- Crack your eggs into the pan one at a time, leaving space between them.
- Sprinkle eggs with salt (a scant 1/8 tsp coarse salt per large egg).
- Wait until the edges turn deep golden brown and lacy.
- Serve as soon as whites are set for sunny-side up, or carefully flip. Cook only 15-20 seconds on the other side for over easy.
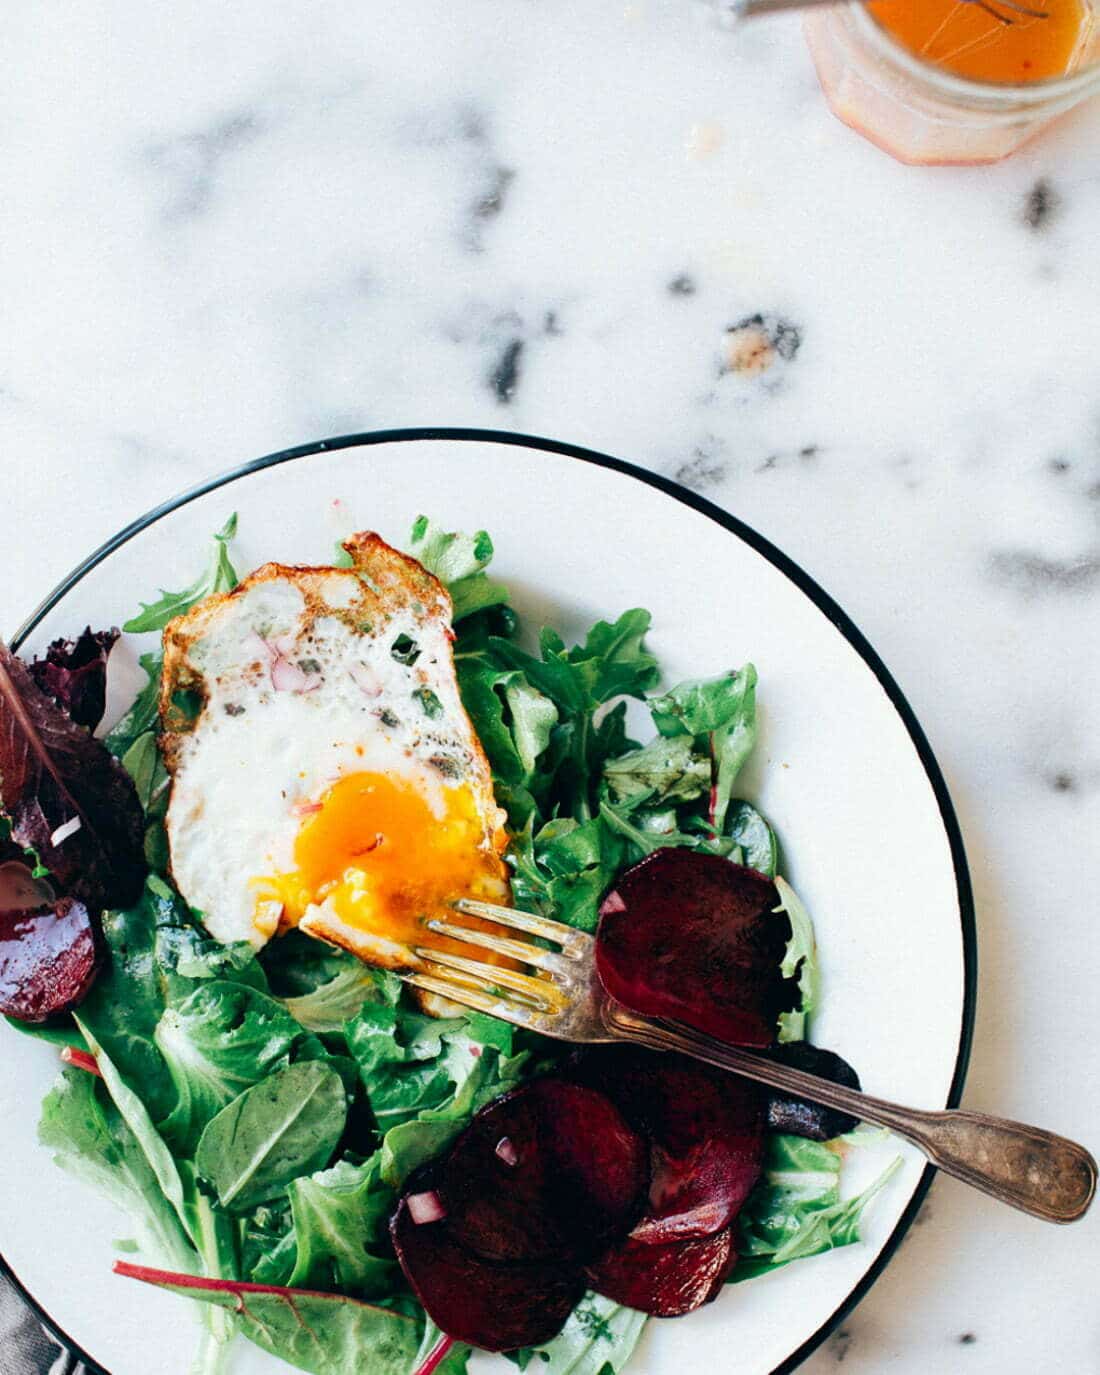
Using high heat allows delicious maillard reactions to take place, which means the egg white proteins will brown to a savoury, salty, crispy deliciousness beneath a silky yolk.
Don’t overlap your eggs in the pan or you’ll have trouble flipping AND you’ll cool down the surface, which can lead to sticking. Heat pan and oil properly, then add eggs.
If you like a fried egg with zero colour, neat edges, this method is not for you (you can skip to the note below). What I want is a super-crispy, lacy bottom full of delicious, golden flavour.
If you don’t have a cast-iron pan, your best bet is to go with non-stick over medium heat. (We don’t use non-stick on high, so you won’t get the lacy edges). Use butter and when it just melts, add your eggs. Follow the rest as above.
Next reading: Perfect Eggs Over Medium
How to Poach an Egg
- Fill a pot with water and add 1 tbsp of vinegar (any kind). Bring it to a boil over high heat. Once it boils, turn the heat way down low.
- Crack your eggs one at a time into a fine-meshed sieve set over a large bowl to catch the drips. Let each drain for a few seconds before gently sliding into the pot.
- Add the eggs at a gentle simmer. Play with the heat a bit after the eggs are added to maintain that gentle simmer (as the eggs will cool the water down).
- Gently poke eggs with a spoon starting at 3 minutes. The white should be set (no wobbles) but the yolk should be soft and liquid.
- Use a slotted spoon to transfer eggs to a paper-towel lined plate to drain excess water before serving.
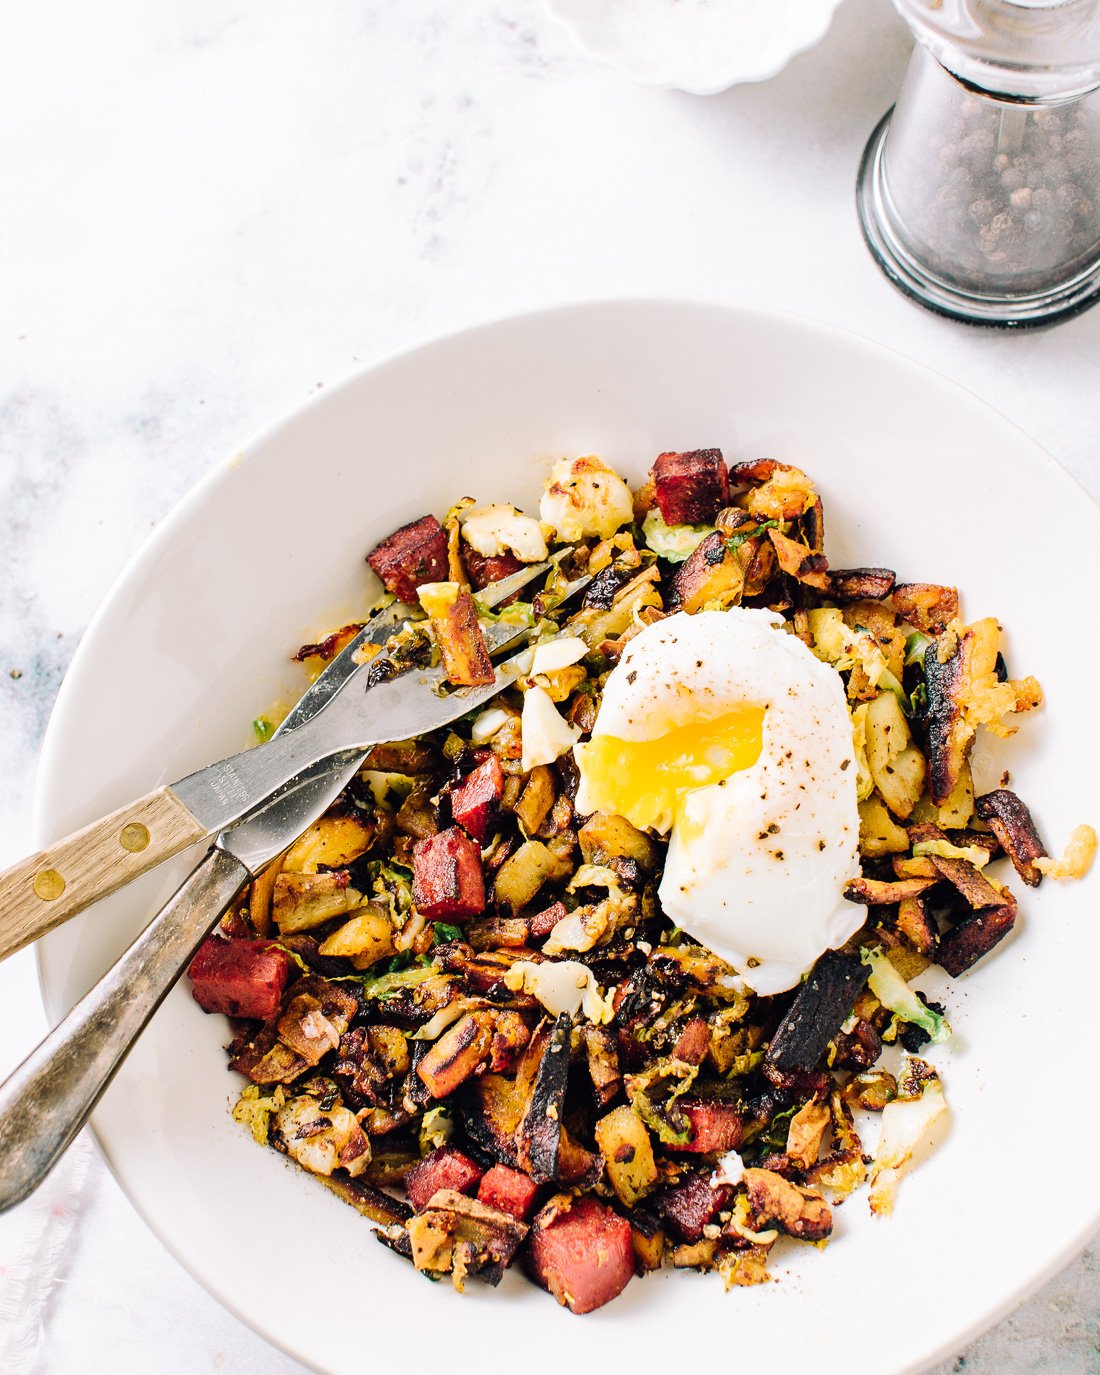
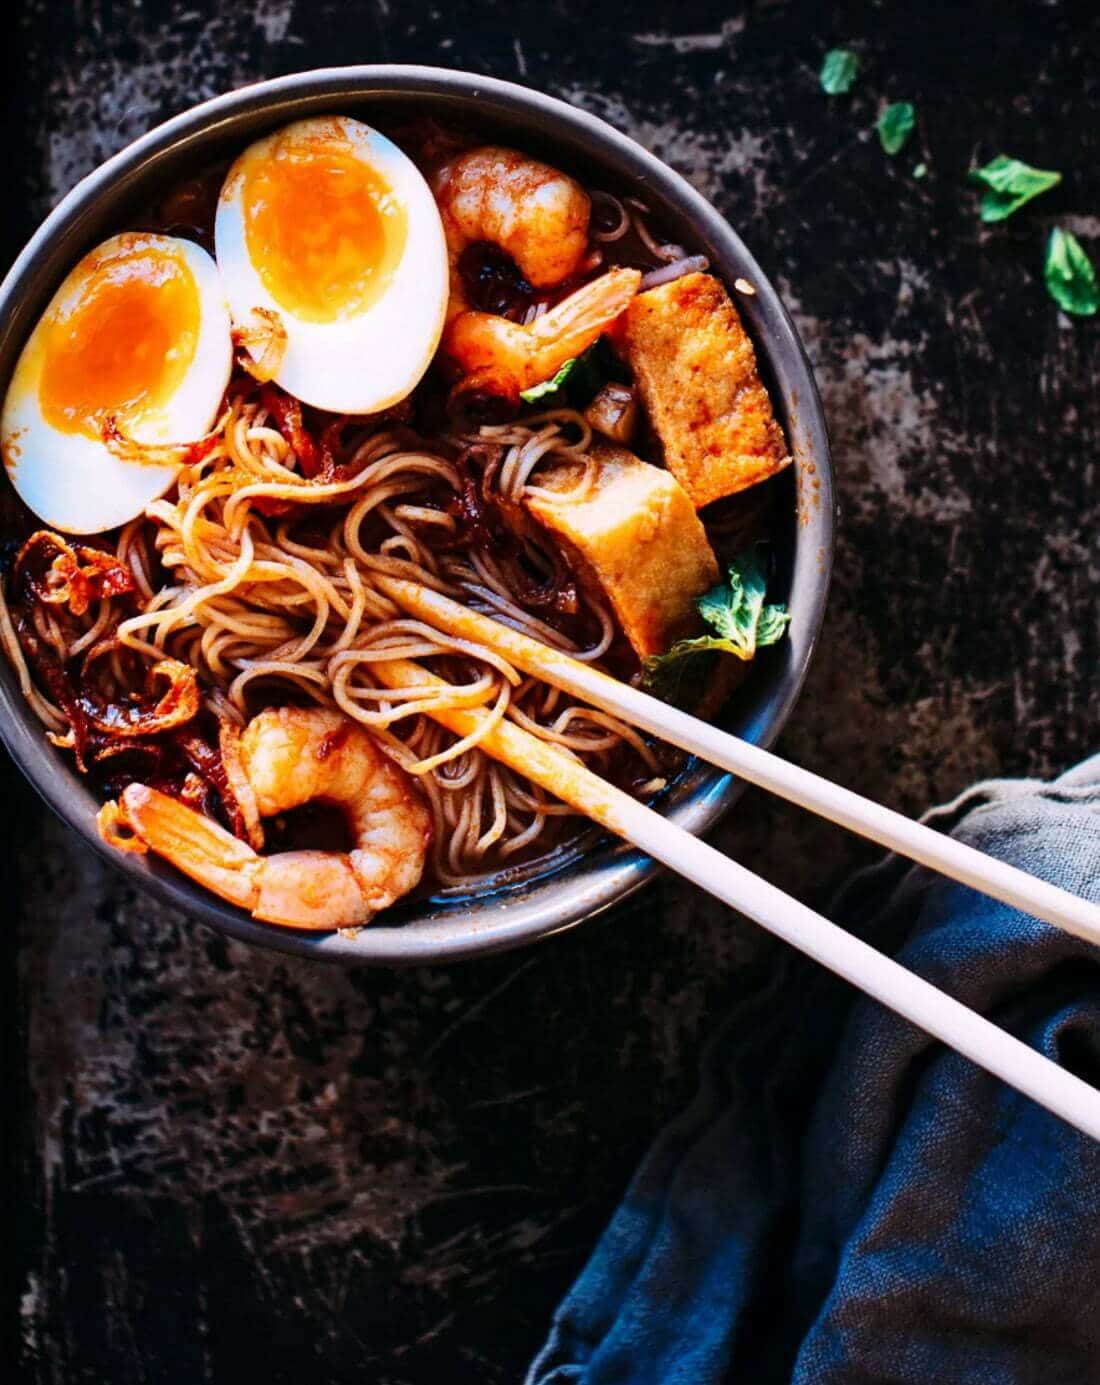
How Long to Poach an Egg
The key to making the most delicious poached egg is timing.
It cooks from the outside in, and you want properly cooked whites with a perfectly liquid yolk. Lowered into simmering water, a large egg takes 3-4 minutes to cook to that coveted stage.
To make a beautiful poached egg is a different story. The older the egg, the thinner the albumin (white) so the more likely it’ll be to make spidery strands all over the pot. The hotter the water, the more the egg will move, and same thing – the more the white will separate into threads.
My solution is to threefold:
1. Use the freshest possible.
2. Drain the watery white (the part that goes messy and stringy) away before you poach.
3. Control the water temperature.
Note that just like with hard- and soft-boiled eggs, the hotter the water the tighter the proteins will bind, meaning tougher whites. They cook quickly anyway, so babysit them with love and keep the simmer going without turning into a boil.
Using Vinegar for Poached Eggs
Ever wondered why poached eggs often call for vinegar to be added to the water?
The fact is, vinegar lowers the pH of the water.
The egg proteins coagulate faster in this acidic environment, meaning the white will start to set faster rather than spreading out which makes for less feathering and poached eggs with nice, clean edges.
How To Make Egg Salad
- Peel hard-boiled eggs and place in a bowl.
- Add one tablespoon of mayonnaise per egg used and use a fork to coarsely mash egg and mayo together.
- Stir in any desired add-ins (i.e. finely chopped green onion, celery, a dab of mustard).
- Season to taste with salt (about ? tsp coarse salt per egg) and pepper.
- Refrigerate until ready to serve (up to 2 days).
Let me know in the comments below if you have any other egg questions I can answer for you!
Here are some favourite Foodess egg recipes and articles:
How to Poach Eggs in the Microwave
How to Boil Eggs in the Microwave
23+ of the Best Breakfast Recipes with Sausage and Eggs
How to Substitute for Eggs in Any Recipe
Muffin-Tin Mini Quiches (pop ’em in the freezer for quick weekday breakfasts!)


Question: What adaptation would be needed on the times you note for High Altitude – say 5,000 ft?
‘Boiling’ is at a lower temperature, so most things need more cooking time.
?????
Thanks!
PS I appreciate the tips on Why your techniques work!
At 5,000 ft elevation, water boils at about 203°F instead of 212°F, so eggs take longer to cook.
For high-altitude adjustments, let the eggs sit in the hot water for 14–15 minutes instead of 12. The lower boiling temperature means they need extra time to reach the same doneness.
Everything else stays the same—just extend the resting time in hot water before cooling.
All I ever wanted to know about eggs — thank you! (also, total baby brain going on here: I had no idea I needed to click the titles to see the actual directions. I was so confused at first. Ahh babies)
Thanks for the feedback, Colene, we were trying a new format to make it more user-friendly and not so wordy, but maybe it’s not idea. I totally relate to the baby brain. I don’t know if I can keep calling it that, I feel like it’s become a permanent situation.
Such day to day stuff is never talked about the way you informed about the tiny details. Splendid I must say. THANK YOU FOR THIS.
Thank you so much, Gabby, that makes my day!