Learn how to make super soft roti with the recipe I’ve been obsessively perfecting over HUNDREDS of family dinners with my Indian husband.
This Roti recipe is one of the many Indian flatbreads I’ve been obsessed with perfecting in the 20 years since I met my Indian husband. I’ve literally been making it at least weekly for more than half my life.
We met when I was a TEEN and ever since my mother-in-law introduced me to the pleasure of scooping up her delicious curries with a warm, homemade roti instead of a utensil, I’ve been enthralled.
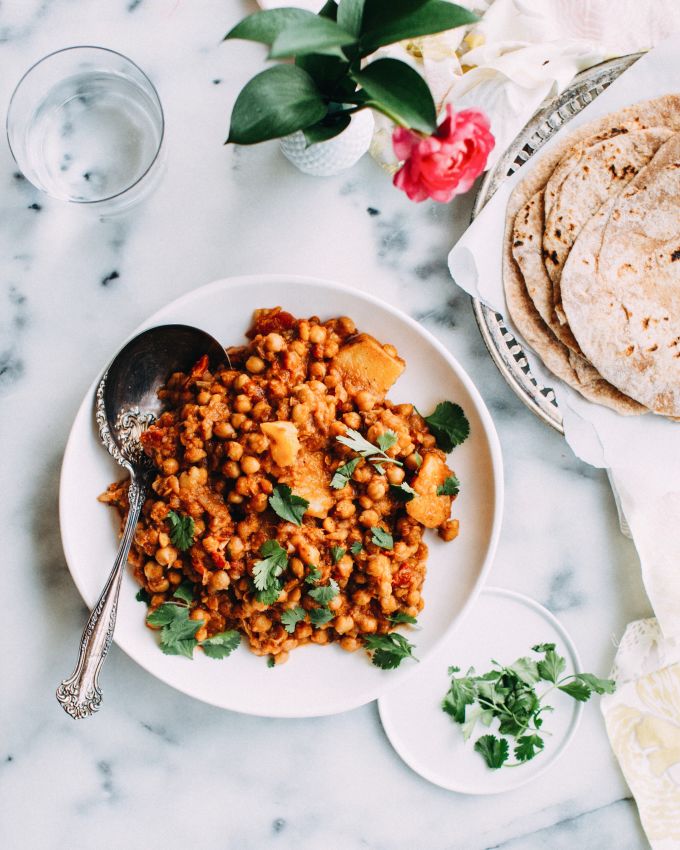
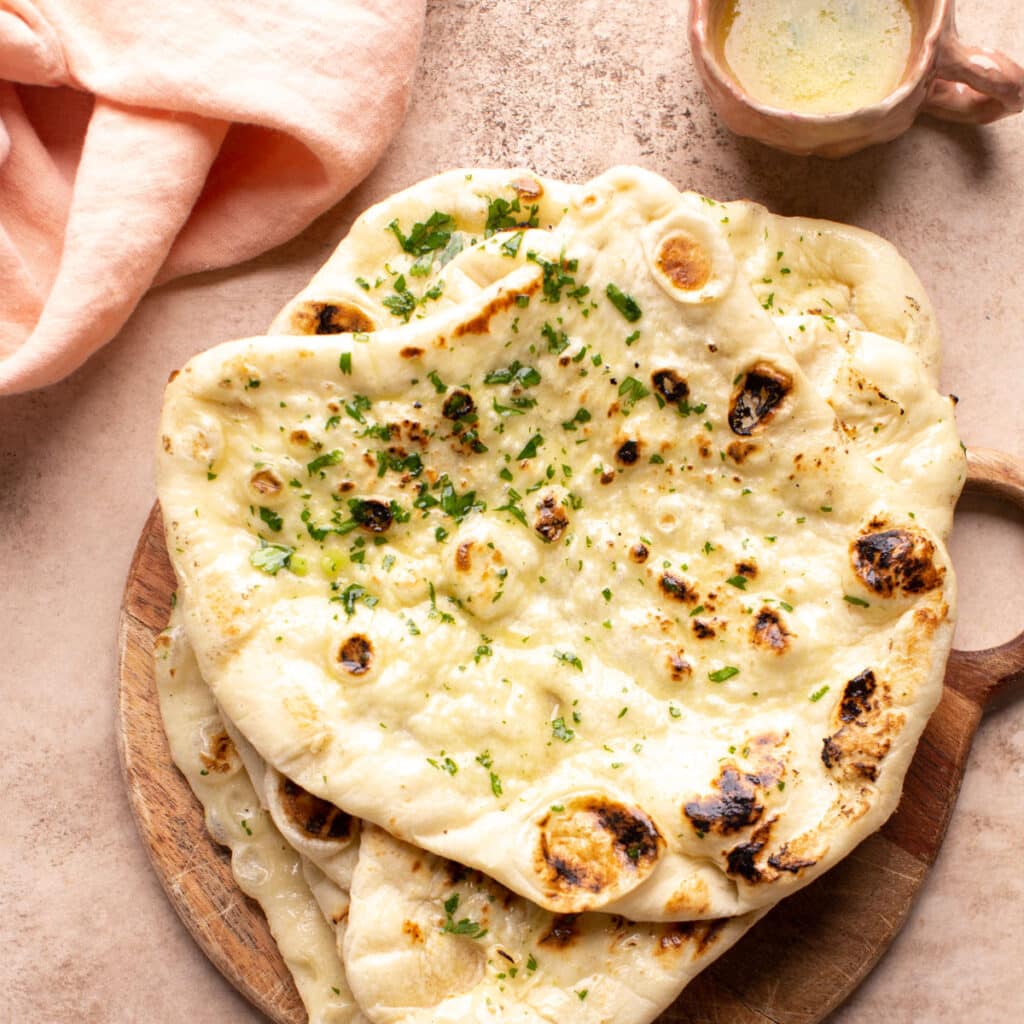
While naan is an Indian flatbread that everyone knows, roti is the one that’s more likely to be made in home kitchens on a regular basis.
It goes hand-in-hand with Amma’s hearty dal recipe and is a comforting everyday staple.
(Read more in: Roti Vs Naan.)
I’ve made roti on at LEAST a weekly basis for my whole adult life. All three of our boys (currently aged 4, 8 and 10) can make and roll the dough by themselves. The big ones can do the cooking part, too.
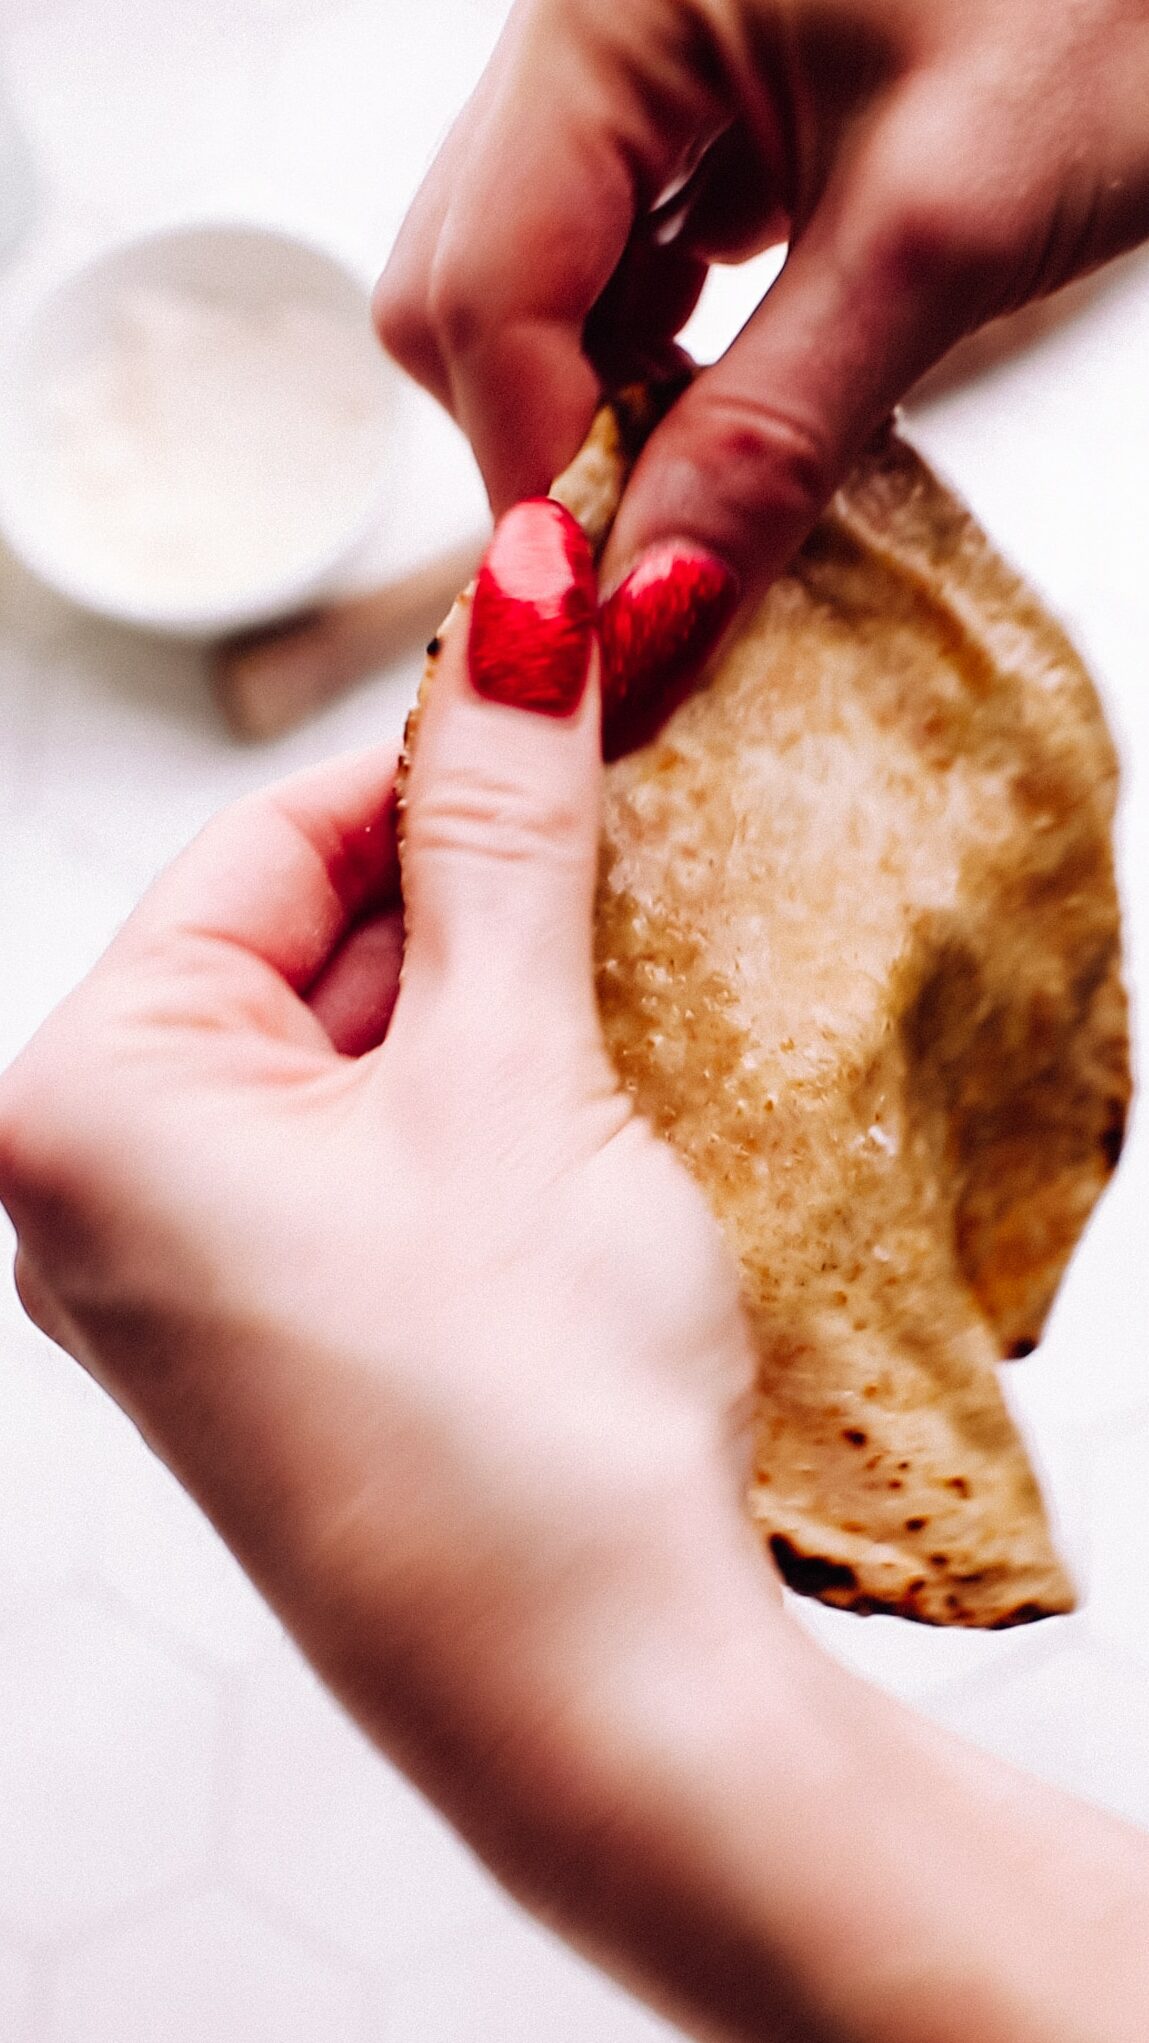
My goal before sharing the recipe with you was to nail the ratio and technique for super soft roti that puff up on the stove every time.
I’m told that puffing is an indicator of success (and being a good wife 😂).
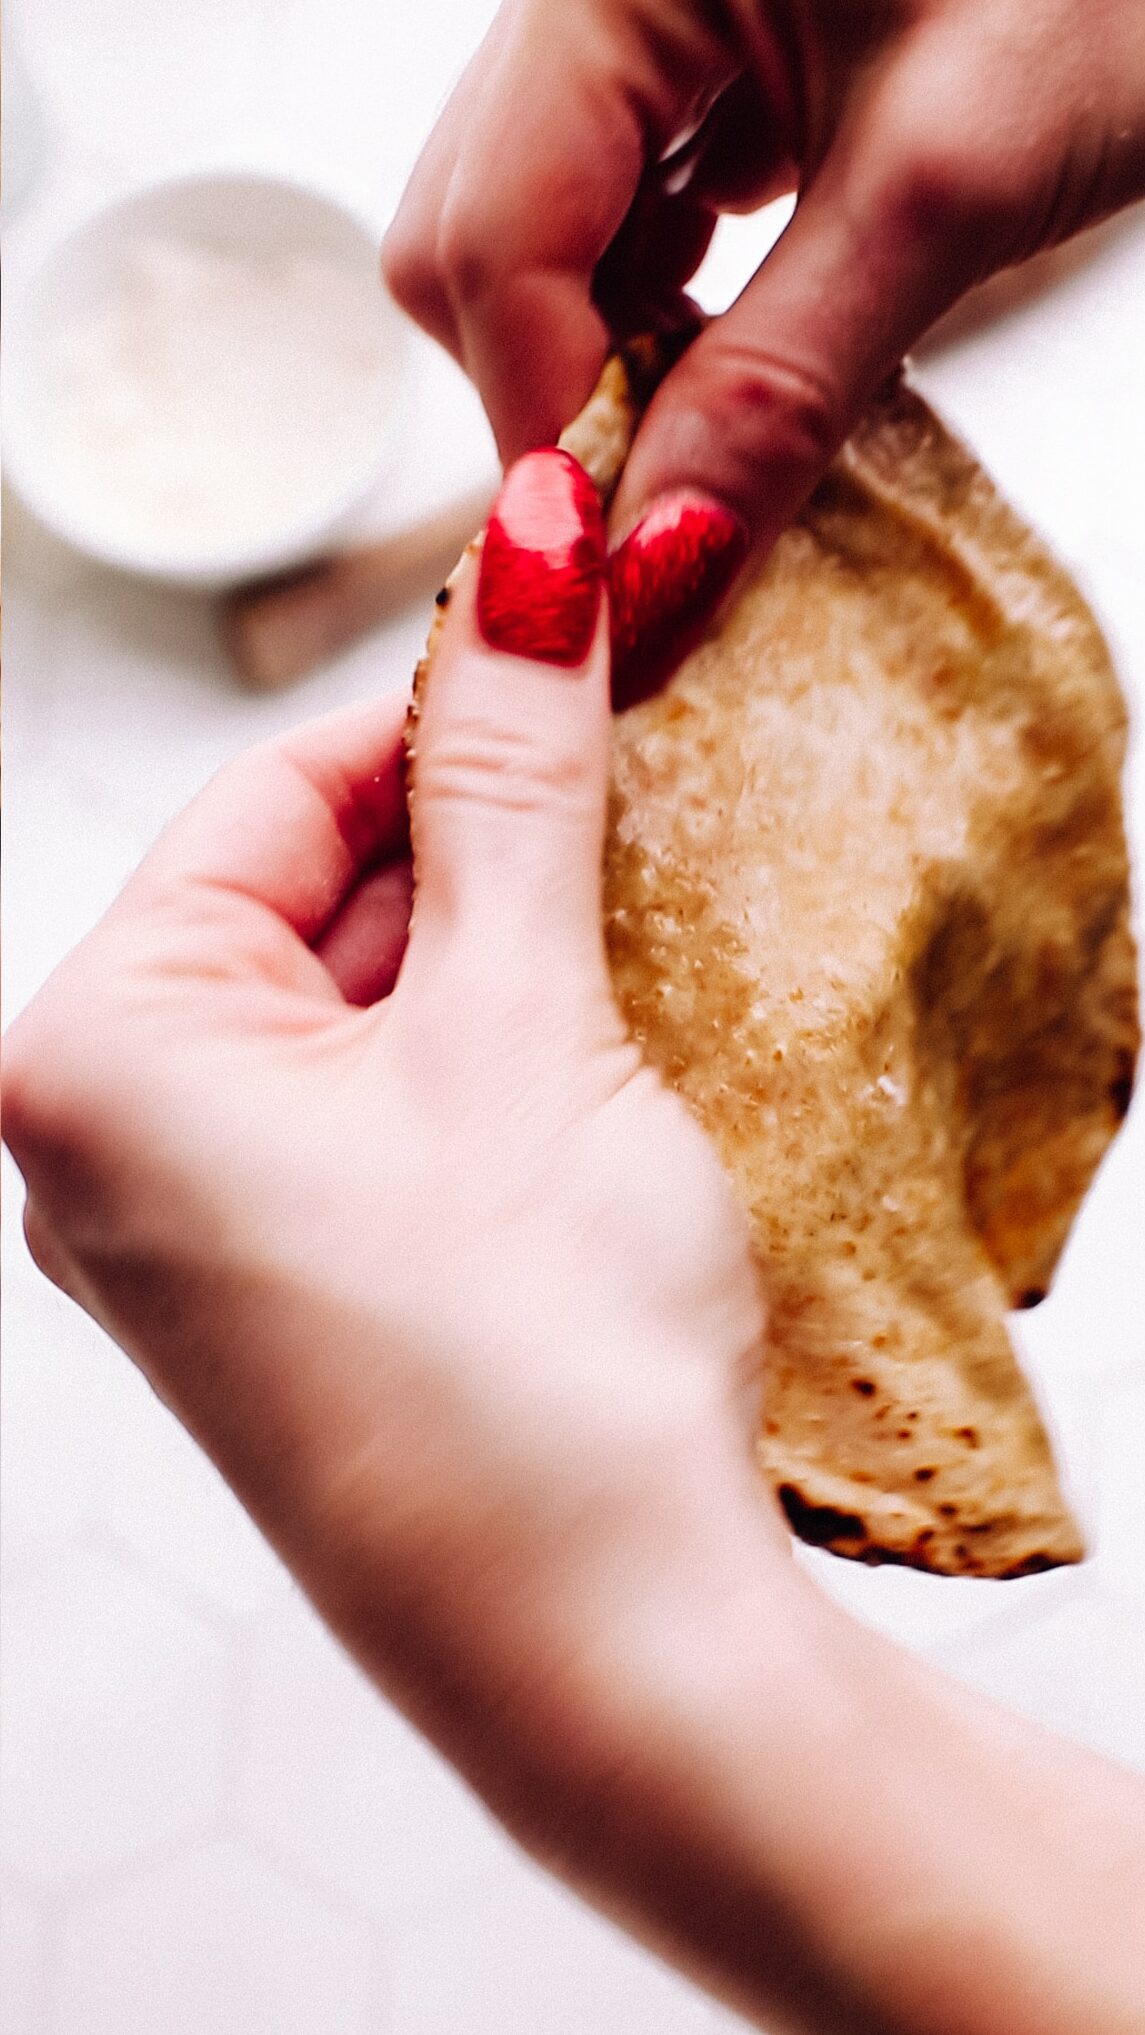
To me, it just means that the final bread is soft and thin (never dense) in addition to being stretchy like a fresh flour tortilla.
Plus, it’s just so magical and satisfying to watch.
What is Roti?
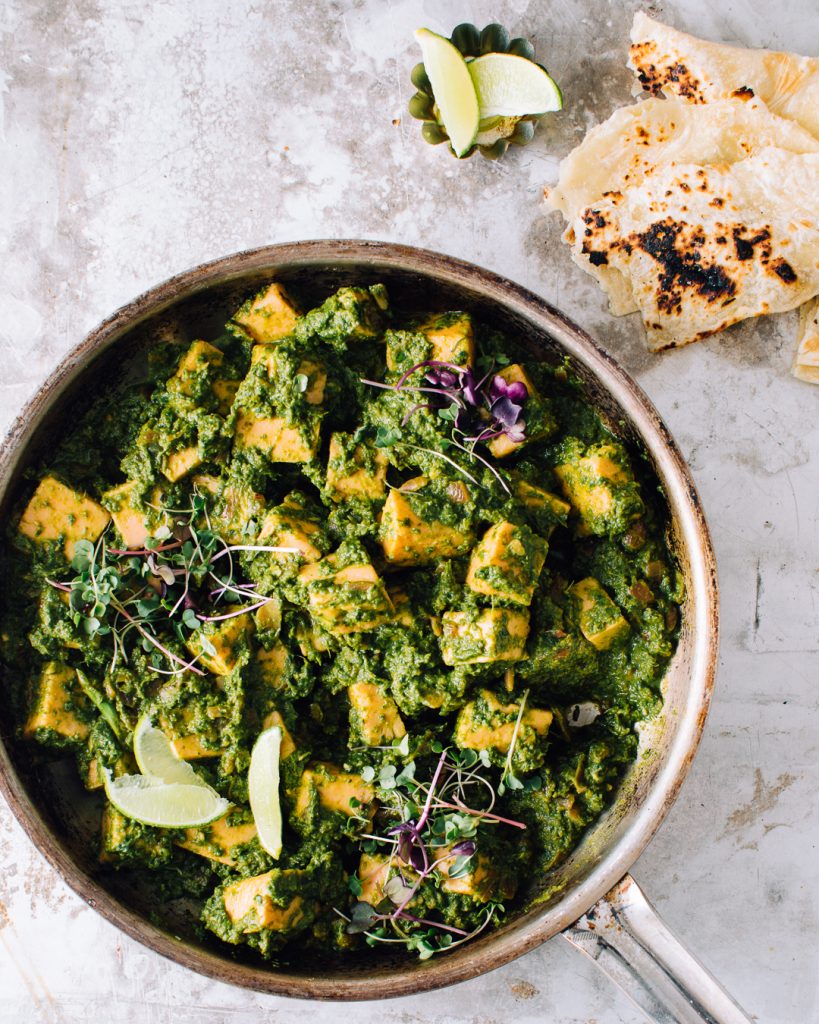
Roti is a staple Indian flatbread made with whole wheat flour (called atta flour in hindi). It is made on a daily basis in many homes as an accompaniment to dal and curries as an alternative to serving with rice.
Roti are rolled out into thin circles and cooked on a tawa (flat pan) without oil. When done properly, they puff up dramatically as they cook, resulting in a light, soft bread that is perfect for rolling and scooping up sauces.
Why You’ll Love This Roti Recipe
If you’re a soft, stretchy, deliciously authentic homemade basic roti recipe, this one is a sure winner. You’ll be amazed at how simple and rewarding it is to make your own.
- The Perfect Texture: Each roti comes out super soft, light, and with the perfect amount of puff, making them an ideal companion for any Indian recipes.
- Easy Rolling & Cooking: The dough is a dream to work with. Rolling and cooking these rotis is straightforward, even for beginners.
- Versatility: These rotis can be served with a variety of dishes, from scooping up traditional curries to quick lunch or breakfast wraps, making them a versatile choice for any meal.
This simple Indian bread puffs up EVERY time using my tested-till-perfect method (and my Indian mother-in-law applauds!).
Get your applause, friends. Make this roti recipe!
Here’s What You Need for Super Soft Roti Recipe
When making super soft roti, having the right ingredients and tools can make all the difference. Let’s look at what you’ll need.
Super Soft Roti Ingredients
- Whole Wheat Flour (Atta): This is the base of the dough, providing structure and traditional flavor.
- Kosher Salt: Enhances the taste and balances the flavors of the roti.
- Warm Water: Activates the gluten in the flour, helping to form the dough.
Variations and Substitutions
- Flour Options: While whole wheat flour is traditional, you can use part all-purpose flour for a lighter texture, like I do in my soft chapati recipe.
- Spice It Up: Add a pinch of cumin or carom seeds for a flavorful twist.
- Vegetable Oil: Some recipes call for adding oil to the dough. I find the oil really inhibits the puffing up and makes the rotis heavier instead of light and airy. It doesn’t make them softer in my opinion, in my many years’ experience making them and testing different variations.
Grab these Tools
- Stand Mixer or Mixing Bowl: Essential for combining and kneading your dough.
- Rolling Pin: For rolling out the dough into thin, even circles.
- Cast Iron or Nonstick Pan (or Tawa): A must-have for cooking the roti to perfection.
- Tongs or Spatulas: Useful for flipping the roti and moving it to direct flame, if available.
With these ingredients and tools, you’re all set to make delicious, homemade roti that everyone will love.
How to Make Super Soft Roti: An Easy Guide
Making roti at home is easier than you might think. Follow this simple guide, and you’ll have fresh, warm rotis ready in no time.
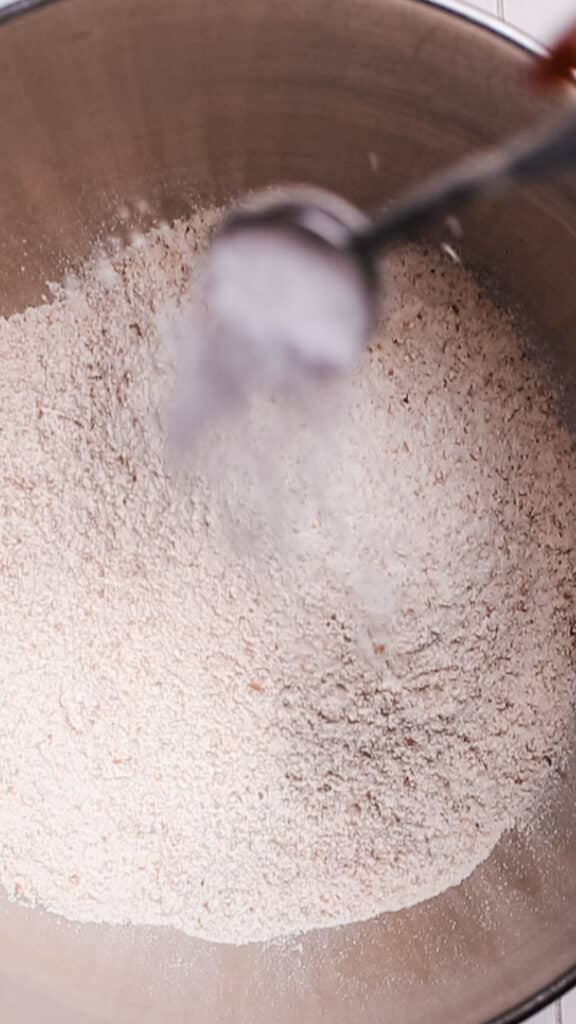
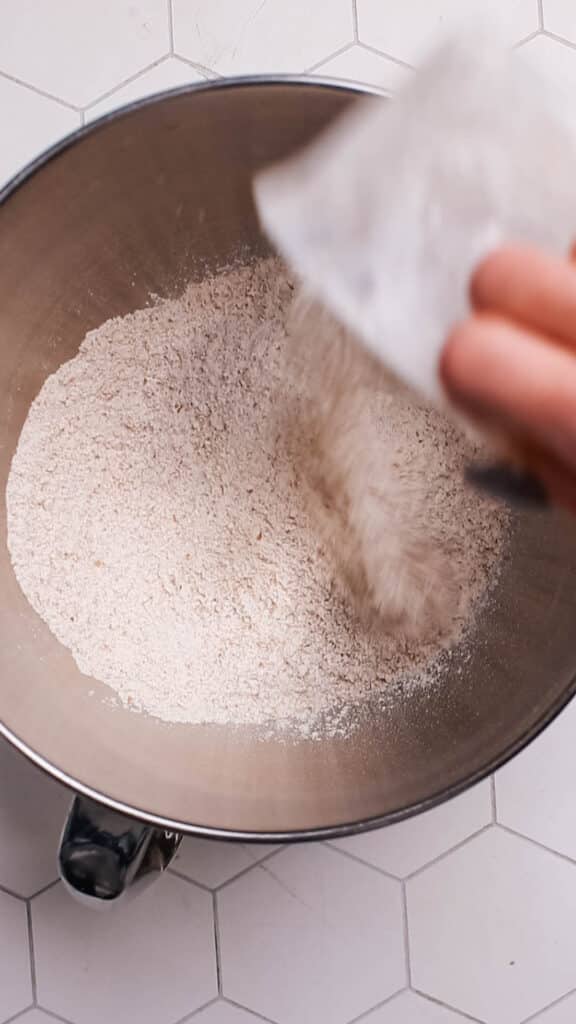
Mixing the Dry Ingredients
- Start by combining your whole wheat flour and kosher salt in the bowl of your stand mixer or in a large bowl, if you prefer to do it by hand.
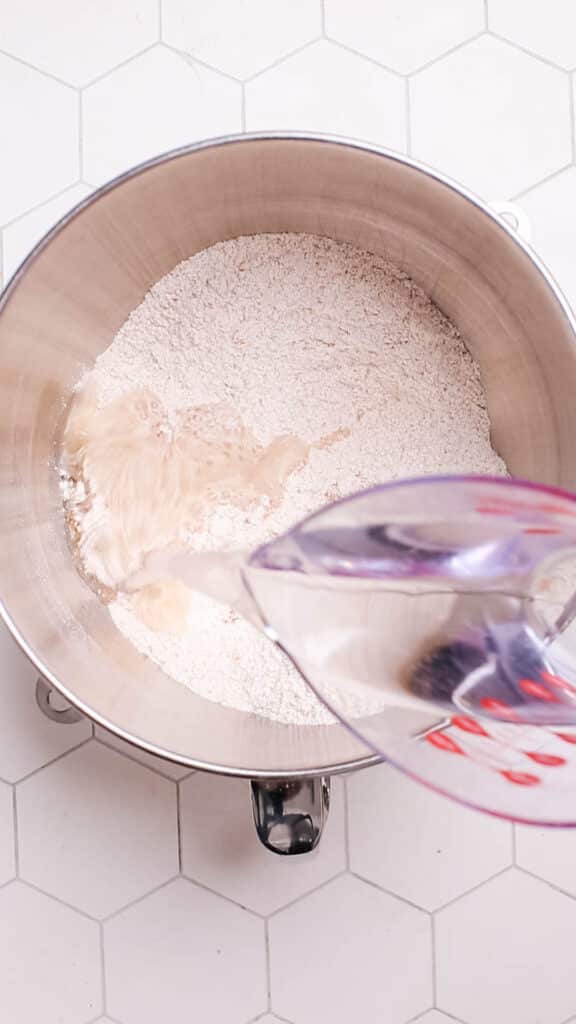
Adding Water and Forming Dough
- Gradually add warm water to the dry flour mixture.
- Mix with a wooden spoon until a dough starts to form.
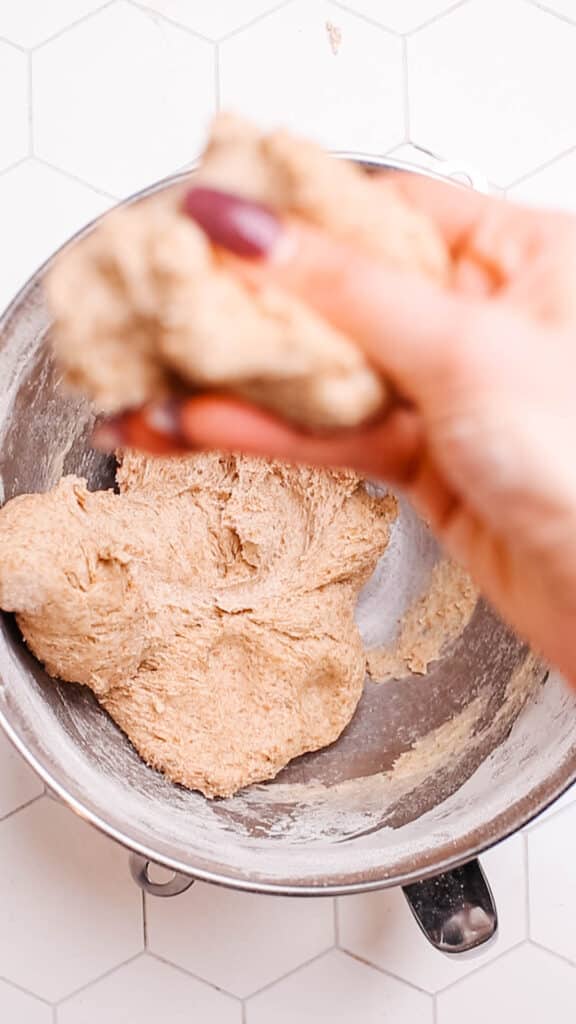
Kneading the Dough
- Knead the dough in the stand mixer on a medium-low setting for about 2 minutes.
- If you’re kneading by hand, do so on a lightly-floured surface for about 8 minutes.
- Check the dough’s readiness by pressing it with your finger.
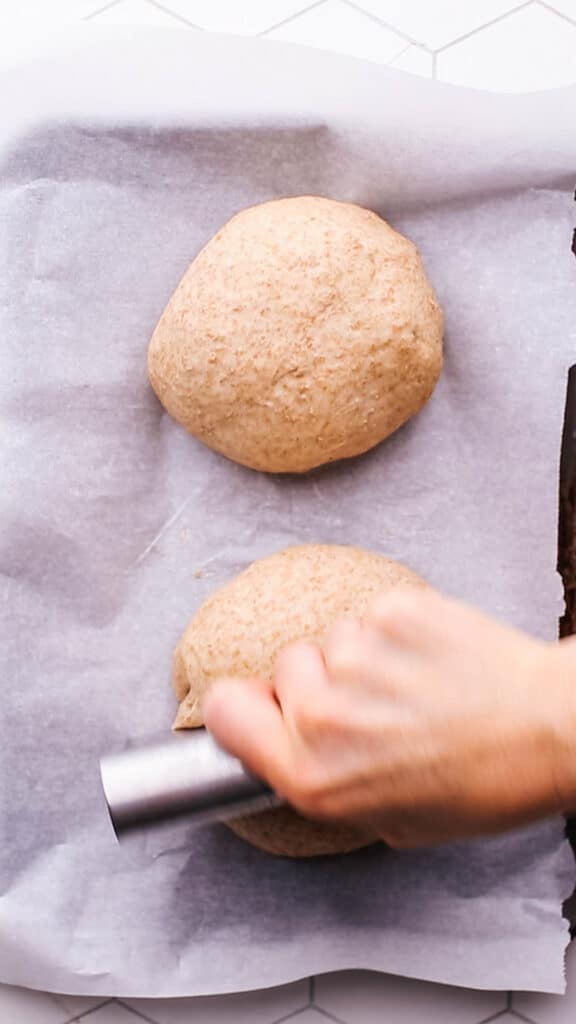
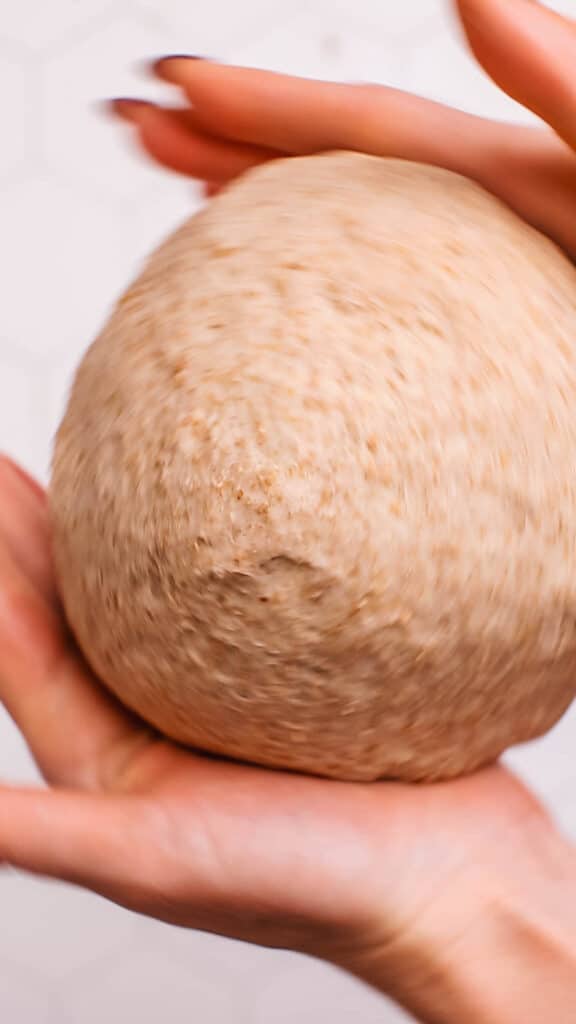
Dividing and Resting the Dough
- Divide the dough into two large balls, and then further divide each into 8 equal parts.
- Roll each portion into a smooth ball and let the dough rest under a damp paper towel or cloth at room temperature.

Rolling Out the Roti
- Take a dough ball and roll it out on a lightly floured surface into a thin circle, about 6 inches in diameter. Shake off excess flour.

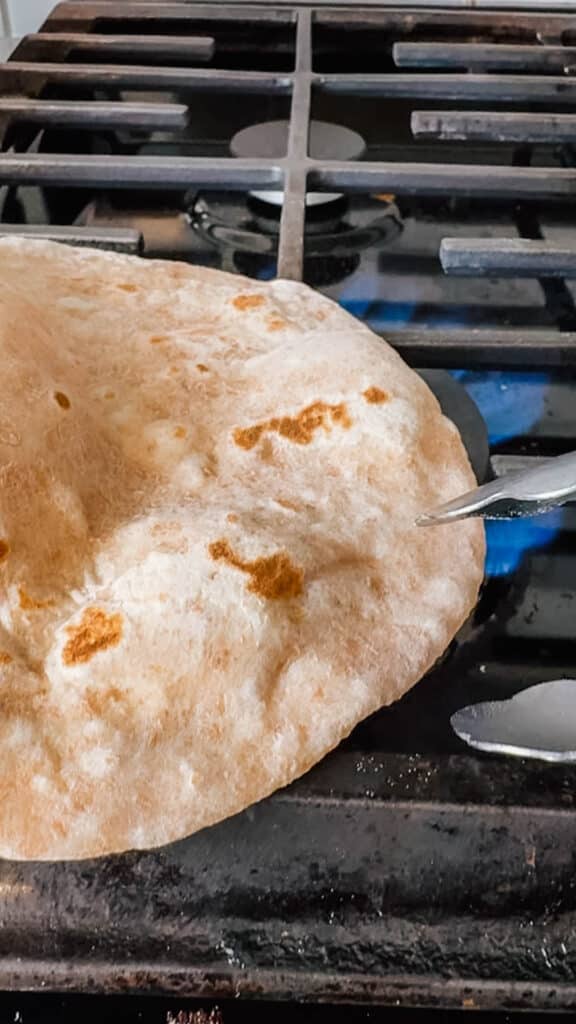
Cooking the Roti
- Preheat a cast iron skillet (tawa or tava in India) or nonstick pan on medium-high heat.
- Cook the rolled-out dough for about 10-20 seconds on the first side until tiny bubbles start to show on the surface.
- Flip and cook the other side similarly.
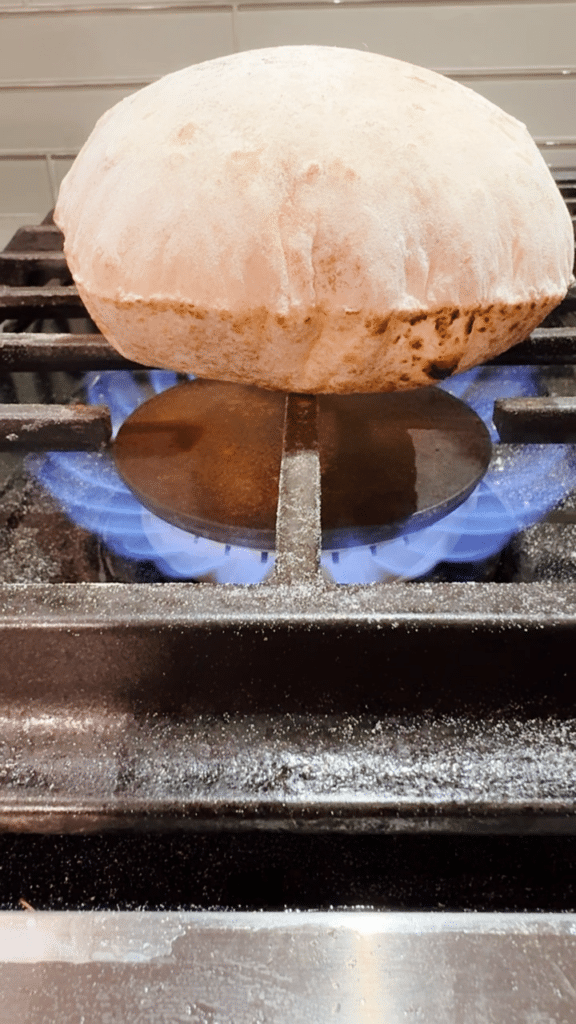
Puffing Up the Roti
- Move the semi-cooked roti to another burner with an open flame. Do this carefully using tongs and constantly turn it until it puffs up.
NOTE: If you don’t have a gas stove, you can finish the roti on the same pan. Just flip it 1-2 more times while continuing to press down on it with the spatula as it cooks. It will puff up in spots, but probably not as dramatically. Keep pressing down with a spatula to encourage puffing.
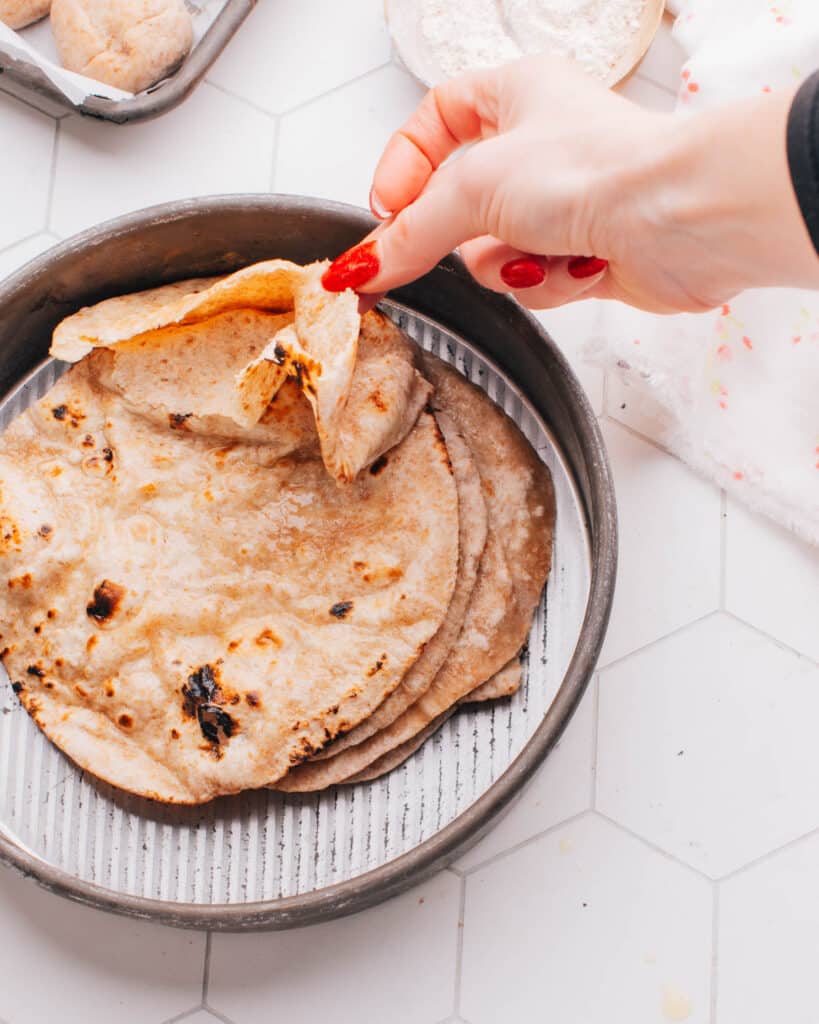
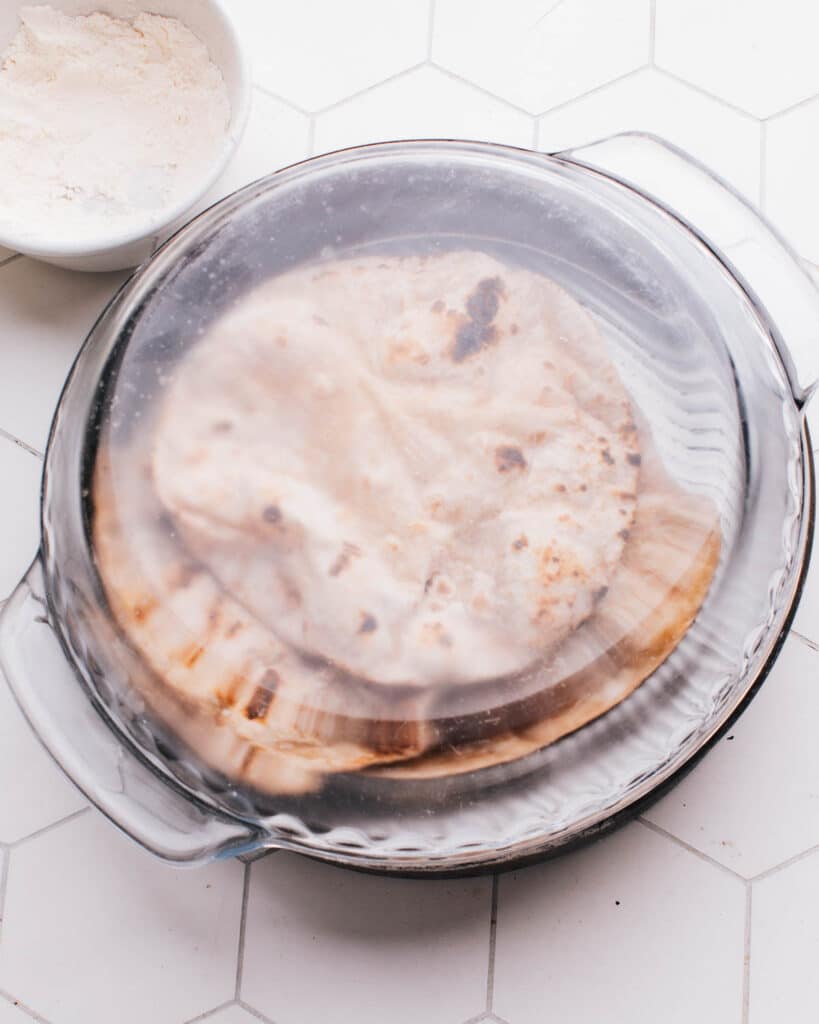
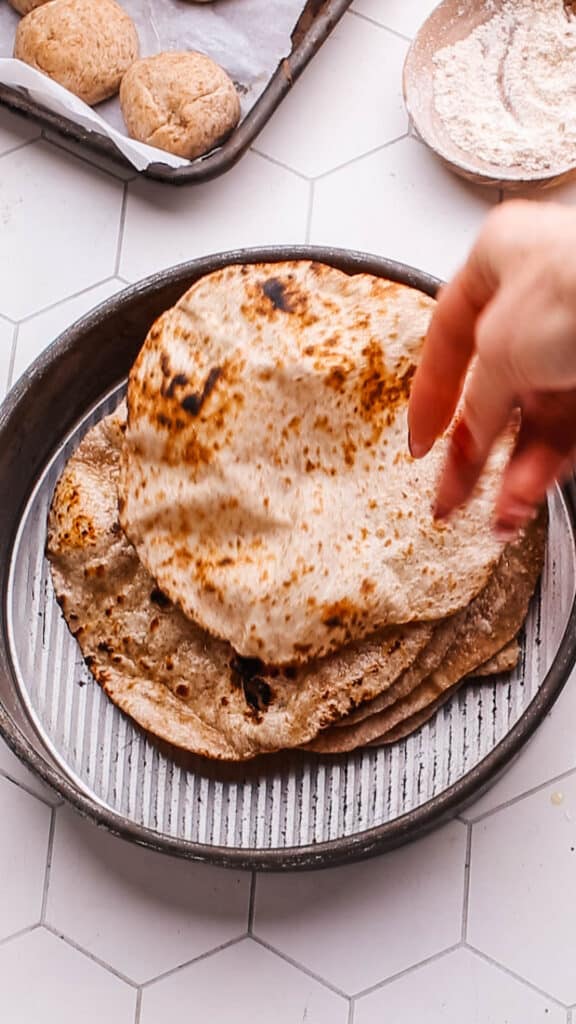
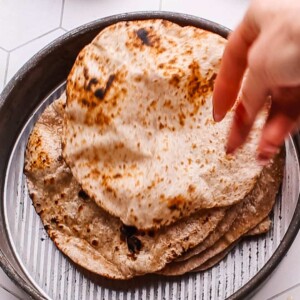
Serving the Roti
- Keep the cooked rotis covered in a bowl to retain their softness until ready to serve.
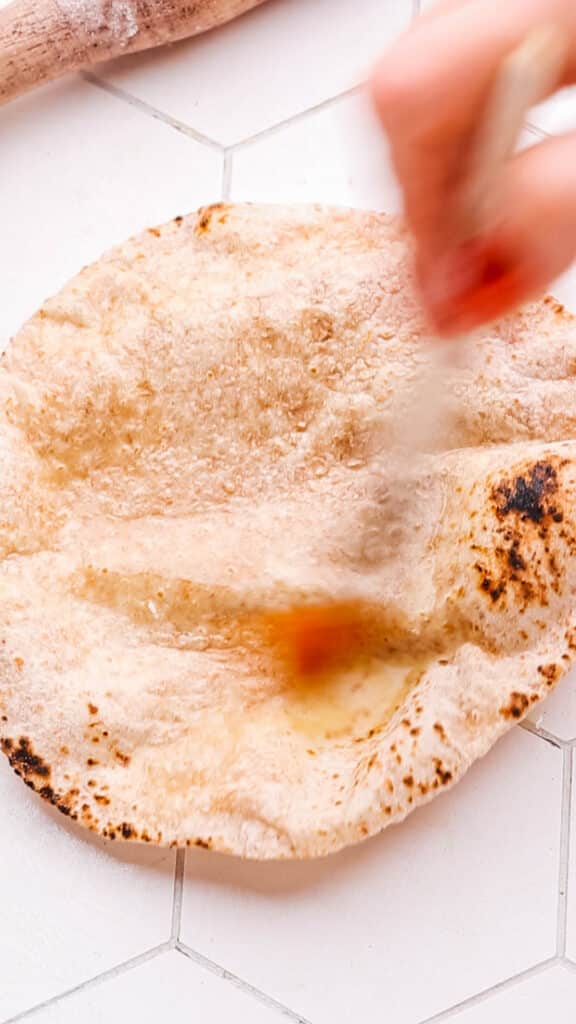
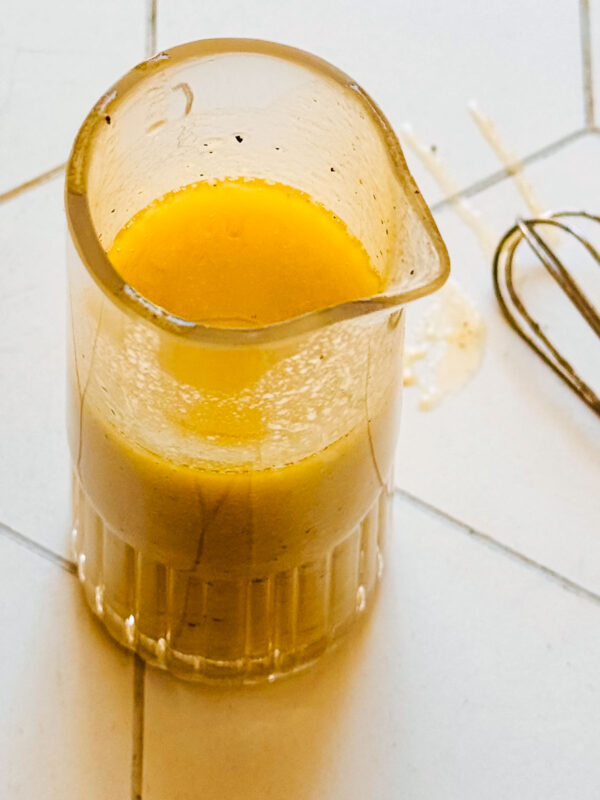
Brush your warm roti with ghee or melted butter to make them extra delicious.
How to Make Rotis Puff Up
Getting rotis to puff up beautifully involves a combination of technique and the right dough consistency. Here are some key tips:
- Dough Consistency: The dough should be soft and pliable but not sticky. Don’t add more flour when it is slightly sticky
- Kneading the dough enough and not too much. I honestly found that kneading for just 2 minutes brought together a smooth, elastic dough that was still soft and pliable enough to puff up without resistance.
- Resting the Dough: Allow the dough to rest for at least 30 minutes after kneading. This resting period helps the gluten relax, making the dough easier to roll out and more likely to puff. If you have time to let it rest longer, even better.
- Rolling Evenly: Roll the rotis evenly. Uneven thickness can cause them to puff unevenly or just in spots.
- Cooking Surface Temperature: The tawa or griddle should be hot but not smoking. A medium-high heat is generally ideal. If it’s too hot, the roti will cook too quickly on the outside and the starch will be too firmly set to expand. If it’s not hot enough, it won’t create enough steam inside the roti to make it puff.
- Flipping at the Right Time: Cook the roti on one side until barely-visible bubbles start to form, then flip it. Let it cook for a few seconds and then flip it again. The roti should start to puff. Sometimes pressing gently with a clean kitchen towel or a flat spatula helps to encourage even puffing.
Remember, getting rotis to puff up is a skill that improves with practice, so keep trying and adjusting your technique as needed.
Make Ahead and Storage
Planning ahead and storing your rotis properly ensures they stay fresh and delicious. Here are some tips:
- Make-Ahead Dough: You can prepare the dough a day in advance and store it in the refrigerator, covered tightly.
- Refrigerating Dough Balls: Formed dough balls can be refrigerated for up to 4 days; just cover them with a damp cloth and store in an airtight container.
- Freezing Dough: For longer storage, freeze the dough balls on a tray and then transfer to a freezer bag. They can last up to 3 months.
- Storing Cooked Rotis: Keep cooked rotis in an airtight container at room temperature for up to 2 days.
- Freezing Cooked Rotis: Wrap cooked rotis in aluminum foil and place them in freezer bags. They can be stored for up to 1 month.
- Reheating: Reheat refrigerated or thawed rotis in a pan or microwave until warm.
5 Common Mistakes When Making Roti
Here are the most frequent mix-ups to avoid when making roti:
- Using Too Much Flour: Adding excess flour while kneading or rolling can make the roti dry and hard.
- Inconsistent Thickness: Uneven rolling results in parts of the roti being undercooked or burnt.
- Overcooking: Cooking roti for too long makes it hard and chewy instead of soft and pliable.
- Ignoring Rest Time: Not allowing the dough to rest can lead to tough roti.
- High Heat: Cooking on too high heat can burn the roti outside without giving it a chance to puff up.
Final Notes, Pro Tips + Science-Based Secrets
Unlock the full potential of your roti with these key takeaways:
- Right Flour: Use finely ground whole wheat flour (atta) for authentic taste and texture.
- Water Temperature: Use warm water to make the dough, as it helps hydrate the bran in the whole wheat flour, making the rotis softer.
- Kneading Properly: A well-kneaded dough leads to softer rotis; it should be soft and pliable.
- Resting the Dough: Allow the dough to rest for at least 30 minutes; this relaxes the gluten and makes rolling easier.
- Even Rolling: Roll the rotis evenly to ensure uniform cooking.
- Medium Heat: Cook the roti on a medium flame for even puffing and cooking.
- Practice Makes Perfect: Making perfect roti is an art that improves with practice, so don’t get discouraged with initial attempts.
FAQs About Roti
Just skimming through? Here are some quick answers to the commonly-asked questions about roti and related Indian breads:
What kind of food is roti?
Roti is a type of flatbread that’s a staple in South Asian cuisine. It’s made from whole wheat flour and is commonly served with curries, vegetables, and meats.
What is roti from Trinidad?
Trinidad roti, influenced by Indian cuisine, is typically a larger, soft flatbread used to wrap curried meat and vegetable fillings, similar to a burrito.
What is the healthiest Indian bread?
The healthiest Indian bread is typically one made with whole grains, like whole wheat roti or chapati, as they contain more fiber and nutrients compared to breads made with refined flour.
Which is healthier, paratha or roti?
Roti is healthier than paratha. Roti is a simple unleavened bread made with whole wheat flour, whereas paratha is usually layered with ghee or butter and sometimes stuffed with various fillings.
What is a healthier alternative to naan bread?
A healthier alternative to naan bread would be whole wheat roti or chapati, as they are made without added fats, made with whole grains, and are thinner and lighter.
What is the difference between naan and roti?
Naan is a leavened, soft, and thick bread made with all-purpose flour, often enriched with ingredients like yogurt, whereas roti is an unleavened, thinner bread made from whole wheat flour and is typically not enriched with additional fats or dairy.
What is roti vs chapati?
The difference of roti vs chapati is that roti is a more encompassing term that includes chapati as well as other regional varieties of flatbread.
In South Indian cuisine, where my husband’s family is from, the name roti is usually interchangeable with chapati.
In other regions, the term “roti” is more prevalent and can encompass a broader range of flatbreads, including those that are thicker, made with different grains, or additional ingredients like vegetables, spices, and herbs mixed into the dough.
Bottom line: While all chapati is “roti”, not all roti is chapati.
Check out below some other Indian dishes
- Life-Changing Chicken Korma
- Paratha (South-Indian flaky flatbread
- Butter Paneer Masala
- The Viral Butter Chicken Recipe
- Saag Paneer
- Coconut Curry Chicken
Super Soft Roti Recipe
Video
Ingredients
- 4 ½ cups whole wheat flour (aka atta, in Indian shops)
- 2 tsp kosher salt
- 1 ½ cups warm water
Instructions
- Mix Dry Ingredients: In a stand mixer bowl, combine flour with salt.
- Add Water: Add water to the flour mixture. Mix with a wooden spoon to form a dough.
- Knead: Knead for 2 min on med-low (between speed 2 and 4 on a 10-speed stand mixer) until dough comes together into a smooth ball OR knead by hand on a lightly-floured surface for about 8 minutes.NOTE: Press the dough with your finger. If it springs back quickly, it's a good sign that it's been kneaded enough. If the indentation stays, it needs more kneading.
- Make Dough Balls: Divide the dough into two large pieces and form them into ball shapes using your hands.
- Divide each ball into 8 pieces (using a knife or bench scraper) by slicing down the middle equally in half, then in quarters, then in eighths, like cutting a pizza. Now you have 16 total roti dough balls.NOTE: I find it easier to form two dough balls to start and cut each into 8 slices than to try to cut one giant dough ball into 16 equal pieces.
- Roll each portion (it’ll be triangle shaped, like 1/8th of a pizza) into a smooth ball between your palms.
- Rest: Cover the dough balls with a damp cloth for 1-2 hours at room temperature or up to 4 days in the fridge.
- Roll Out Roti: Place a dough ball on a lightly floured surface. Sprinkle the the dough ball with a little flour, too. Roll out each ball into a thin circle. It should be about 6 inches in diameter and evenly thin.
- Cook Roti: Heat a cast iron or nonstick pan (or tawa, if you’ve got Indian tools) on medium-high heat for 5 minutes. Once hot, place the rolled-out dough onto the pan. Cook for about 10-20 seconds or until small, subtle bubbles form on the surface.NOTE: If the underside is getting charred spots, the stove is too hot. Reduce the heat a bit and continue.
- Flip: Flip it over and cook the other side for another 10 seconds, gently pressing down on it with the flat part of a spatula. This helps start the puff.
- Puff Up Roti: Once both sides are set (they won’t look shiny anymore and may have a few light golden spots), turn on another burner’s flame. Use tongs to place the roti directly on the flame. Move it around constantly. It should start to puff up within seconds. Once a few large bubbles form, flip and cook on the other side. It should puff up fully after the flip.NOTE: If you don’t have a gas stove, you can finish the roti on the same pan. Just flip it 1-2 more times while continuing to press down on it with the spatula as it cooks. It will puff up in spots, but probably not as dramatically.
- Keep Warm: Place rotis in a bowl or baking dish and cover immediately with a plate or pot cover to trap the steam inside. This keeps them soft. Repeat with the remaining dough.
Notes
Nutrition
Nutrition information is automatically calculated, so should only be used as an approximation.


I just started cooking Indian this year. I’ve wanted to try a flatbread recipe and so glad I found this one. Delish 😋 and easy. (I only had whole wheat pastry flour on hand) The last bunch really started puffing up nicely over the flame. They quickly lose their puffiness though, is that normal? The ones that puffed and then flattered again were decidedly more tasty, not at all chewy. There was some trial and error selecting the right size burner for the flame part, but I’ve got it now. My wife and I had so much fun cooking these rotis. God bless you!
Could you use a mix of wholewheat and besan for this recipe?
Hi Fiona, you could use maybe 1/4 of the flour as besan, but because it is gluten free it won’t make the dough as stretchy or as likely to puff up. It should be soft and tender, though!
I don’t see any quantities in the recipe?
In the recipe box at the bottom of the article 🙂
Your roti recipe was a hit in my house. Thanks for all the minute tips, you’ve really mastered the art of making roti.
Hi Camille, I’m so happy to hear it!
I always struggled with making my rotis puff up, but after trying your method last night, they turned out perfectly.
That’s so great! Yay!
This recipe is authentic and delicious, just like your naan.
Aw shucks. Thank you 🙂
These rotis are so versatile. I made this with your butter chicken masala, which was perfect. My family couldn’t get enough.
That makes me so happy! Thanks for sharing, Sara!
Soft and flaky, just like my mom used to make. Thanks for the nostalgia trip!
Aww, shucks! That fills my heart right up.
Just tried making these and had a question. I’m an avid baker and the dough felt a bit stiff when I made it. I used King Arthur whole wheat flour and I’m wondering if perhaps it was that? When I put it on the open flame I got some larger bubbles on the first side but didn’t get the full puff. Thoughts?
Hi Caroline, when you say the dough felt stiff, do you mean you had trouble rolling it out thinly? Or that it was dry?
If it was firm in a way that you had trouble rolling it out, my first guess is either it has been kneaded longer than it needed to be (this dough TRULY only needs the 2 minutes noted in the recipe card) and/or it needs to be rested for longer.
If it felt stiff as in dry, it could be the flour. Flour hydration is influenced by how long it has been stored and with how much humidity, so it can take a bit of trial to get the amount of water just right. The dough should be sticky enough to need flour for rolling out, not dry. Was it sticky like that?
I kneaded the dough as per the recipe and it was not sticky and soft. I then rested it over 2 hours with the hopes that it would relax more but I think the flour itself could be the issue. The dough was not sticky. It was drier and stiffer. Certainly not like other bread dough I make. Do you recommend a particular flour?
If the KA flour was stone ground, there might have been more chafe than is in atta flour, which I believe is a much finer whole wheat.
I use Whole Foods 365 brand Whole Wheat Flour.
Next time add a little more water (maybe 2 tbsp). It should be really tacky after kneading but once hydrated fully after resting, it’s easy to roll out without sticking.
You can always add more flour while rolling out if it’s hard to work with – it’s much harder to add more water later. Let me know how it goes for you next time!
So, in the video, you added butter along with the water to the flour, but the recipe does not all for melted butter to make the dough.
Thanks for noting that, Kate! That part of the video footage was from a previous trial where I used oil in the dough. I’ll fix the video. Consider it proof of multiple tests! Hah.