How to Make Paneer at Home (Step-By-Step Guide + Easy Recipe)
Updated Feb 18, 2025
Wondering how to make paneer at home? Then you’re in luck. This easy homemade paneer recipe requires only 3 ingredients, about 10 minutes of time and almost no kitchen skill. Follow along as I show each step along the way to making your very own paneer at home with milk.
Paneer 101
If you’re here, you probably already know what it is, but nonetheless, paneer is a fresh cheese that’s a staple in Indian cooking.
It’s incredibly versatile, making it a favorite for many vegetarian dishes. You’ll find it adds a lovely texture to curries and is great for grilling.
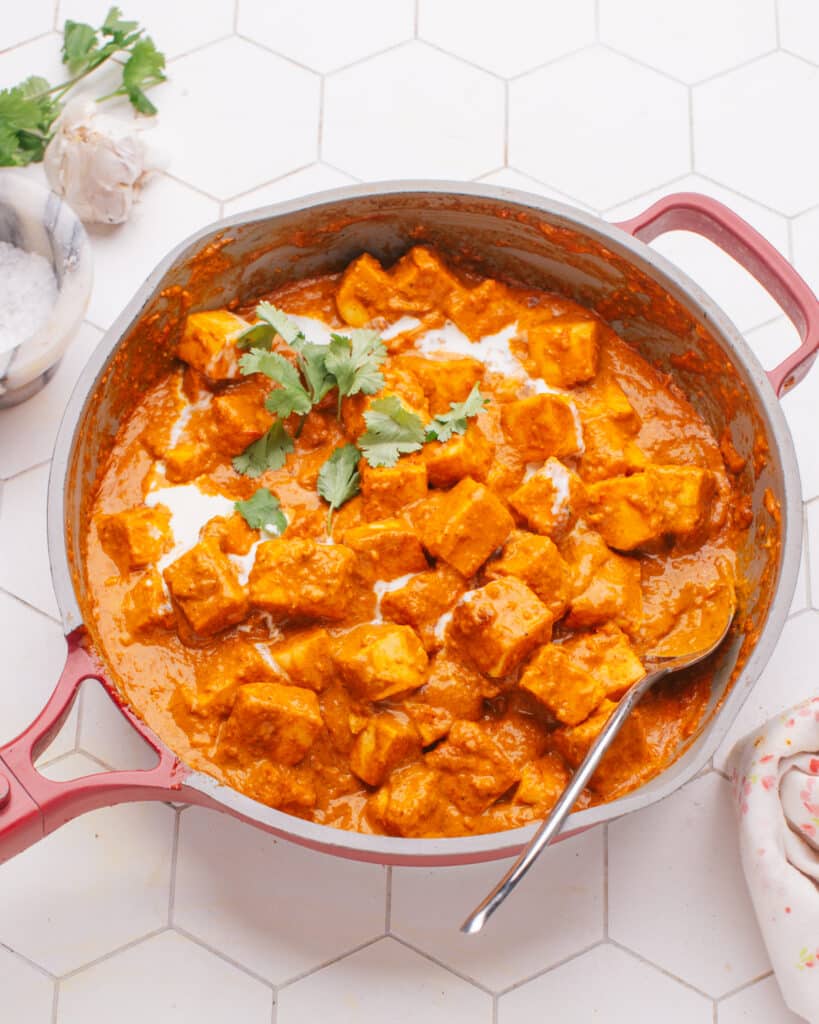
Paneer itself is milky, chewy, and delicious in curries (like Saag Paneer, Butter Paneer and Malai Kofta, for example). It’s also used in snacks (try my marinated paneer on skewers and grill it!) and desserts.
It’s a fun process that involves making curdled milk with citric acid from lemon juice. After you drain out the liquid, you press the solids into a firm block. And voila!
This homemade version of Indian cottage cheese is fresher and has a tastier flavor than what you’d find at the store.
Here’s what You Need
Homemade Paneer Ingredients
Making paneer at home is surprisingly simple and requires just three ingredients:
- Whole Milk: (a.k.a. homogenized or full fat milk). Cow’s milk is typically used, but buffalo milk works, too.
- Lemon Juice: This acidic ingredient acts as a coagulant, separating the milk into curds and whey. You can alternatively use yogurt, buttermilk, or vinegar
- Salt: optional, but I like a pinch of salt to season it.
Variations and Substitutions
Making paneer at home allows for some flexibility. Here are a few tweaks you can try:
- Yogurt instead of Lemon Juice: Yogurt is less acidic, so start with ½ cup and add more if needed to make the milk curdle.
- Vinegar: A direct swap for lemon juice, use the same amount for curdling the milk.
- Heavy Cream: For a richer paneer, mix in up to ½ cup with your milk before heating.
Related: Tofu vs. Paneer and Halloumi vs Paneer
Kitchen Equipment You’ll Need
Making paneer requires a few basic kitchen tools. Here’s what you’ll need.
- Large stockpot: For heating the milk. Make sure it’s big enough to prevent spills when the milk froths up.
- Cheesecloth or tea towel: Essential for straining the curds from the whey. A fine mesh strainer won’t work as well here.
- Heavy skillet and cans: These act as weights to press the paneer into a firm block. The more pressure, the firmer the paneer.
Store-bought paneer, however, can sometimes be a bit rubbery in texture and contain additives.
Enough small talk.
Let’s make homemade paneer!
How To Make Paneer: An Easy Step-by-Step Guide
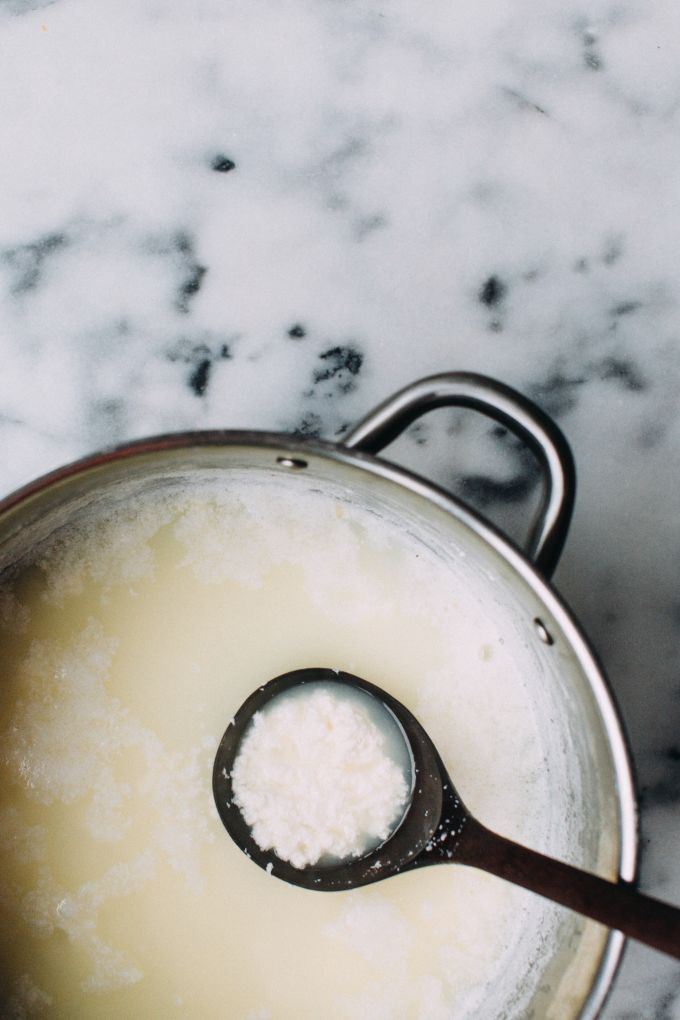
- Bring milk to a boil So to start, all you do is bring milk to a boil in a large pan and stir in lemon juice (or substitue vinegar). The curds and whey will separate.
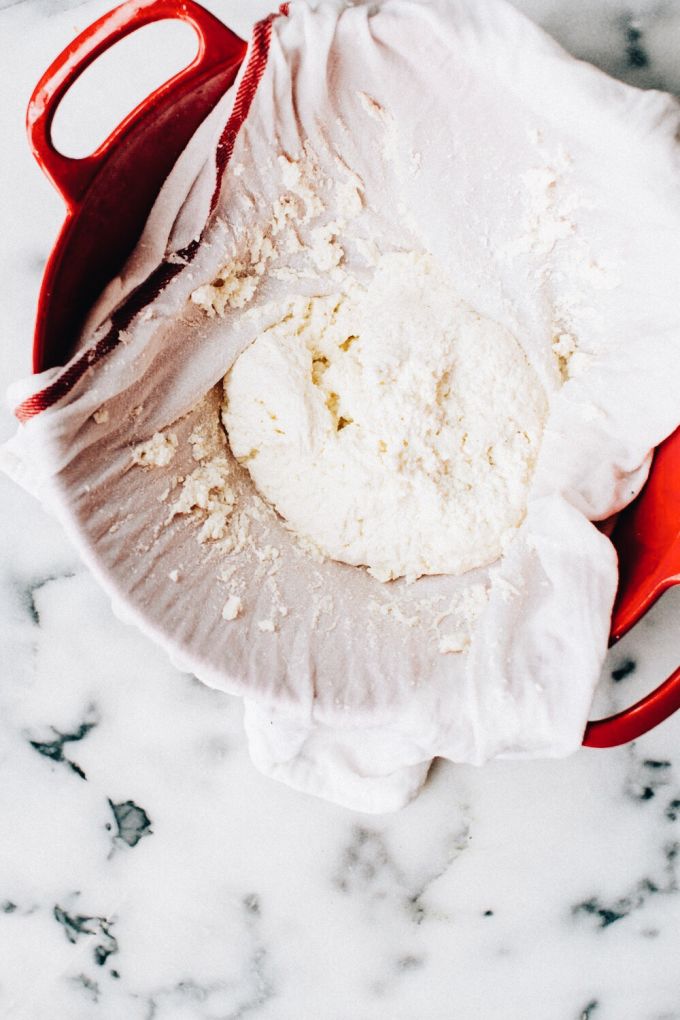
2. Next, strain the curds in cheesecloth (or muslin cloth, or a clean, fairly open-weave dishtowel, as pictured) to get rid of most of the moisture.
3. Add salt. (You did it! It’s already cheese!)

4. Now, place the wrapped-up paneer dough on a paper towel-lined plate and weight it down with a skillet and some cans of tomatoes (or whatever you have on hand – a pot full of water, your toddler, a small dog; heavy-ish is the only requisite quality).
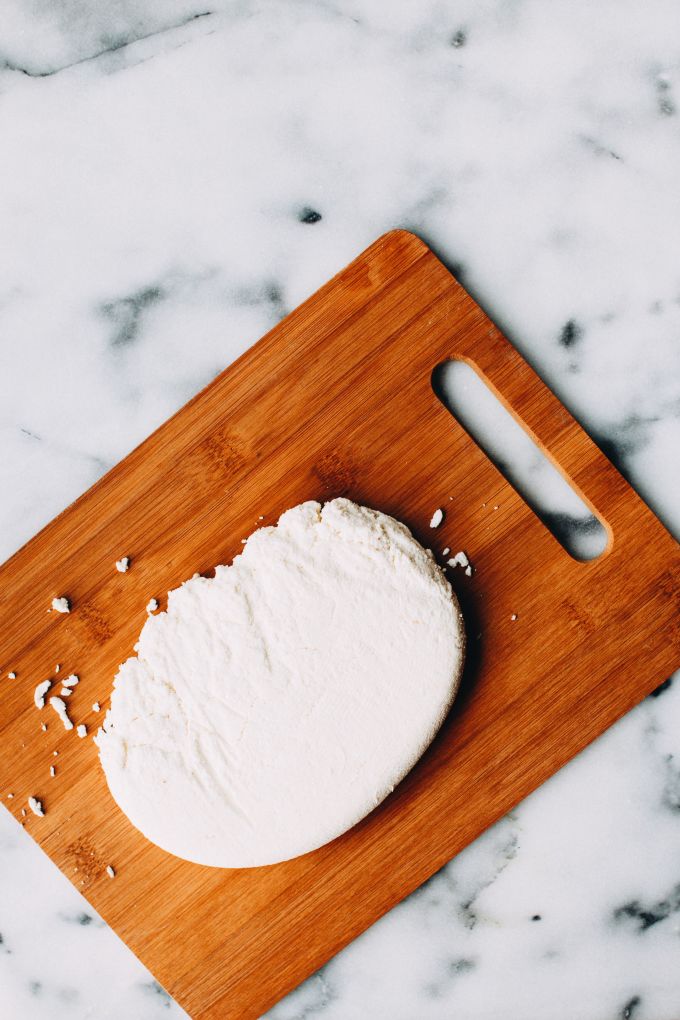
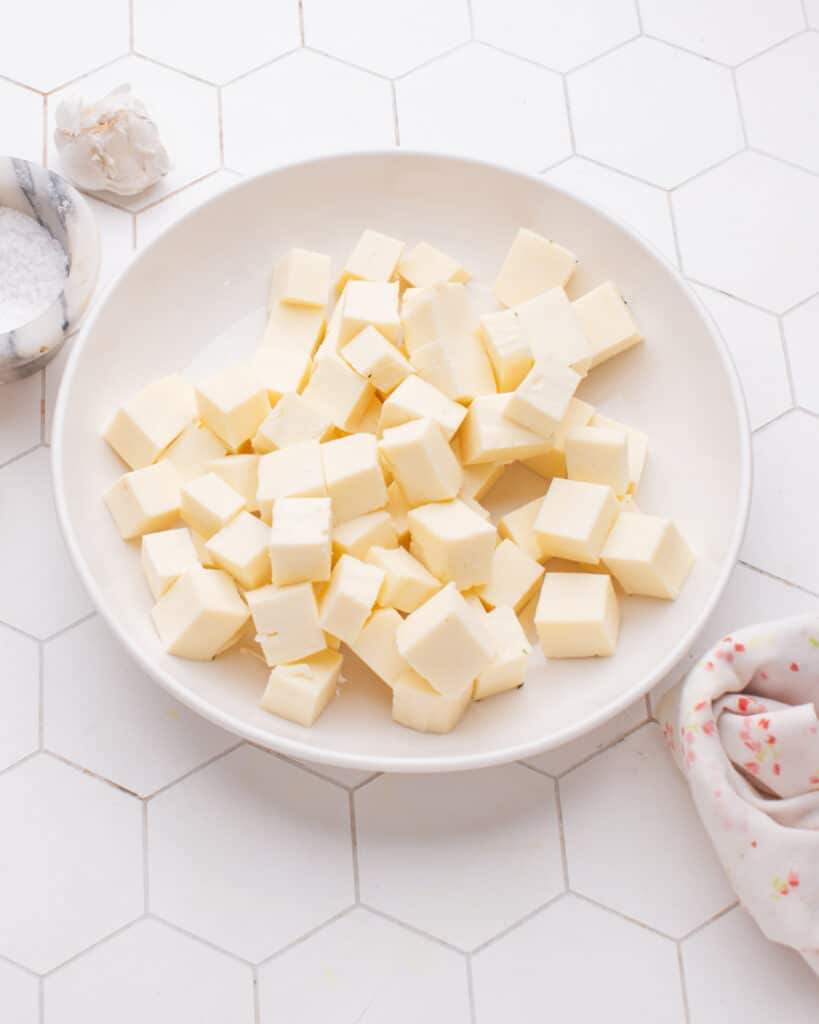
5. Drain for 20 minutes, and it’s ready to use!
So easy, but nobody has to know that (except for those with whom you share the recipe – and please do).
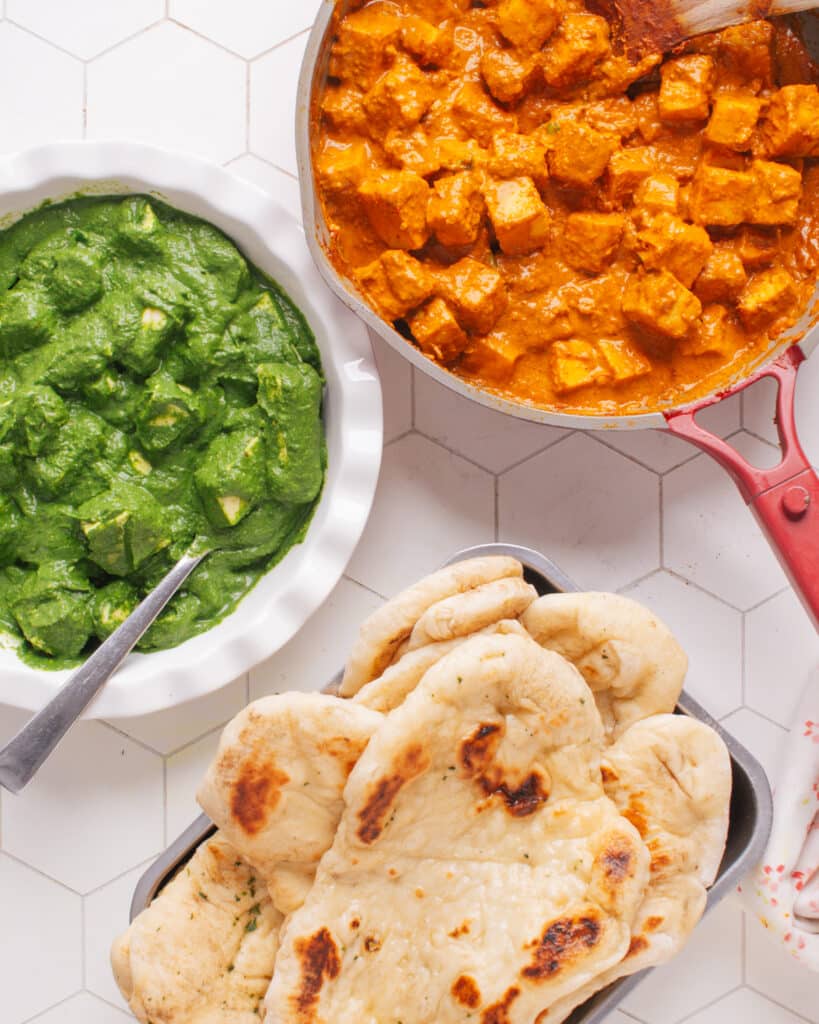
But the best part (other than pinching pieces of soft, buttery paneer with warm, chewy naan) is you get the satisfaction of casually slipping “last night, when I was making cheese” into your conversations. It just feels good.
Homemade Paneer Recipe Make-Ahead and Storage
Paneer is great for preparing in advance and can be stored easily. Here’s how:
- Make Ahead: Wrap the paneer block in plastic wrap or place it in an airtight container. It will keep for up to a week.
- Refresh Before Use: If the paneer feels hard, soak it in warm water for 5 minutes. This will bring back its soft texture.
Can You Freeze Paneer?
Yes, you can freeze paneer! It holds up well in the freezer, but the texture can change slightly—it may become a bit more crumbly after thawing. Here’s how to freeze it properly:
- For Whole Blocks – Wrap the paneer tightly in plastic wrap or place it in an airtight container before freezing.
- For Cubes or Slices – Spread the pieces out on a baking sheet to freeze individually before transferring them to a freezer bag. This keeps them from sticking together.
- For Grated Paneer – Store it in a zip-top bag with as much air removed as possible.
To use frozen paneer, thaw it in the fridge overnight or place it in warm water for about 30 minutes. If it seems dry after thawing, soaking it in warm water for a few minutes can help restore some moisture.
Freezing works best for dishes where paneer is cooked in a sauce, like curries, since slight texture changes won’t be as noticeable.
FAQs About Making Paneer at Home
Just skimming through? Here are some quick answers to the commonly-asked questions.
How is paneer prepared?
Paneer is prepared by heating milk until it boils, then adding an acid like lemon juice to curdle it. The curds are then pressed into a block.
Is homemade paneer good?
Yes, homemade paneer is often fresher and more flavorful than store-bought varieties. It’s also customizable in terms of firmness and fat content.
Are cottage cheese and paneer the same?
No, cottage cheese and paneer are not the same. Paneer is pressed and can be sliced or cubed, whereas cottage cheese is much softer and has a creamier texture.
Related: Cottage Cheese Vs Paneer: Everything to know about substituting them.
How much paneer does a gallon of milk make?
A gallon of milk (about 3.8 liters) typically makes about 1.5 to 2 pounds of paneer, depending on the milk’s fat content and how much whey is drained.
Is it cheaper to make your own paneer?
Yes, making your own paneer can be cheaper than buying it, especially if you use regular milk instead of organic or specialty milks.
How much paneer can I make from 1 Litre milk?
From 1 litre of milk, you can expect to make about 200 to 225 grams of paneer, depending on the milk’s fat content.
Does homemade paneer melt?
Homemade paneer doesn’t melt like other cheeses but it softens when heated, making it perfect for cooking in sauces or grilling.
Is store bought paneer good?
Store-bought paneer can be good, especially if it’s fresh and from a reputable source. However, homemade paneer usually offers a fresher taste and a more satisfying texture.
Can I use low-fat milk to make paneer?
Yes, you can use low-fat milk to make paneer, but the yield will be lower and the paneer will be less creamy than when made with whole milk.
What’s the best acid to use for making paneer?
Lemon juice is the most popular acid for making paneer, but vinegar or yogurt can also be used, each giving a slightly different flavor and texture. I like the flavor best with lemon juice.
How long does it take to make paneer?
Making paneer takes about 30 minutes of active time, plus additional time for pressing the curds, typically around 1 to 2 hours total.
Dishes To Use Your Homemade Paneer
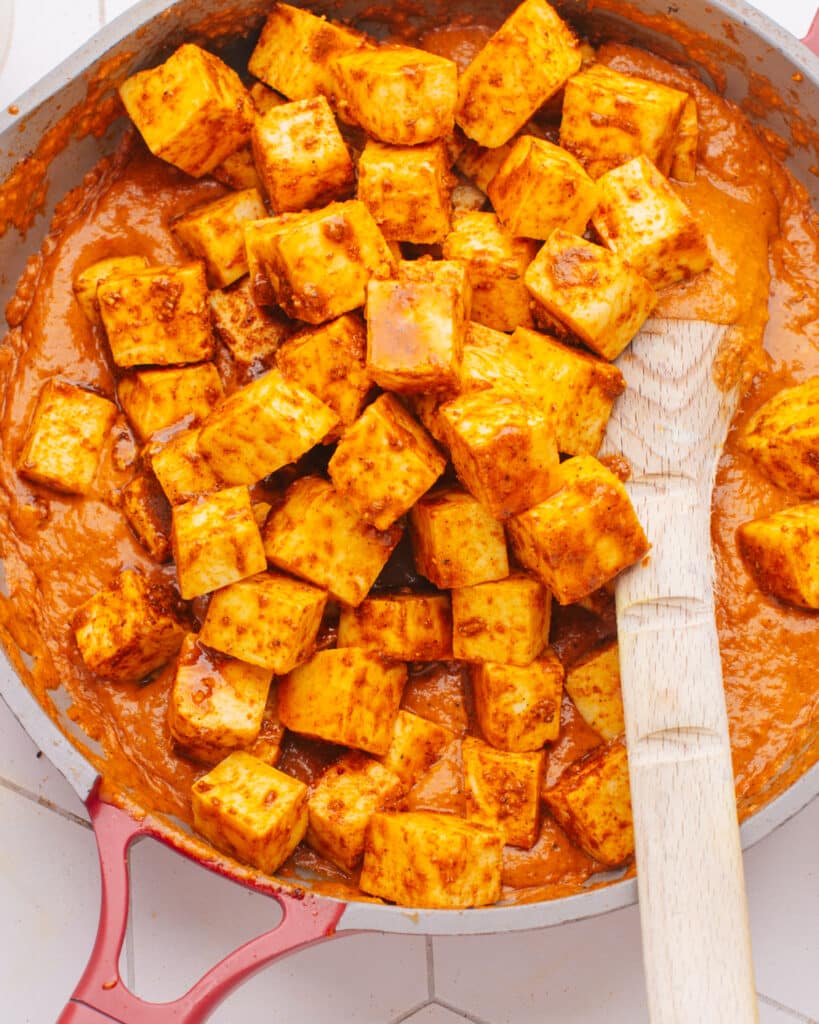
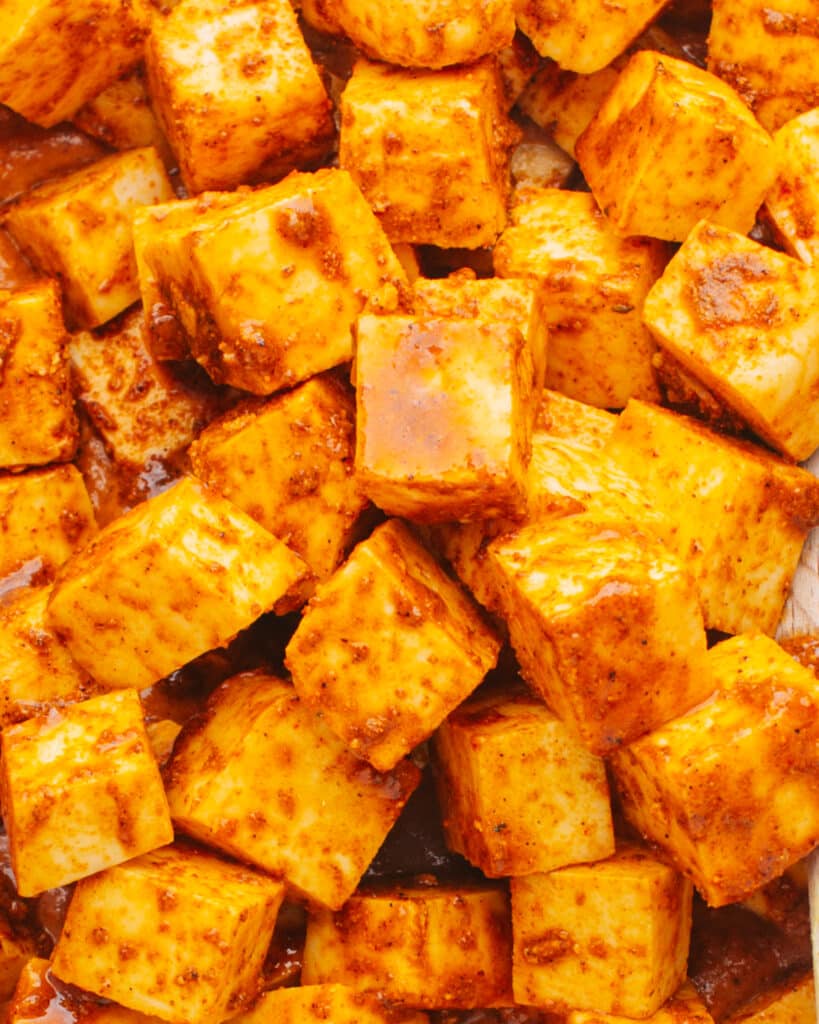
Paneer cubes are perfect in a rich, Indian gravy served with easy basmati rice or roti. Here are a few of my favs!
- Paneer Butter Masala
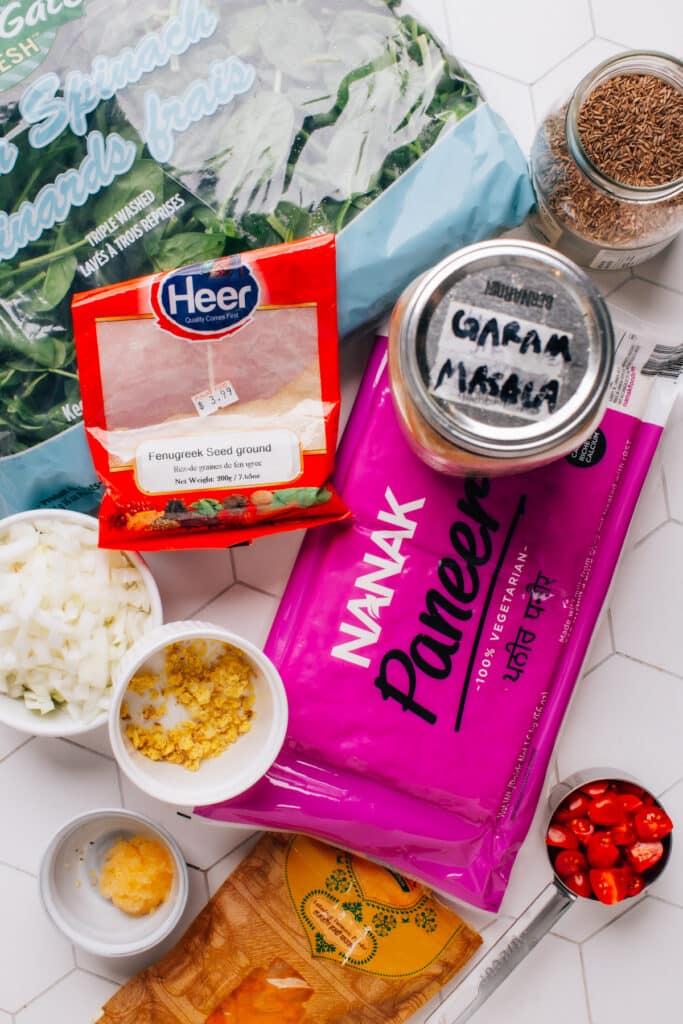
- Saag Paneer
- Malai Kofta
- Palak Paneer
- Any one of these 52+ Delicious Paneer Recipes including Paneer Tikka Masala, Matar Paneer, Malai Paneer, Paneer Jalfrezi (with onions and peppers) and Paneer Makhani.
Next reading: How to Marinate Paneer.

How to Make Paneer at Home (Step-By-Step Guide + Easy Recipe)
Ingredients
- 12 cups whole milk
- ¼ cup lemon juice
- good pinch of salt to taste
Instructions
Boil the Milk
- Heat milk over medium heat in a large stockpot until it comes to a boil. Watch closely as soon as it starts to steam, as it will froth and overflow quickly after it boils.
- As soon as it boils, remove from heat and add lemon juice. Stir for about 30 seconds, as the milk starts to curdle (if it doesn't, add another tablespoon of lemon juice – but it almost always does).
- Let stand 10 minutes.
Drain the paneer
- Line a colander with cheesecloth, muslin or a clean towel.
- Pour the curdled mixture carefully into the cloth-lined colander and let it stand for a few minutes.
- When most of the liquid has drained, rinse it a bit with cold water (to get rid of the lemon flavour).
Squeeze and press the paneer
- Pick up corners of the cloth and twist into a ball, squeezing as much moisture as possible from the paneer.
- Open and stir in a pinch of salt; taste, and add more if desired.
- Wrap it up again and squeeze it tightly. Make a knot in the cloth.
- Place the cloth-wrapped paneer on a paper towel-topped plate with the knot to the side. Press it down to flatten it (this ensures a nice, flat brick of paneer).
- Put a heavy skillet on top, then a couple of large cans. Allow paneer to drain like this for 20 minutes, then cut and use as desired.
Nutrition
Nutrition information is automatically calculated, so should only be used as an approximation.


Easy recipe. Looking forward to trying it. I plan to add spices and herbs to my paneer. Will it still turn out good?
Hi Wanda, I’ve never added spices and herbs directly to the paneer itself – always in the sauce or marinade. I’m sure if done right it’ll be tasty! Let me know what you try! 🙂
What can be done with the whey please?
There are a couple of ways I like to use whey after making paneer. I like to add it to my smoothies or protein shakes, or use it to cook oatmeal for an extra boost of nutrition and protein.
As someone who loves Indian food, learning how to make paneer at home was so satisfying. Turned out perfectly!