Artificial Light for Food Photography: An Easy, Inexpensive Set-Up for Beautiful Images
Sep 28, 2018
A simple guide to using artificial light for food photography (and other things!) in a beautiful way that mimics natural light. It’s a cheap-and-easy set-up you can put together and tear down quickly.
I was wrong for my first half-decade of doing food photography. I believed natural light the only flattering light for food. But one winter day, as I was chasing the last rays of sunshine, I grew desperate for another option.
I had a hunch that I was simply missing out on some big, juicy secret to using artificial light for photography to take pictures that were artistic and pretty and mimicked natural light. 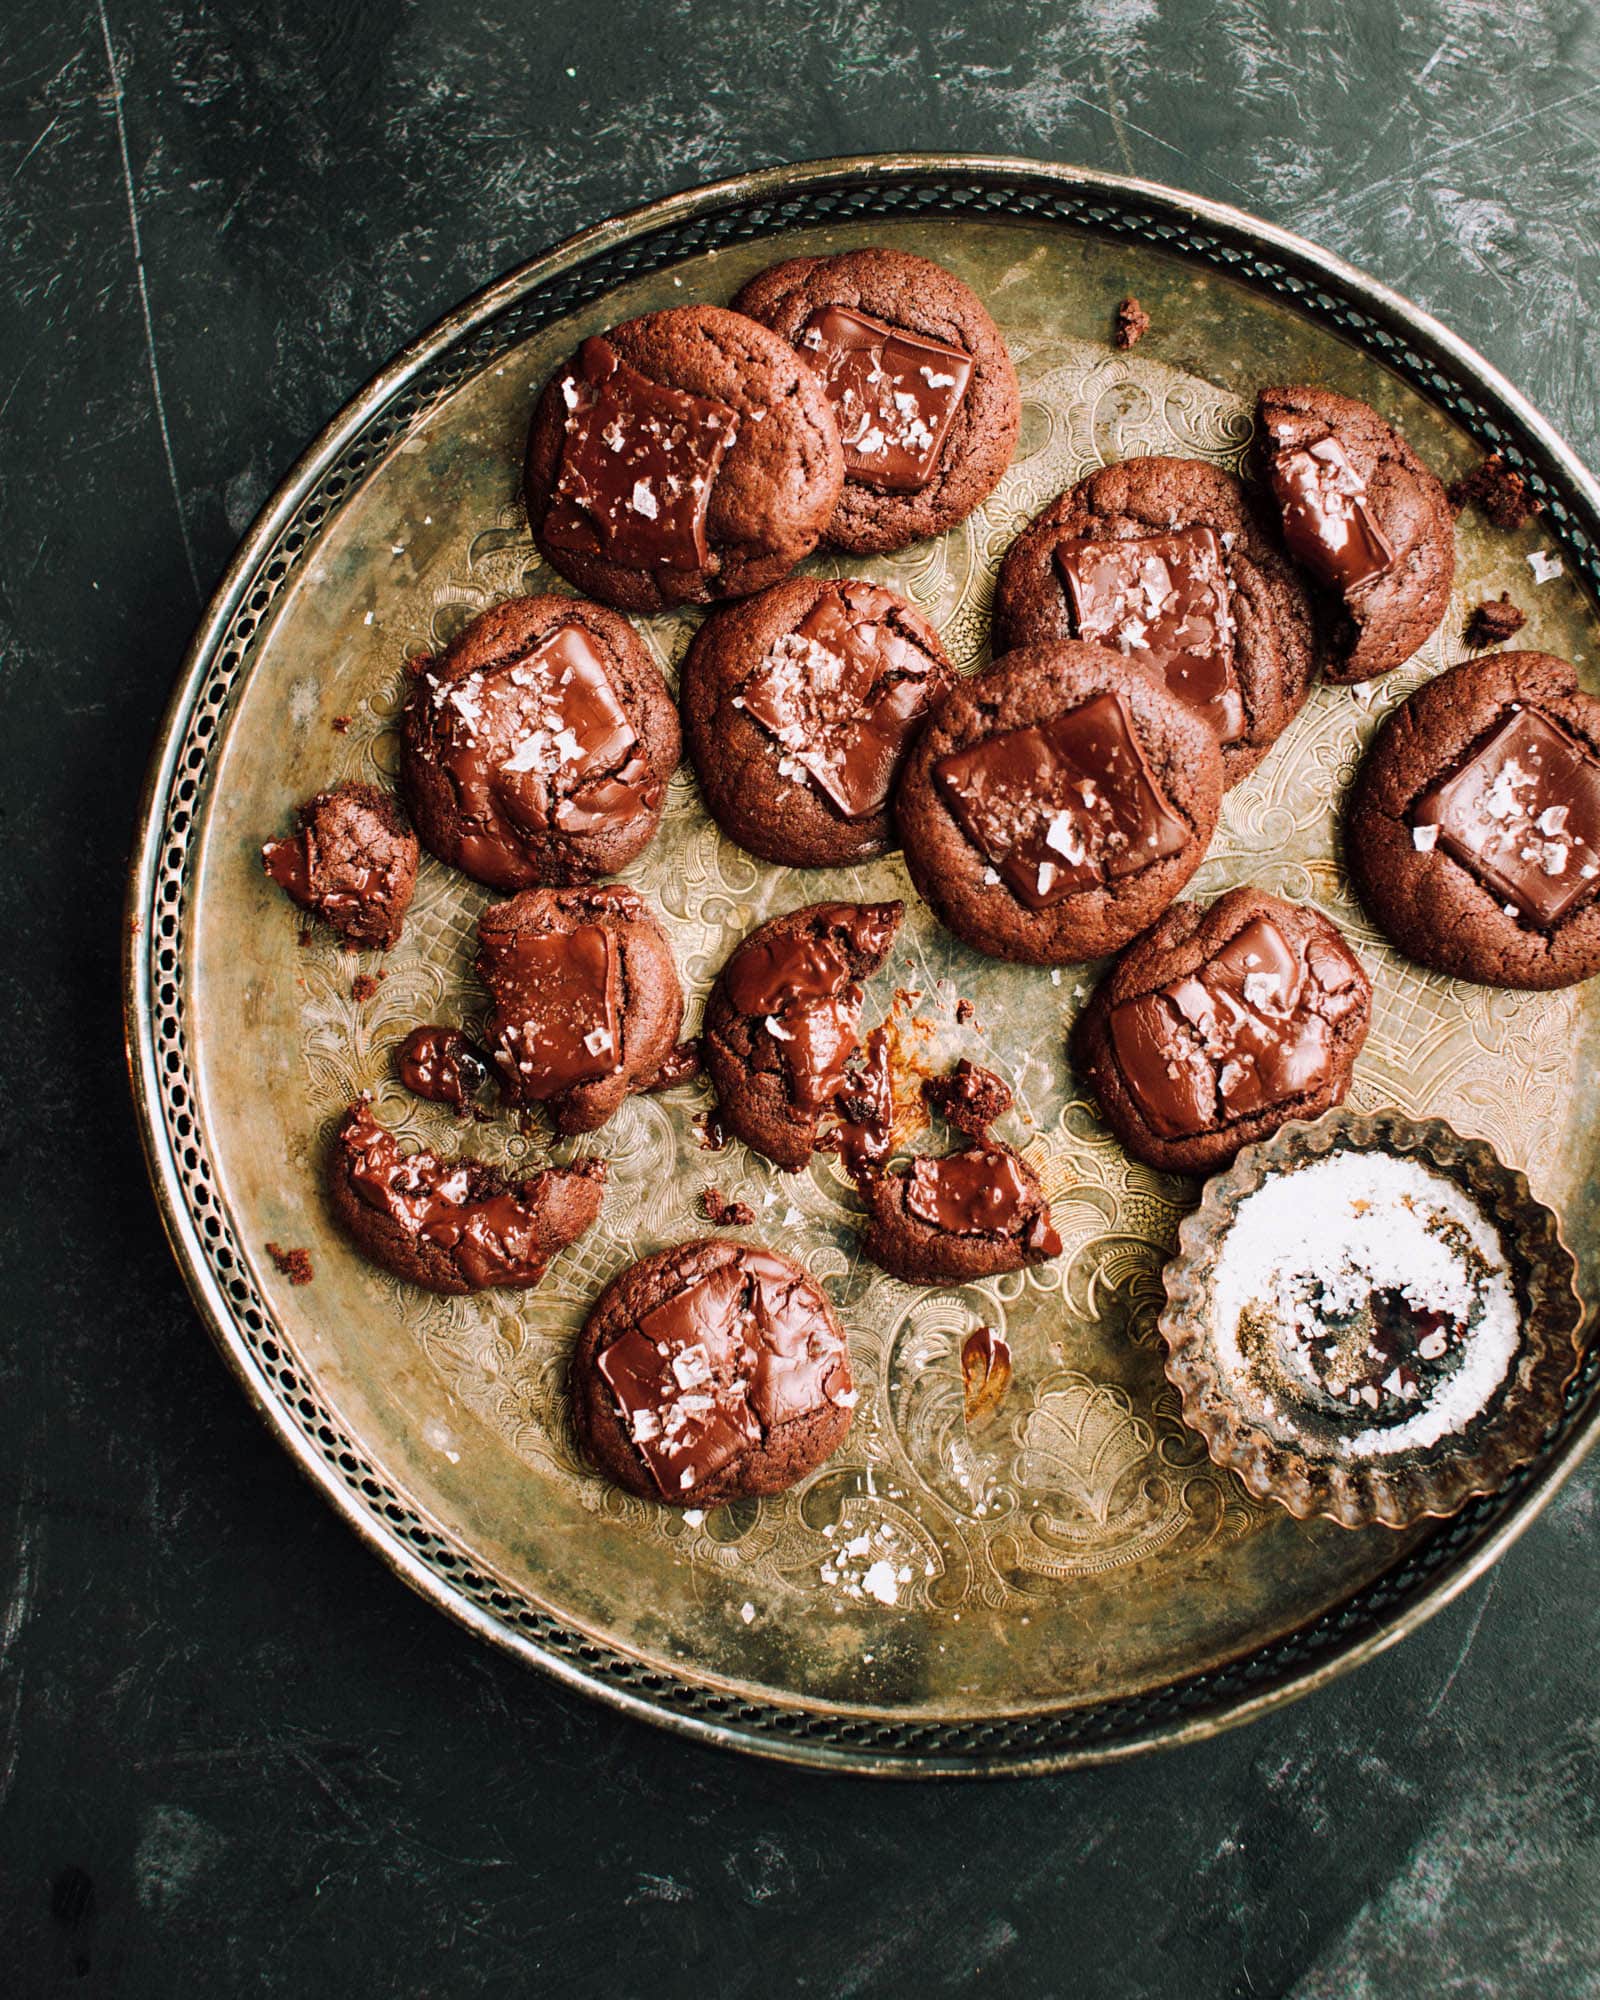
My initial search was disappointing. I couldn’t find good information on the web on using artificial light for food photography specifically. But I didn’t give up. I had in important AHA! moment when I realized that, duh, it’s the same soft light needed to flatter humans or hot blueberry pie. SO I proceeded to learn everything I wanted to know from talented portrait photographers.
I embarked on a two-year-long dive. I learned everything I could from books, blogs and YouTube about artificial light for taking photos of people. Specifically, I sought to learn how some photographers create a soft, natural-light-mimicking glow in a studio.
After much trial and error (okay, much, much, MUCH trial and error) I feel like I’ve finally figured it out.
I’ve nailed down my personal technique for creating pretty, natural-looking light with artificial light for food photography.
And I’m going to share all of the juicy secrets with you. In hopes that you can save yourself the worst of the mistake-making and jump straight to the beautiful-photo-making! Of course, I am very much still learning. I’m simply inviting you to join me where I’m at in my creative journey.
I’m going to start by sharing the simplest, cheapest, total hack of a setup.
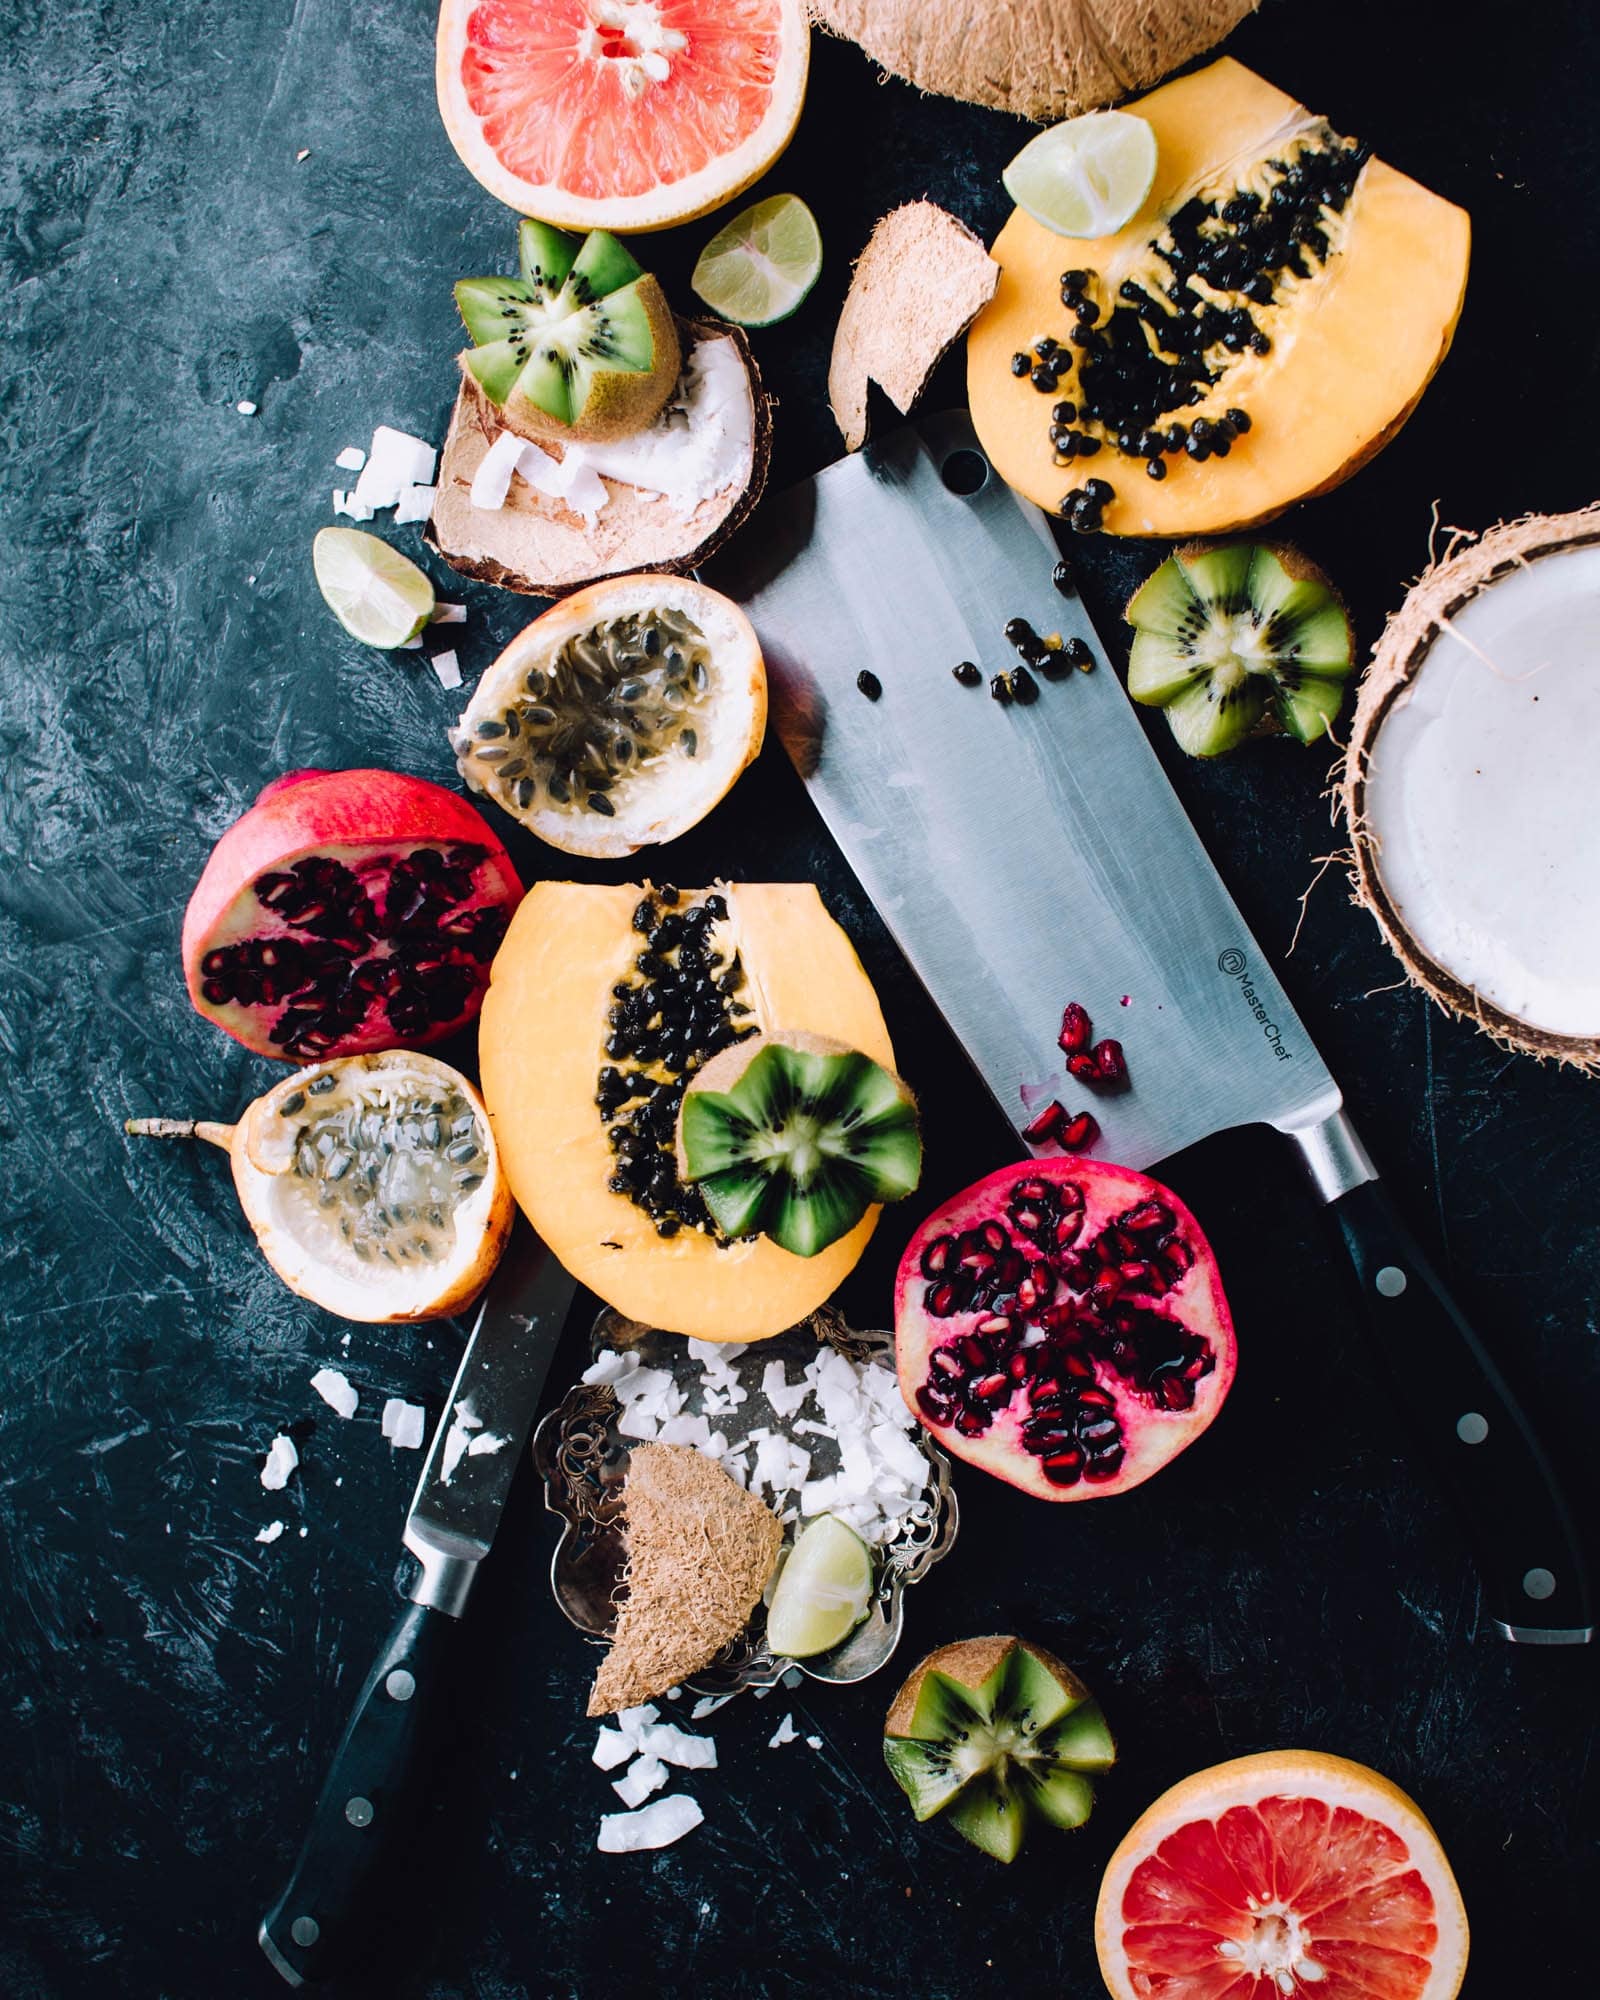
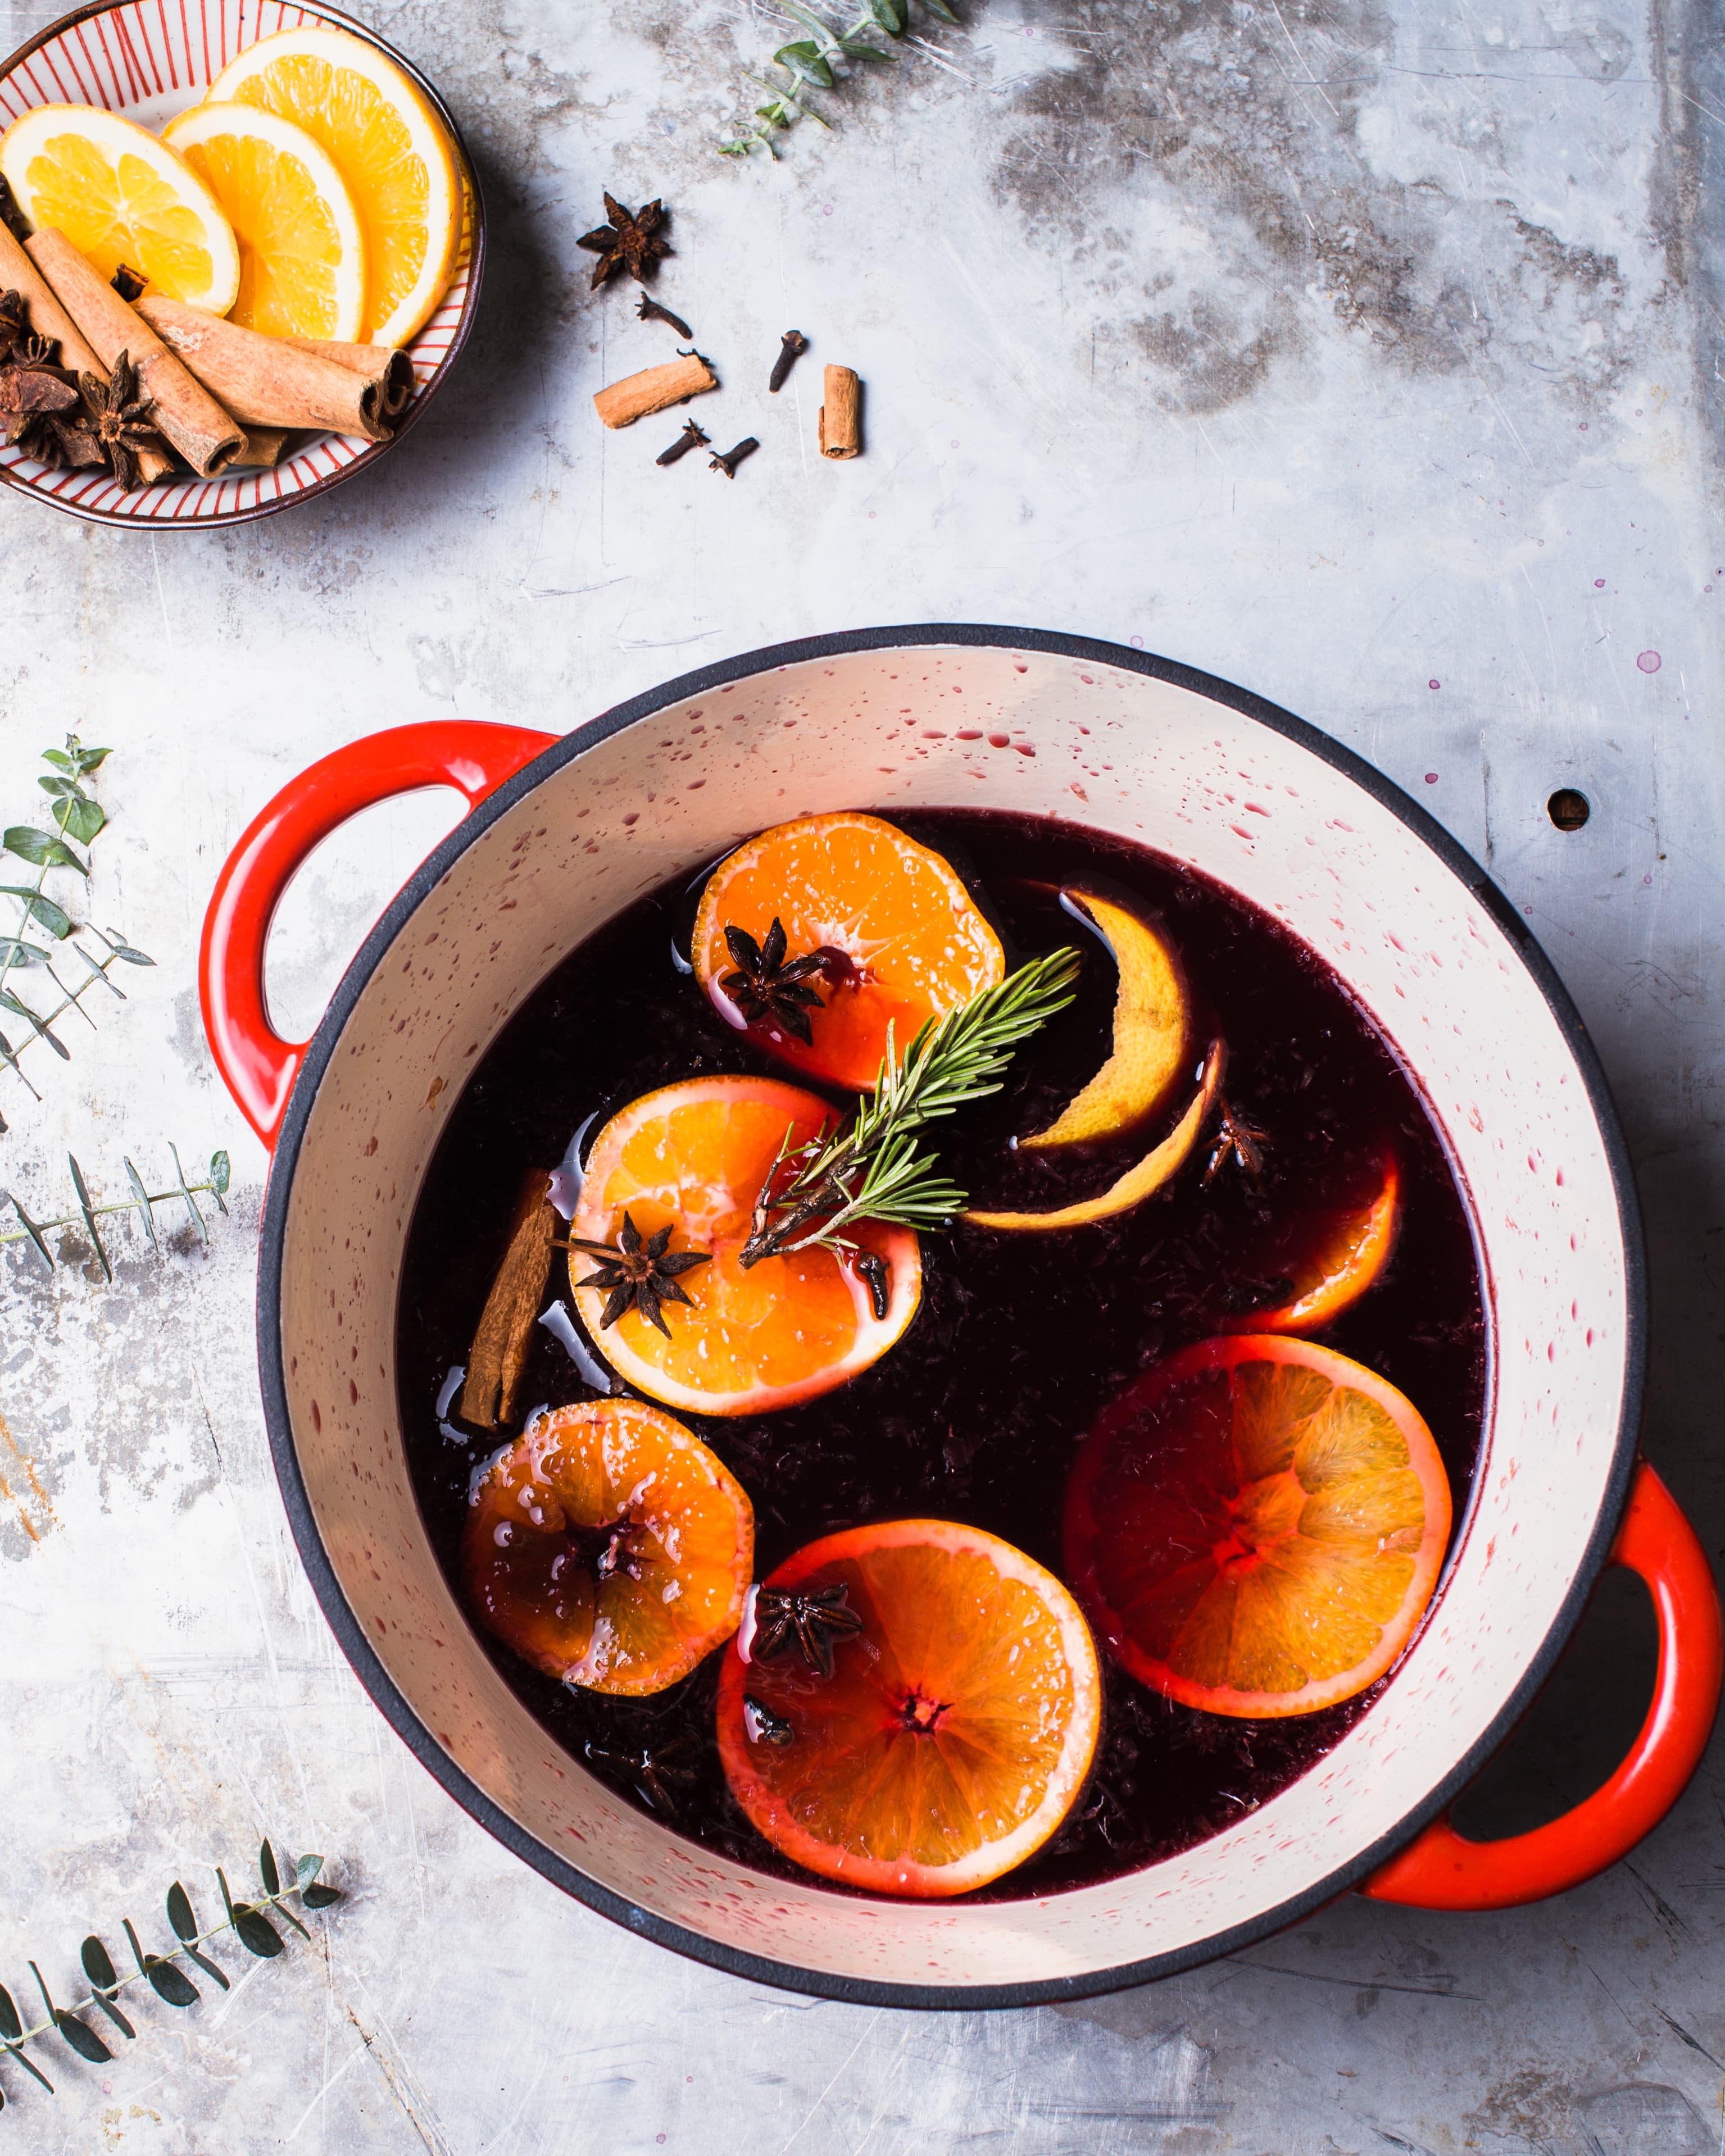
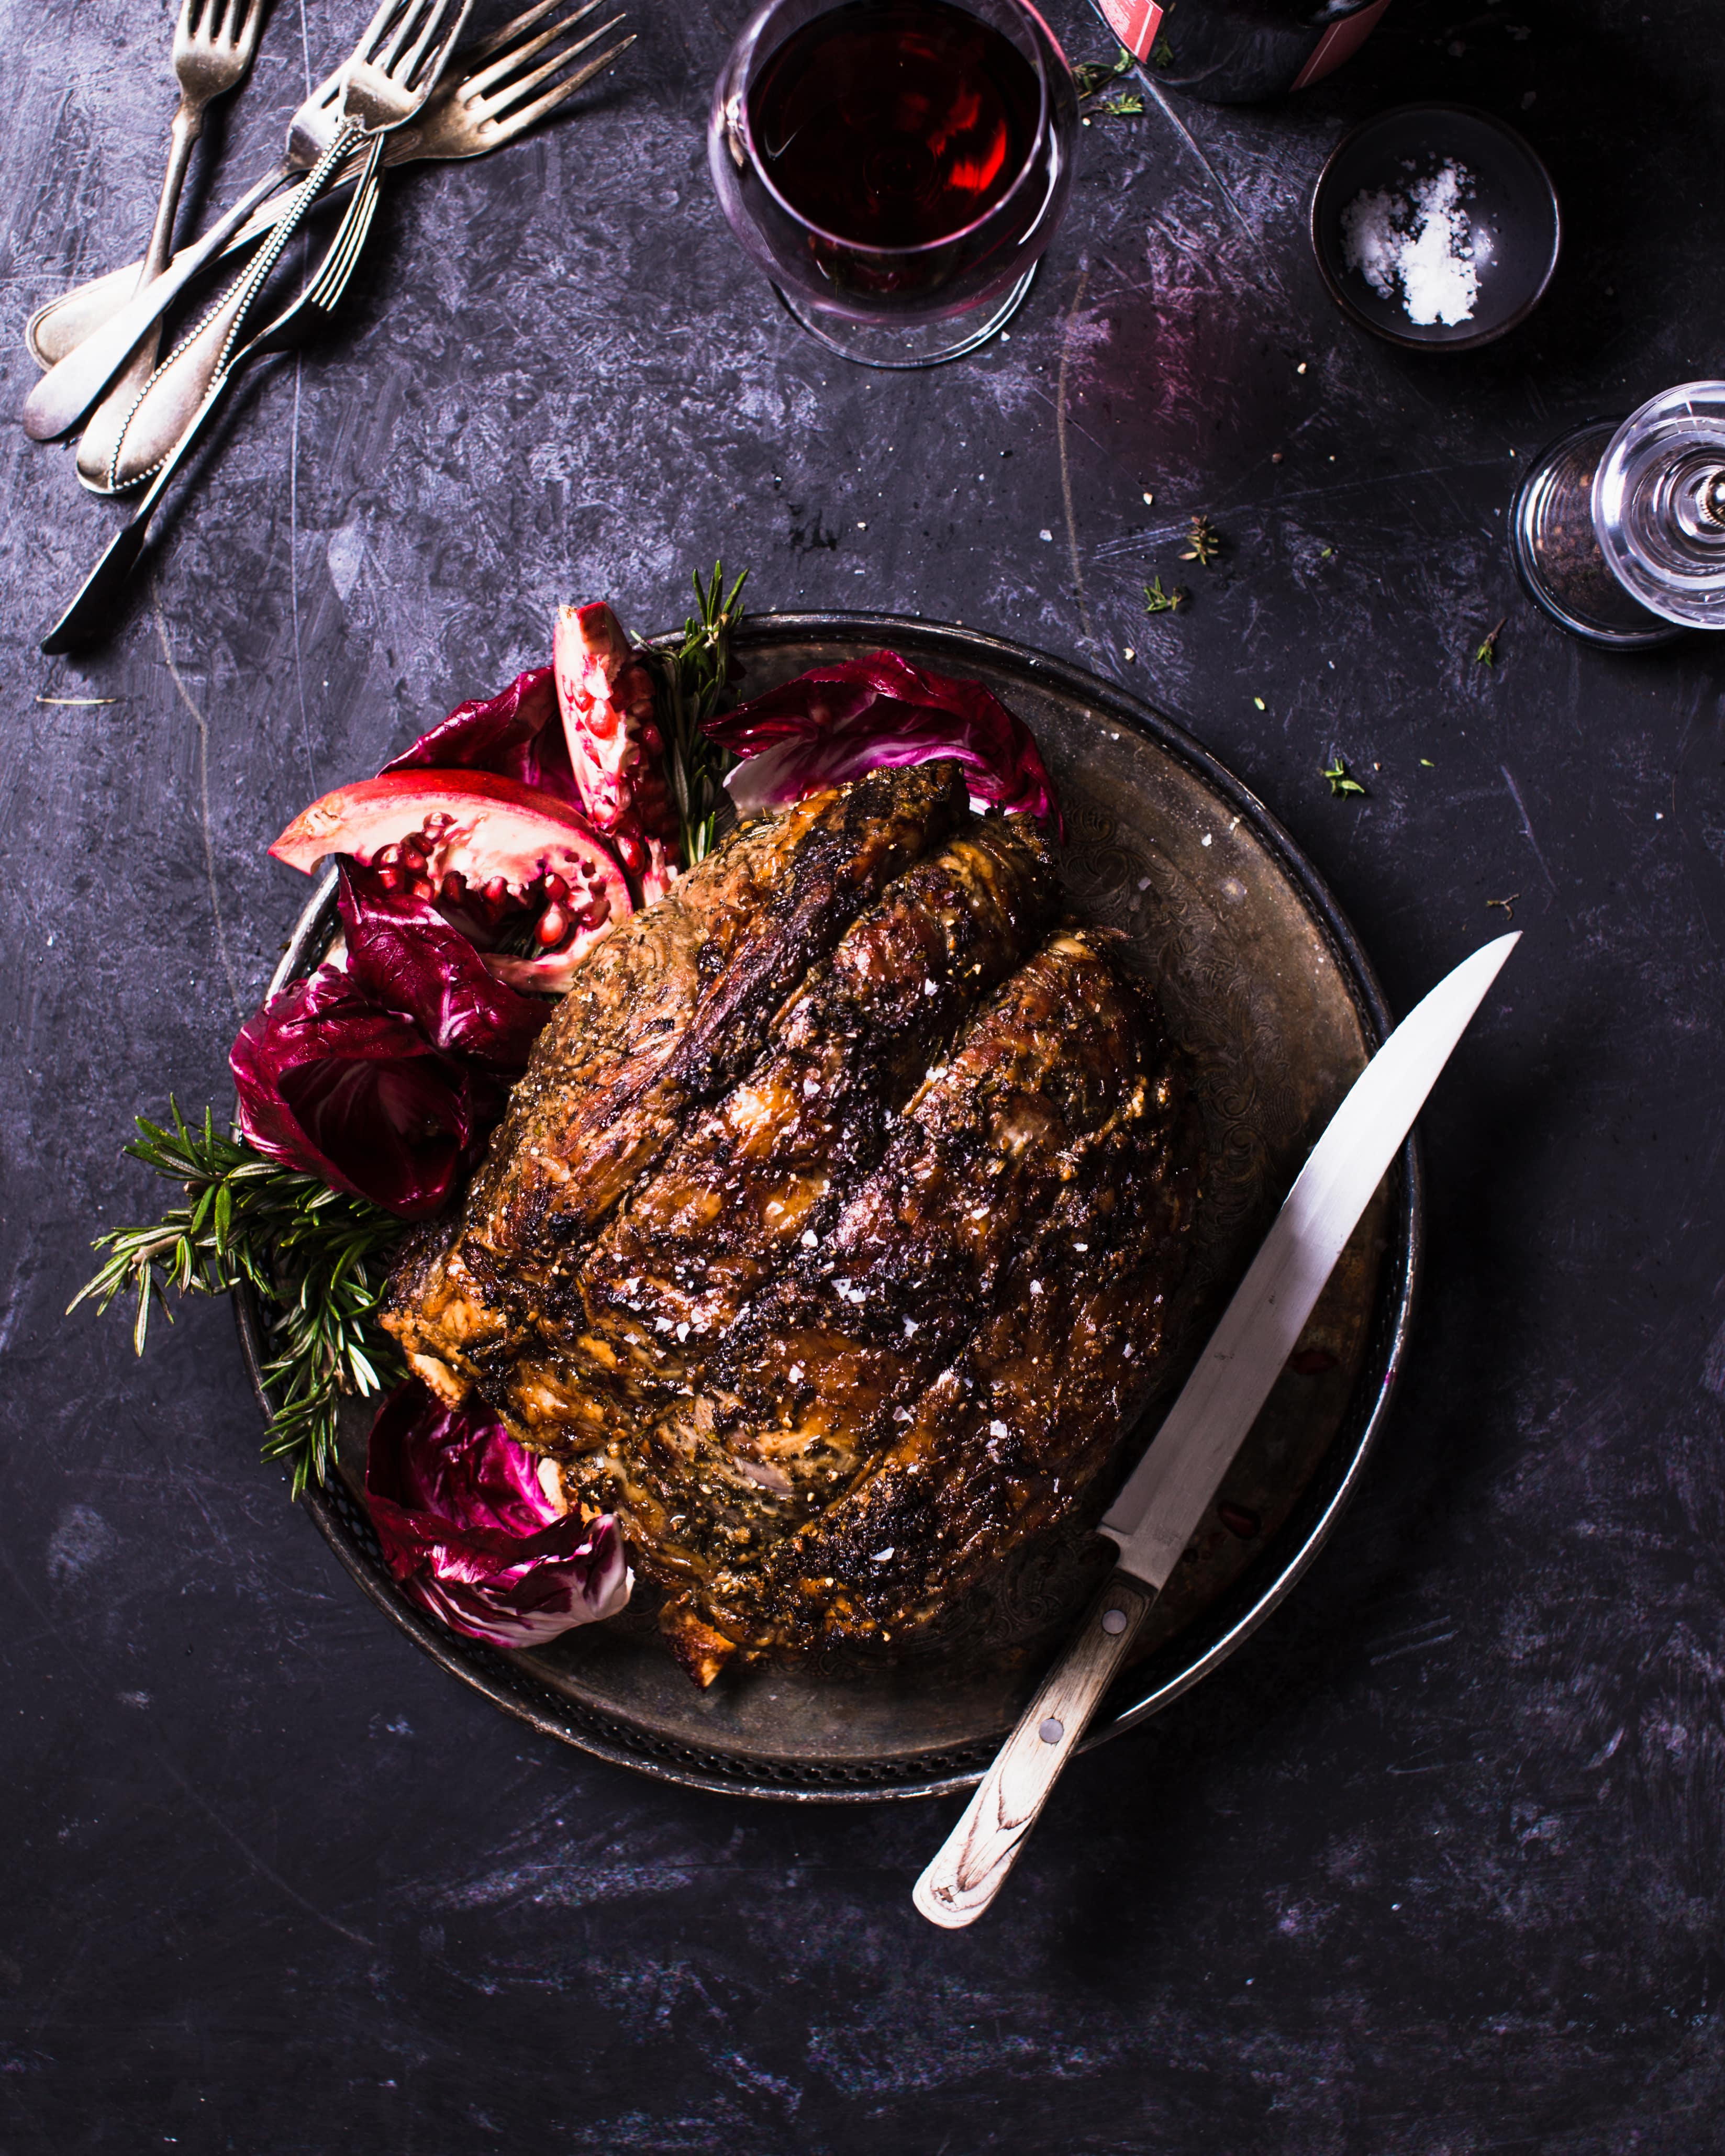
A setup you can put together on the floor beside your kitchen on a weeknight and tear down when you’re done. It’s easy and inexpensive. But with it, you can still create beautiful, professional images worthy of a client shoot (and I have! All the images in this post were shot using this method.)
In upcoming posts, I’ll flesh out artificial light for food photography more deeply with specific techniques I use to create soft, airy light vs. magic-hour moody light. I’ll also show you my permanent home-studio set up. And I’ll share the important keys to understanding the why behind the positioning of the gear below.
Now, without further babble.
Artificial-light for food photography: an easy set-up in six steps
One flash, one diffuser, a camera, and whatever you cobble together to hold it all up. Visit the gear post where I shared my cheaper options for excellent-quality equipment. (It’s got everything mentioned below that you need to get started.)
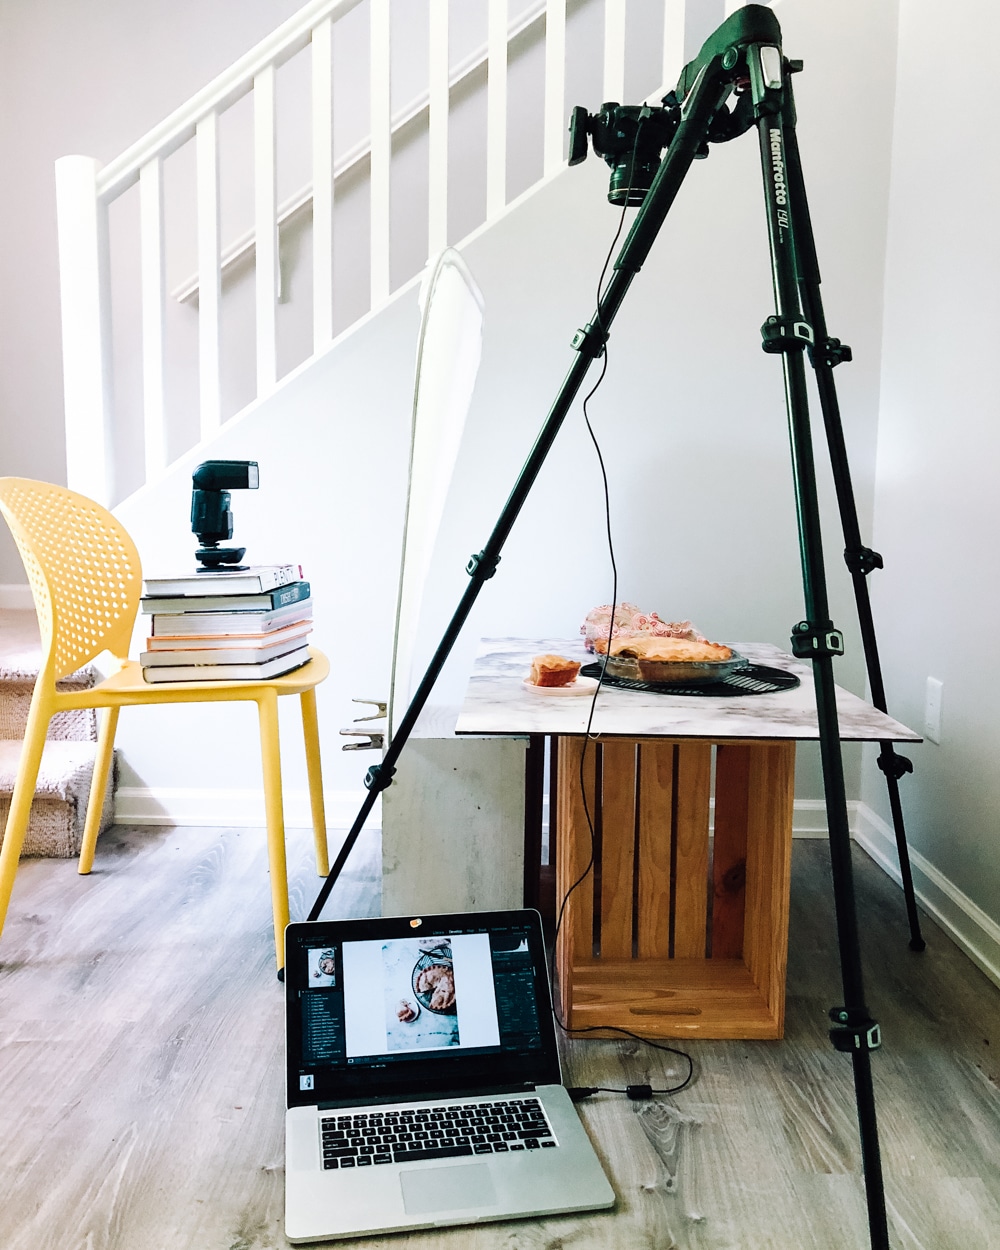
1. Style your food on your preferred backdrop (a rumpled white sheet or big tea towel makes a pretty layer of texture if you’re just starting!).
2. Prop your big diffuser up so that it’s positioned straight-on, about six inches away from your set-up. I used two clamps to attach my diffuser to a wooden box, but I’ve rigged all kinds of ways to hold it up. Stacks of books on either side of each bottom corner have worked for me, too. (You can, of course, buy a reflector stand, but that’s not in the spirit of this cheap-and-easy post!).
3. Aim your flash so that it’s pointing to the middle of the diffuser, and position it about one foot back. Your flash (or else your wireless trigger) should come with a little stand that attaches to the bottom so that it can stay upright on its own. If not, rig something to prop it up as you did with the diffuser. (Or if you happen to have an extra tripod, you can attach your flash to that).
4. Adjust your camera settings so that no ambient light can be seen.
I encourage you to google how to use your camera in manual mode if you don’t already know, but as a jumping-off point, set your shutter speed to 1/160, your ISO to 100, and your aperture to 3.5. When you look at the screen in live-view mode or take a no-flash test shot, the frame should be entirely black (you don’t want any lamps/overhead lights to mess up the white balance).
5. Set up your tripod (if using) with your camera (wireless flash trigger in place on camera’s flash mount) and take some practice shots! You don’t really need a tripod, but it makes composing and making tiny adjustments so much easier. Full blog post coming on this!
Here is the quick test shot I took to illustrate this post. (Using a $3.99 grocery-store pie.)
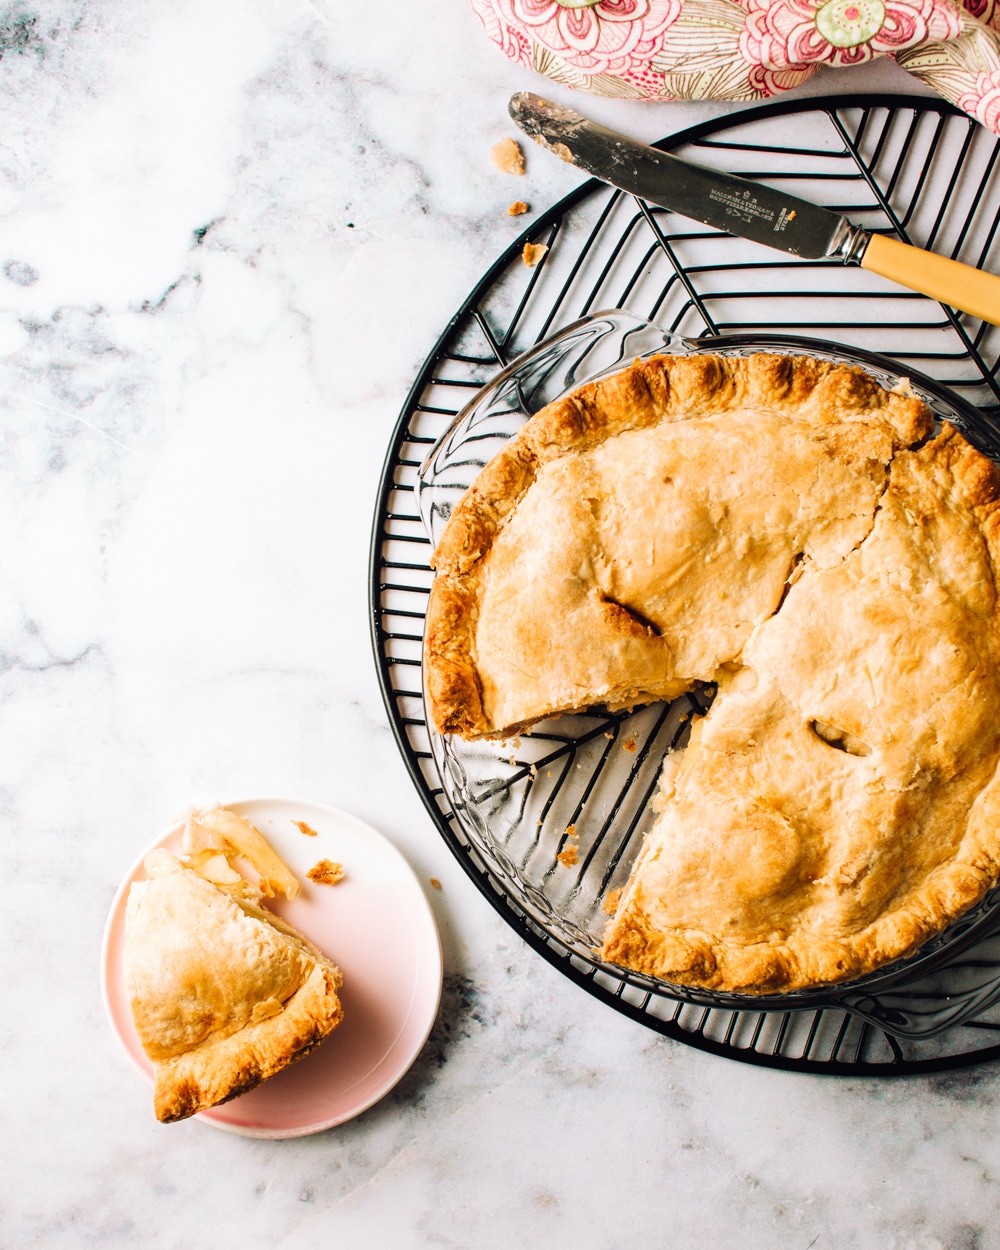
Once you’ve taken a shot with that set-up, check your photo and make adjustments.
Pause to crop and edit images on your computer as you go, so you can make small fixes until you get the perfect image.
You can change your aperture as much as you like to get the amount of background blur you’re going for. Just make sure the no-flash live-view screen (or a test picture) stays dark.
Leave the shutter speed and ISO alone.
The shutter needs to sync with the flash. If you set it faster than your camera allows, you’ll get a black band on your image (your shutter itself will be in the shot). Since a flash provides plenty of light, you don’t need to up your ISO (which increases the light but also the graininess).
If you’re finding the images over- or under-exposed, adjust the flash output (the increase/decrease buttons are on the flash itself). Or change the aperture number on your camera. Err on the side of slightly under-exposed to avoid irreparably blown-out highlights.

I’ve been using artificial light for food photography almost exclusively for over a year, and I’m happier now with my images than I’ve ever been.
Almost my entire portfolio is made up of images taken with flash. And learning how light works in a controlled environment has made me infinitely better at natural light photos, too.
I love using artificial light for food photography because I have 100% creative control over it. Flash, specifically, because it offers strong light and is inexpensive. It’s bright enough to overcome any other light in the room (so I don’t need to style in semi-darkness). It doesn’t create heat and I can take it with me anywhere.
As with photography equipment, it’s not the light source that makes a beautiful image, it’s the person using it.
It’s your knowledge and unique eye as the capturer. You can take a mediocre photo by a diffused window or a stunning photo by flash or vice versa. The photographer’s job is to get the exposure right, the shadows right, the angle right to illuminate the best part of the food and get the highlights glimmering off of the gooey bits. Then after, it’s about what you do in post-processing. (And please know this is all coming from a very humble place, as I continue to constantly learn by my own mistakes.)
I will be sharing more on how I take my photos in upcoming food photography tutorials, as well as tips on how I run my blogging business, so stay connected! Join me for dinner and become a member of my e-mail tribe.


Your gear post link is broken!
Fixed now, thanks for letting me know!
Awesome post! I’m still trying to figure out the whole artificial light practice (with some success and a lot of fails), and this is super helpful!
xo