10 Tips to Improve Your Grilling
May 19, 2015
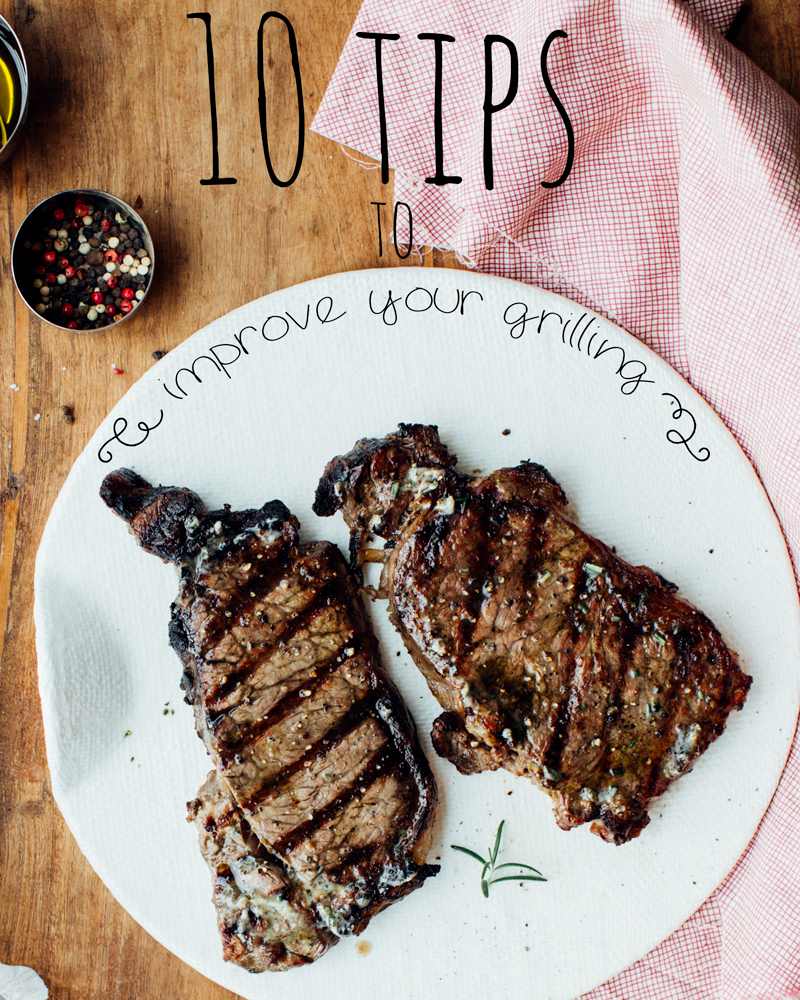
From May to September, most of my dinners consist of vibrant seasonal produce and quick-cooking proteins, flavourfully dressed and tossed on a hot grill. To kick off my favourite cooking season, I’ve got a whole slew of important tips for perfecting your high-heat, open-flame cooking game – so that you never have to suffer through a dried-out chicken breast or flame-kissed eyebrows again!
Without further adieu, here are my 10 simple steps to make you a master of the gas BBQ. Or gasmaster, if you prefer. 🙂
1. Take the chill off. Let your steaks, chicken pieces, pork chops etc. come to room temperature before you start – I usually give it 30 minutes, longer if it’s something particularly thick. When you put cold food directly on the grill, the outside is likely to burn before the inside reaches the desired doneness.
2. Fire up! Early. You should ignite the BBQ, close the lid, and let it preheat for a full 10-15 minutes before you go near it with food. An inadequately preheated grate will lead to stuck-on food, and nothing is sadder than a beautiful piece of salmon having the skin torn because it got stuck.
3. Brush and oil the grates once hot. The pre-heating stage will char any stuck-on residue from your last grilling adventure, making it easy to remove with a stiff-bristled grill brush. Once clean, use tongs to dip a wadded-up paper towel in oil and lightly coat the grates. Also done to avoid sticking!
4. Use both direct and indirect heat. As long as your grill has two or more burners, you can take advantage of different cooking zones. The direct heat area is where the flame is lit directly beneath, whereas the indirect area has no flame lit (but with the lid closed, it stays plenty hot!). This is important especially for thicker cuts, or higher-fat options, like skin-on chicken. Get the outside crispy with a quick turn over direct heat, then move it to the no-flame zone to cook through. This way, you bypass potential flare-ups and get to keep your pretty eyebrows. Plus, you can avoid the dreaded blackened outside-undercooked inside scenario.
5. Use a thermometer. It can be tricky to judge the doneness of meat/fish/poultry just by looking. There are some tricks, like pressing down on the surface to see how firm it is, but it’s easy to make mistakes. A thermometer takes out all the guesswork, and is in indispensable tool to stepping up your grilling game. I think it’s worth investing in a leave-in thermometer that beeps when the food reaches the temperature you programmed. But you still need a second thermometer to check other pieces to make sure they’re all the same (remember to clean the probe in hot, soapy water each time you check, before you stick it in another potentially cooked piece). Moist chicken breasts, flaky fish, and medium-rare steaks every time!
6. Man (or woman) that grill! The fact that you’re using super-high heat means that things can go south quickly if you step away for a few minutes to whisk a salad dressing or set the table. Have everything prepared in advance (or even better, delegate!) so that you can be present with your gorgeous steak the whole time it’s achieving those luscious grill marks. (Whoa, my stomach just rumbled out loud!). If you are grilling a multi-step dish (like a grilled pizza, for instance), have all of your ingredients prepped and pre-measured, sitting within arm’s reach for when you need them.
7. Don’t press or peek or flip! When you’re hungrily standing by your barbecue, it can be hard not to want to do something, but have patience (and/or a drink). Never, ever, ever press down on burgers (or anything else), or all those precious juices will be lost to the fire. Wait to flip your food until it releases easily – forcing it will cause tearing! The food will move without resistance once it’s properly browned. Resist the urge to continue flipping multiple times, too – let it sit on the heat to develop nice, caramelized grill marks. And if you’re cooking something that’s going to take a while (like bone-in chicken), follow the recipe’s instructions for cooking times, without opening the lid multiple times to peek: all you’ll be doing is letting the heat escape and tacking minutes onto the total cooking time.
8. Hold off on the sweet stuff. If you plan to slather your fare with a sticky barbecue sauce, wait until the last few minutes of cooking. Sugar burns quickly and can cause the outside to char to the blackest of blacks if you brush it on too soon. If you want to make sure your food is deeply infused with flavour, your best bet is to apply a rub, or use a marinade. Mop on the sauce last.
9. Let it rest. For heaven’s sake, don’t cut into your perfect medium-rare work of art the second it’s removed from the grates, no matter how hungry you are! Meat needs some time off of the grill for the fibres to relax, allowing the juices to redistribute throughout – yielding a juicy bite. If you skip this step, the juices will run all over your plate (and out of your steak/chicken/pork chop/fish) the second you cut in. So lovingly place your cooked food on a serving platter, cover it loosely with foil, and finish your beverage while you give it 5 minutes to become perfect.
10. Think outside the bun. I toss everything from green onions, to halved peaches, to firm cheese, to skewered cherries, to flatbread dough on the grill! Small foods should be either skewered (I love my basic metal skewers, but you can use wooden or bamboo – just soak for 30 minutes first) or tossed in a grill basket to prevent them from falling through the grates. Serve grilled fruits with a dusting of cinnamon sugar and a scoop of vanilla ice cream. Yum yum!
What will you be tossing on the barbecue this summer?


