This Instant Pot chicken chili is one of the simplest things you can make in a pressure cooker. Six core ingredients, 10 minutes of prep, and 20 minutes under pressure. The result is a thick, deeply flavored chili with fall-apart chicken that shreds right off the bone.
Instant Pot Chicken Chili Ingredients

Here’s everything that goes into this easy pressure cooker chicken chili:
- Olive oil: For blooming the garlic and tomato paste. This is the flavor foundation of the whole chili.
- Garlic: Five cloves, minced. It goes in first and cooks in the oil until fragrant before anything else is added.
- Tomato paste: A full 6 oz can of tomato paste. Cooking it in the hot oil until it darkens and smells toasty is the single most important step in this recipe. I use in my Instant Pot beef chili too, and it makes a real difference.
- Chili powder: This is a chili seasoning blend — not pure ground chile pepper. Use the blend with cumin, oregano, and garlic powder, not cayenne. You can use my homemade chili seasoning as a 1:1 swap.
- Kosher salt: Just 1 tsp here since both the tomato paste and chili powder carry a lot of flavor. Taste before adding more at the end.
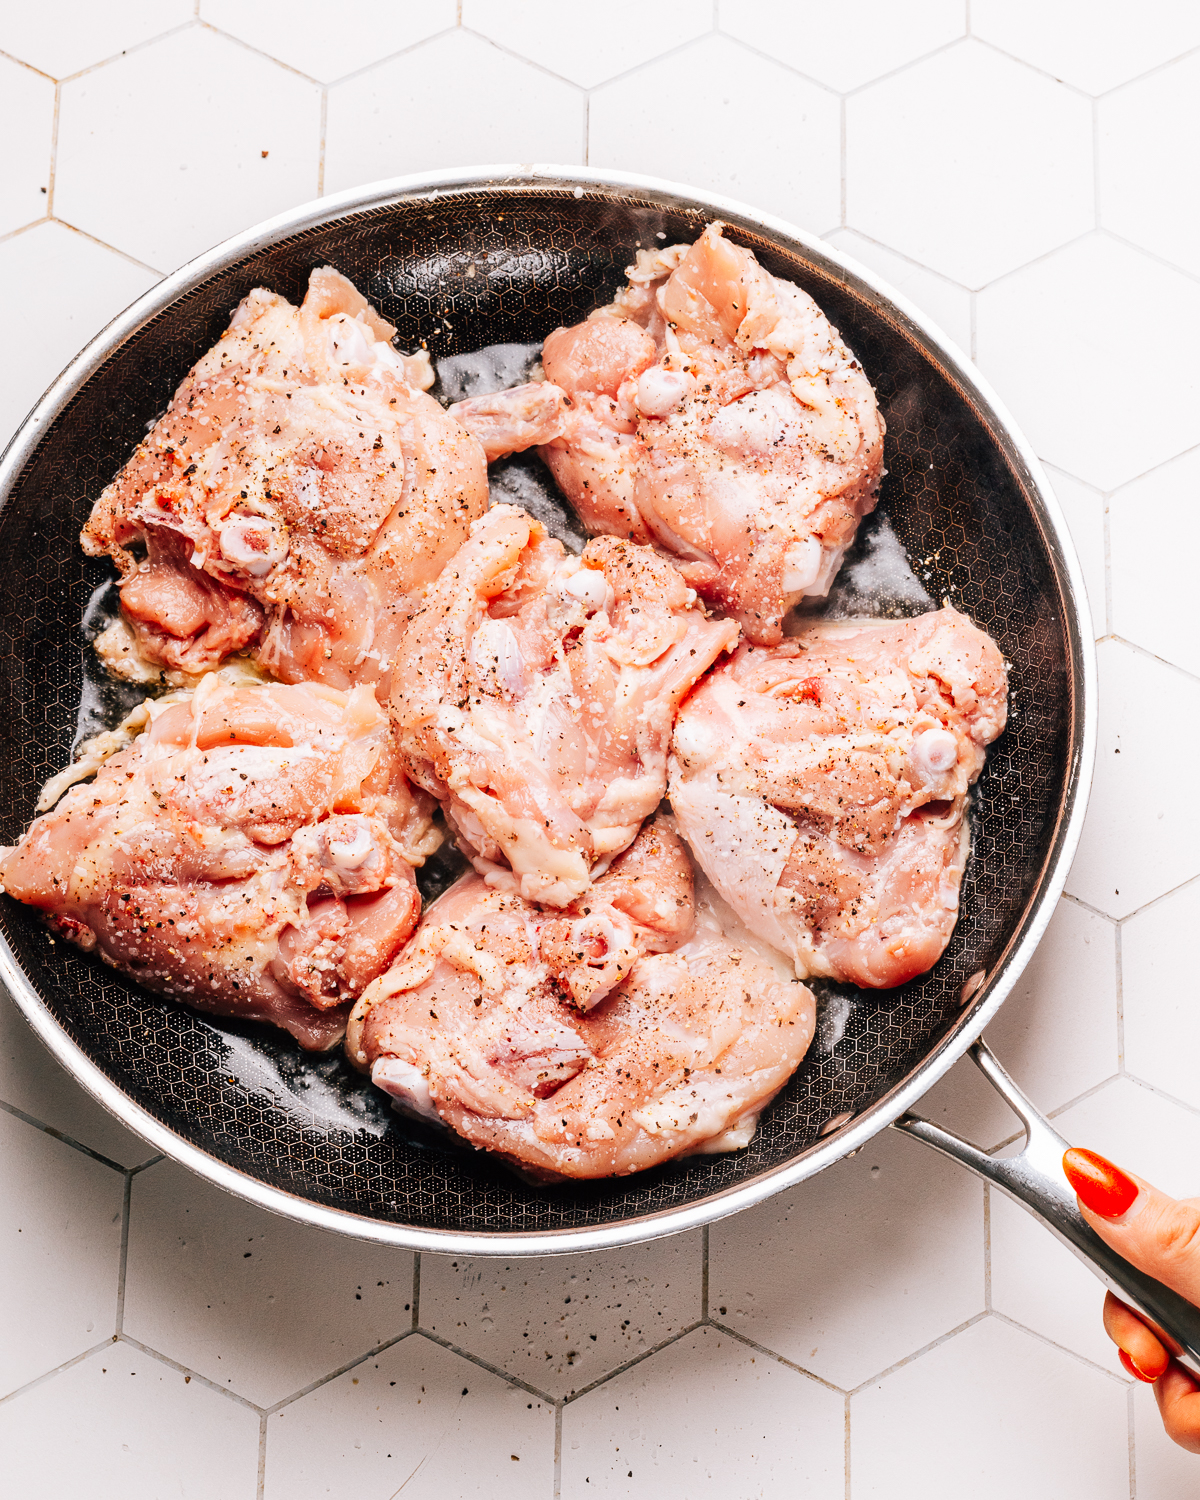
- Chicken thighs: Bone-in, skin discarded. The bones add richness to the broth as they cook under pressure. The meat shreds off easily once done.
- Black or kidney beans: One 540 mL can, rinsed and drained. Either works. Black beans give a slightly earthier flavor; kidney beans are meatier.
- Chicken broth: Just enough to get the pressure cooker going without diluting the chili.
Full recipe quantities are in the recipe card at the bottom of this post.
Variations and Substitutions
This pressure cooker chicken chili recipe is easy to adjust. Here are the most useful swaps.
- Beans: Black beans, kidney beans, or pinto beans all work. Use about 2 cups of home-cooked beans if you prefer to skip the can.
- Chili powder: My homemade chili seasoning is a perfect swap and gives you control over the heat level. Start with the same quantity and adjust to taste.
- No Instant Pot: This works on the stovetop too. After blooming the garlic and tomato paste in a dutch oven, add remaining ingredients. Bring to a boil, then simmer covered for 45 minutes to 1 hour until the chicken is fall-apart tender.
- Add vegetables: Diced onion, bell pepper, or canned diced tomatoes can all be stirred in with the broth before pressure cooking for more texture and body.
- Add heat: Stir in a diced jalapeño with the garlic, or add a pinch of cayenne with the chili powder for extra spice.
Love instant pot recipes? Try my popular Instant Pot Steak, Instant Pot Beef Stew and Instant Pot Pork chops, too!
Grab These Tools
You only need a few things to make this easy chicken chili Instant Pot recipe.
- Instant Pot or electric pressure cooker: Any electric pressure cooker with a sauté function works perfectly. The sauté step is done right inside the pot, so everything builds in one place.
- Heavy skillet: Only needed if your pressure cooker doesn’t have a sauté function. Use it to bloom the garlic and tomato paste, then scrape everything into the pressure cooker.
- Wooden spoon or silicone spatula: For stirring the garlic and tomato paste as they cook, and for deglazing the bottom before pressure cooking.
- Slotted spoon or tongs: For pulling the cooked chicken out of the chili to shred.
- Two forks: For shredding the chicken off the bones once it’s cool enough to handle. It pulls apart very easily after 20 minutes under pressure.
How to Make Instant Pot Chicken Chili: An Easy Guide
This easy pressure cooker chicken chili comes together in about 40 minutes. Here’s the full step-by-step.
Bloom the Garlic
Set your Instant Pot to Sauté. Add the olive oil and minced garlic. Cook, stirring, for about 2 minutes until the garlic is fragrant and just starting to turn golden. Watch it closely — garlic burns fast and bitter garlic will ruin the whole pot.
Cook the Tomato Paste
Add the full can of tomato paste to the garlic and oil. Stir and cook for about 4 minutes, stirring frequently, until the paste darkens to a deep brick red and smells toasty rather than raw. This step concentrates the flavor and removes the acidic edge. Don’t rush it.
Add Everything and Pressure Cook
Add the chili powder, kosher salt, chicken thighs, drained beans, and chicken broth to the pot. Stir to incorporate and scrape up anything stuck to the bottom (do this thoroughly so you don’t trigger the “burn” warning!).
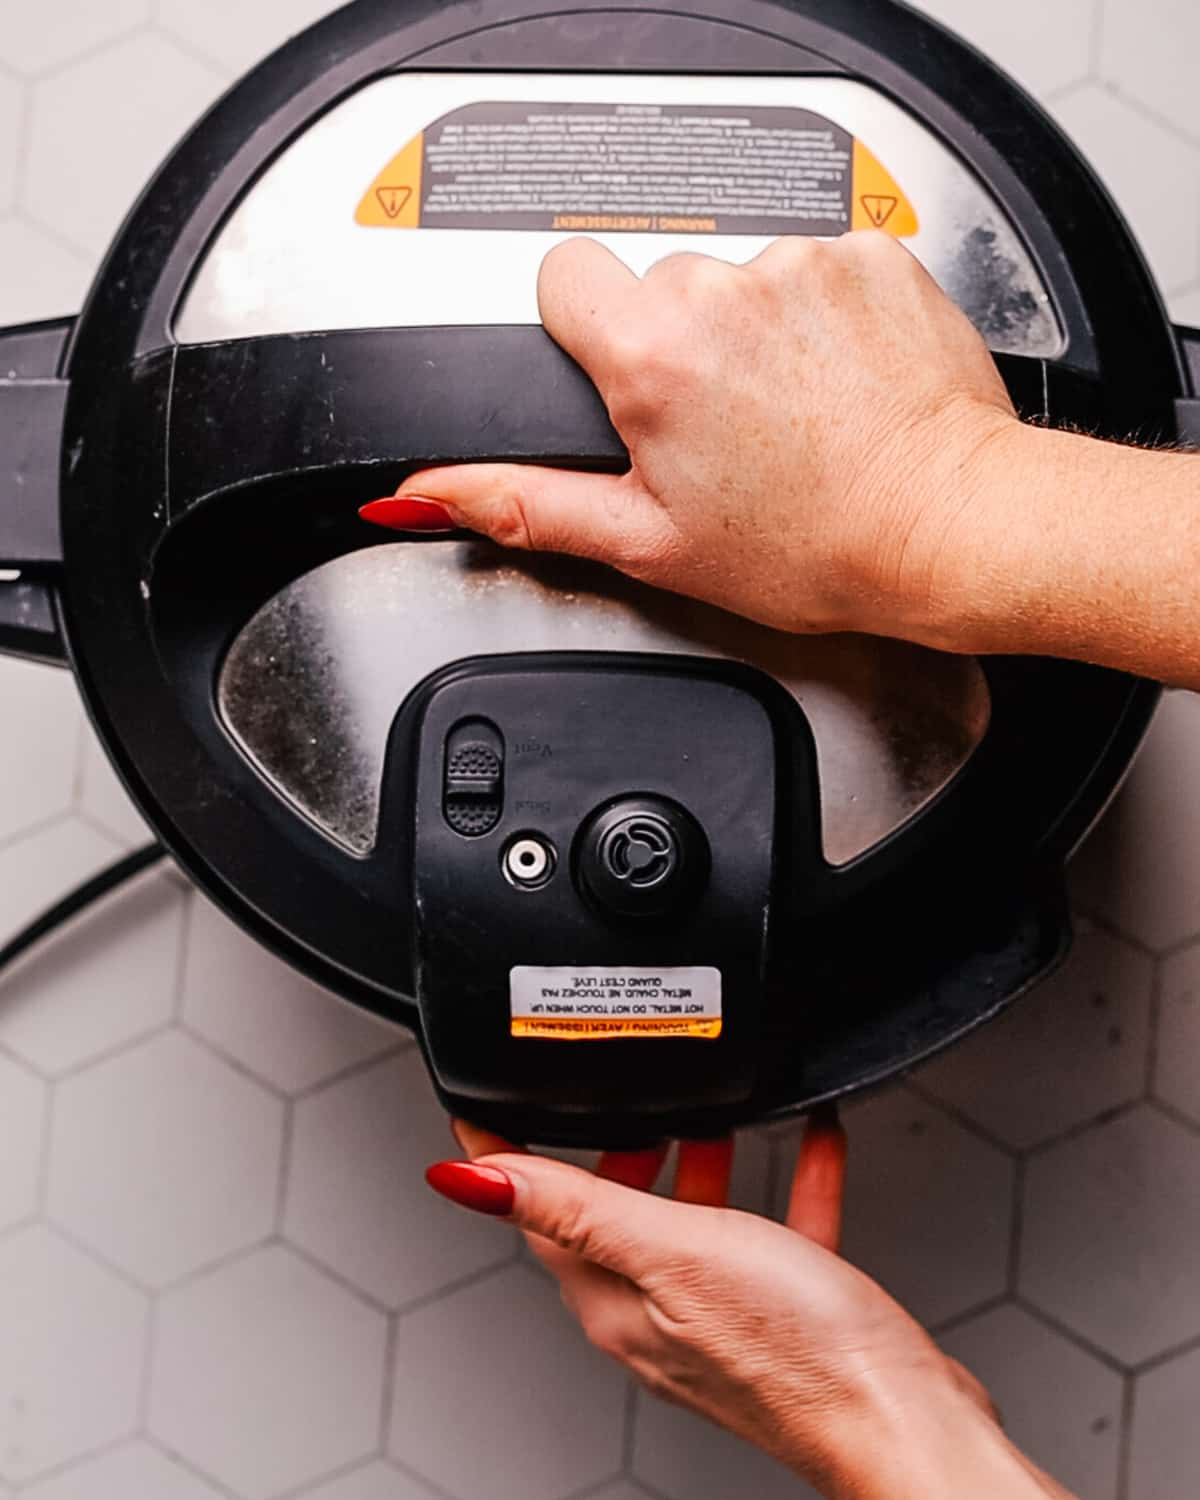
Lock the lid and pressure cook on High for 20 minutes. Do a quick release when done.
Shred the Chicken
Use a slotted spoon to lift the chicken out of the chili and transfer them to a plate. Let them cool for a few minutes until you can handle them. Pull the meat from the bones with two forks — it should fall apart without any effort. Discard the bones and stir the shredded chicken back into the chili.
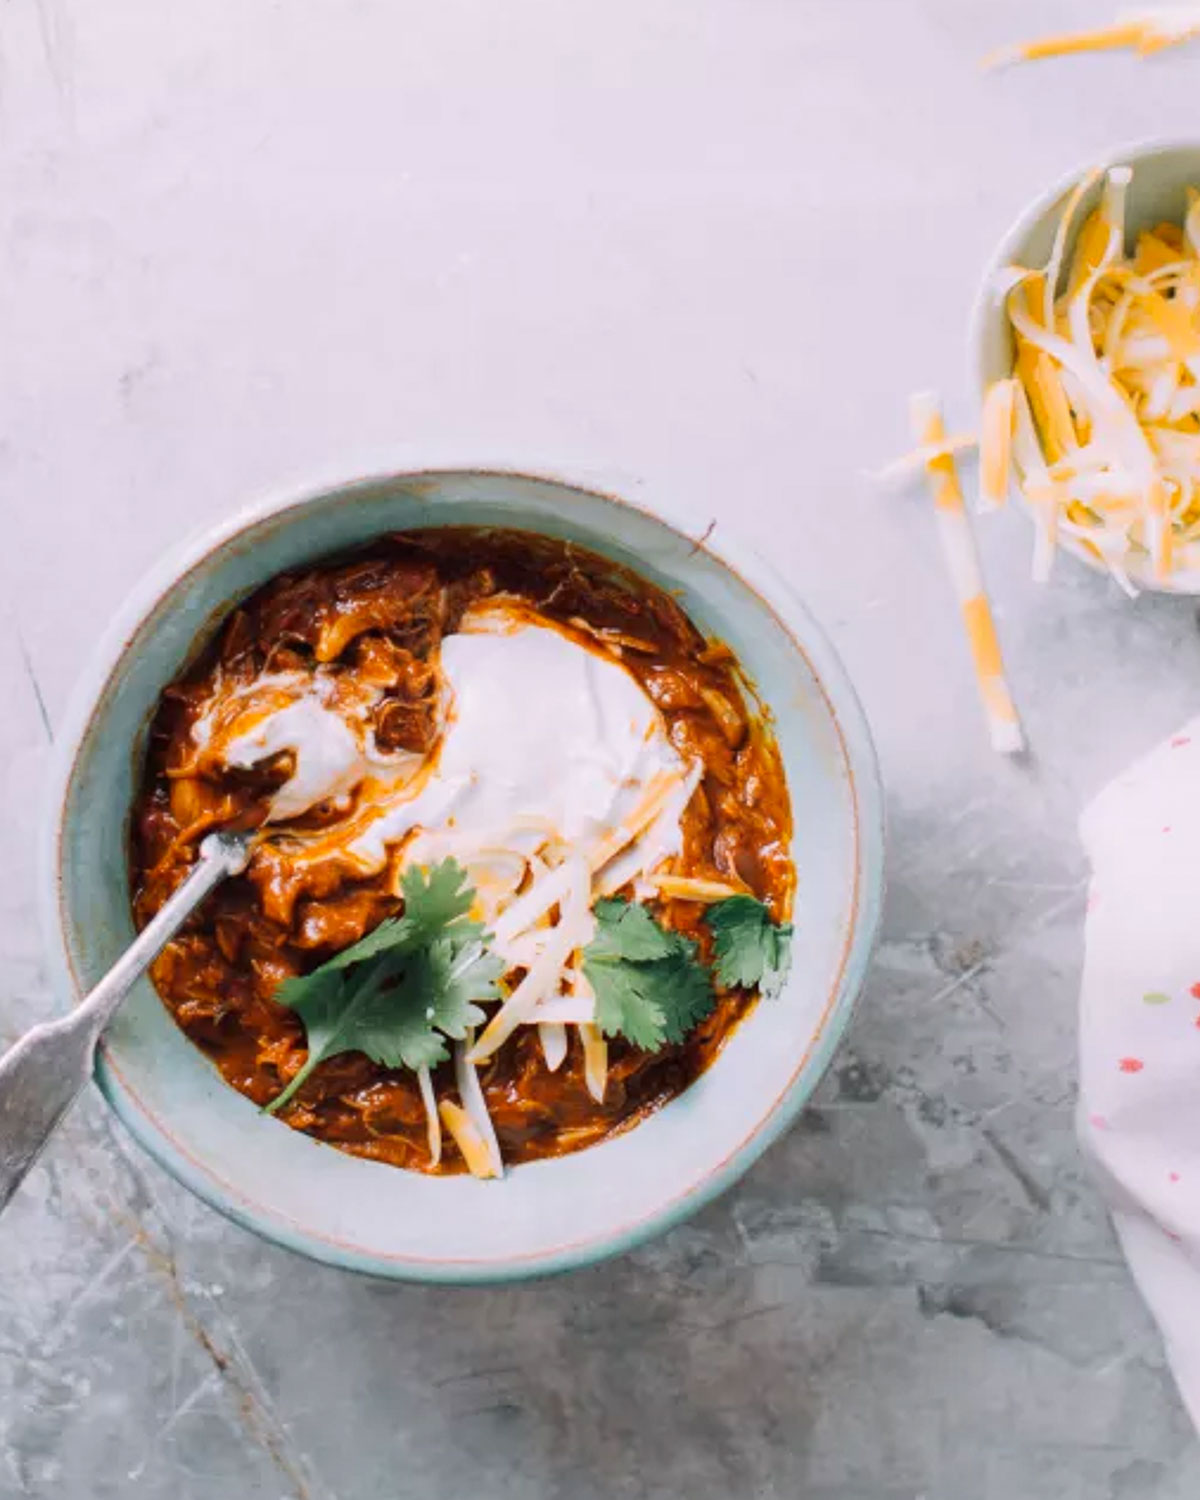
Taste, Adjust, and Serve
Taste the chili and adjust salt if needed. Serve hot, topped with sour cream and fresh cilantro. A squeeze of lime at the end brightens everything up nicely.
5 Common Mistakes When Making Instant Pot Chicken Chili
Here are the most frequent mix-ups to avoid when making this Instant Pot chicken chili:
- Burning the garlic: Garlic goes from golden to burned very quickly on the Sauté setting. Two minutes is usually enough. Keep stirring and pull back the heat if it starts to darken too fast. Bitter garlic carries through into the whole chili.
- Rushing the tomato paste step: Pale, barely-cooked tomato paste tastes sharp and raw. Give it a full 4 minutes in the hot oil, stirring often, until it turns brick red and smells almost caramelized. This is the most important flavor step in the recipe.
- Forgetting to deglaze: Anything stuck to the bottom of the pot after the sauté step will trigger a burn warning during pressure cooking. Add a splash of broth and scrape the bottom smooth before locking the lid.
- Removing chicken too early: The chicken needs to cool enough to handle safely before you can shred it. Give it 3 to 5 minutes on a plate. Trying to shred it while it’s scalding hot just means burned fingers and uneven shredding.
- Not tasting before serving: Always taste the finished chili and adjust with salt before it hits the bowl. The final seasoning makes a big difference to the overall flavor.
Make Ahead and Storage
This chicken chili tastes even better on day two — make a big batch and count on easy meals all week.
Storing Leftovers
- Airtight container: Store leftovers in the fridge for up to 4 days. The chili thickens as it sits and the spices meld deeper into the broth overnight.
- Portion smart: Single-serve containers make grab-and-reheat lunches effortless during the week.
Freezing
- Freeze in portions: Cool completely, then transfer to airtight freezer containers or zip-top bags. Lay bags flat to save freezer space. Label and date.
- Best within 3 months: The flavor and texture hold well for up to 3 months. Thaw overnight in the fridge before reheating.
Reheating Instant Pot Chicken Chili
- Stovetop: Reheat over medium-low heat, stirring often. Add a splash of water or broth if the chili has thickened too much in the fridge.
- Microwave: Reheat in 60-second bursts, stirring between each, until hot throughout. Cover loosely to prevent splatter.
- Brighten before serving: A squeeze of fresh lime juice after reheating wakes the flavors back up after a day or two in the fridge.
How to Serve This Instant Pot Chicken Chili Recipe
Serve this chili hot straight from the pot with toppings on the table. For a full rundown of everything that pairs well with chili, check out my what to serve with chili guide — it has 75+ ideas.
Instant Pot Chicken Chili Toppings
- Sour cream or a drizzle of cilantro lime crema for cool, creamy contrast
- Fresh cilantro and sliced green onion
- Sliced avocado or a spoonful of avocado crema
- Shredded cheddar or Monterey Jack cheese
- Pickled onions or fresh jalapeños for extra heat
- A squeeze of fresh lime juice right before eating
Side Dishes for Instant Pot Chicken Chili
- Tortilla chips: The easiest option and great for scooping.
- Cornbread casserole:]Warm, tender cornbread against a bold, spiced bowl is hard to beat.
- Microwave rice: A scoop of rice in the bowl soaks up the chili sauce and stretches it further for a crowd.
- Warm flour tortillas or soft corn tortillas: For scooping or wrapping leftover chili into a quick burrito the next day.
FAQs About Instant Pot Chicken Chili
Just skimming through? Here are some quick answers to the commonly-asked questions.
Making this chicken chili without an Instant Pot works well. After blooming the garlic and tomato paste in a dutch oven or heavy pot, add remaining ingredients and bring to a boil. Reduce heat, cover, and simmer for 45 minutes to 1 hour until the chicken thighs are fall-apart tender and the meat shreds easily off the bone.
Boneless chicken thighs are the best substitute for bone-in chicken thighs in this recipe. Reduce the pressure cook time to 15 minutes. Boneless chicken breasts work too but can dry out — go 12 minutes on High and check before going longer. Bone-in pieces give a richer broth, but boneless works when that’s what you have.
A burn warning in this Instant Pot chicken chili usually comes from residue stuck to the bottom of the pot after the sauté step. Before locking the lid, add a splash of broth and scrape the bottom with a wooden spoon until it feels completely smooth. Even a thin layer of stuck garlic or tomato paste can trigger it.
This Instant Pot chicken chili uses 1/2 cup of chili powder, which sounds like a lot but is standard for a large pot of chili. North American chili powder is a mild spice blend — not pure ground chile pepper. If you’re using a very hot chili blend or a pure ground chile, reduce significantly and taste as you go.
Freezing this Instant Pot chicken chili works great. Cool it completely, then portion into airtight containers or zip-top freezer bags. Lay bags flat to save space. It keeps well for up to 3 months. Thaw overnight in the fridge and reheat on the stovetop over medium-low heat, adding a splash of water if needed.
Thickening this chicken chili is easy. After pressure cooking, switch the Instant Pot back to Sauté mode and simmer uncovered for 5 to 10 minutes, stirring often, until it reduces to your preferred consistency. Alternatively, mash some of the beans against the side of the pot with a spoon to thicken it naturally.
This Instant Pot chicken chili lasts up to 4 days stored in an airtight container in the fridge. The flavor deepens and the chili thickens noticeably by day two as the beans and chicken absorb more of the broth. Reheat on the stovetop or in the microwave and add a squeeze of lime before serving to brighten it back up.
Other Chili Recipes You’ll Love
- Instant Pot Beef Chili
- Instant Pot Turkey Chili
- Cream Cheese Chicken Chili
- Healthy White Chicken Chili
- Green Chicken Chili
- Authentic Chili Con Carne

Easy Instant Pot Chicken Chili
Ingredients
- ¼ cup olive oil
- 2 tbsp minced garlic (about 6 cloves)
- 1 6-oz can tomato paste
- ½ cup chili powder
- 1 tsp kosher salt
- 2 lbs bone-in chicken thighs skin discarded
- 1 15-oz can black or kidney beans rinsed and drained
- 2 cups chicken broth
- sour cream and cilantro for serving (optional)
Instructions
- If you’re using an electric pressure cooker with a saute function, use it. If not, heat a heavy skillet over medium heat.
- Saute garlic in oil until fragrant, about 2 minutes. Add tomato paste and cook it, stirring frequently, until it smells toasty and becomes darker red, about 4 minutes. (If using a skillet, scrape it into the pressure cooker now). Add remaining ingredients to instant pot, stir to incorporate, and pressure cook on high for 20 minutes.
- Use slotted spoon to remove chicken thighs and transfer to a plate. When cool enough to handle, remove meat and stir back into chili; discard bones. Taste and adjust salt as needed. Serve topped with sour cream and cilantro.
Nutrition
Nutrition information is automatically calculated, so should only be used as an approximation.


This has become our Sunday football tradition. The pressure cooker shaves off so much time but the flavor tastes like it simmered all day. Topped with cheese, jalapeños, and a dollop of sour cream — perfect comfort meal.