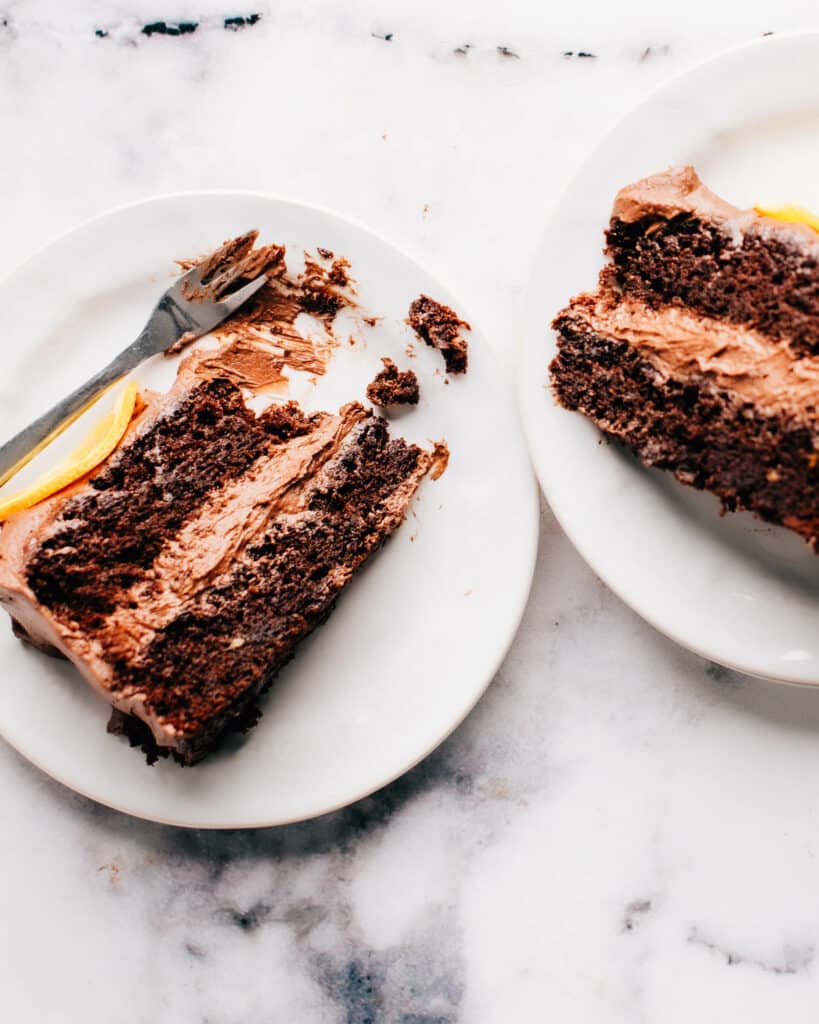
This Easy Dark Chocolate Orange Cake recipe makes a rich, decadent dark chocolate and orange layer cake infused with fresh orange and filled with a fluffy, whipped orange chocolate buttercream frosting. It’s heavenly and chocolate and orange go so well together.
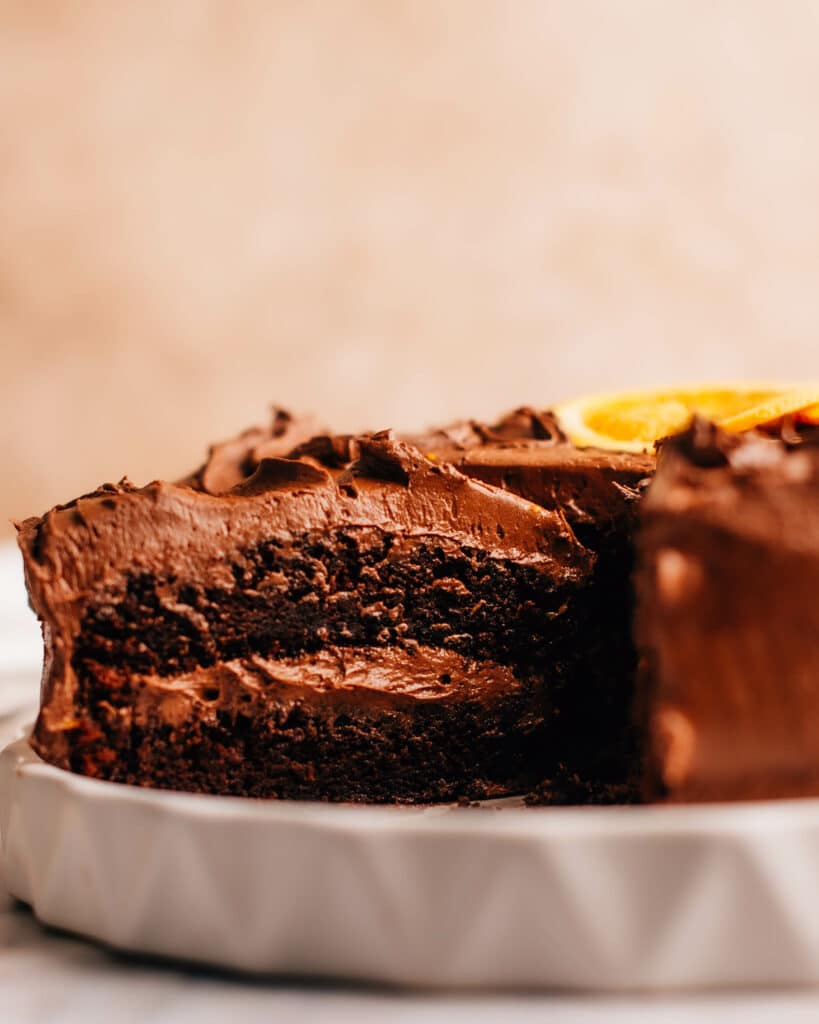
Table of Contents
Why you’re going to love this easy Chocolate Orange layer cake
- Bursting with dark chocolate and orange flavor. If you love my almost-famous Moist Chocolate Cake (or my reader-favorite Portuguese Orange Cake), I think you’ve found a perfect partnership and a new favorite in this chocolate orange cake recipe.
- Stays moist and fresh for days: Because it’s made with oil, it stays softer for longer than a cake made with butter.
- This cake is SO easy. The dry ingredients are added to a stand mixer bowl, and the lightly whisked wet ingredients get added in after that. It’s so easy it will floor you.
Do you know why orange and chocolate go together?
The classic flavor combination of this chocolate orange cake tastes so good. The freshness from the orange cuts into the rich dark chocolate flavor. You will want to keep eating it all day long. But there’s more to it! The reason chocolate and orange go together so beautifully comes down to a bit of science.
Chocolate gives a cooling sensation on your tongue when you eat. This is due to the fact that chocolate’s melting point is substantially lower than the temperature inside your mouth.
As the heat moves from your mouth into the chocolate, you experience a slight chilling sensation.
The cooling sensation is heightened by the tingly sensation of orange flavor. They really are such a natural pairing.
Chocolate Orange Cake Ingredients:
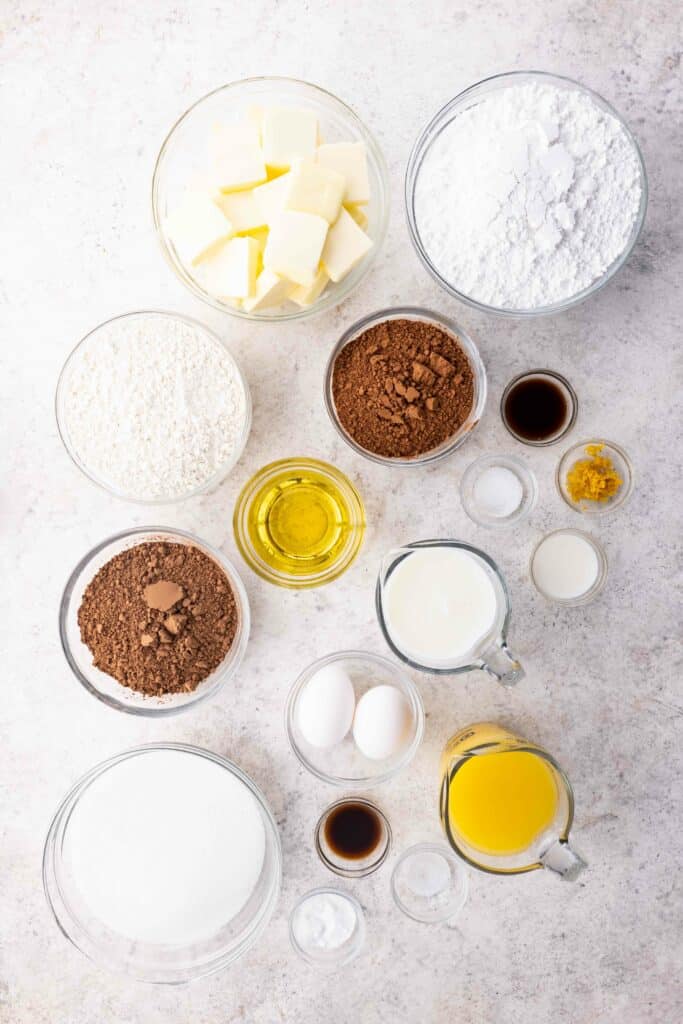
Here’s a look at some of the stand-out ingredients in this cake. They’re all pretty easy to find in your local grocery store.
- Avocado oil: This is a lovely neutral-tasting oil. It gives the cake a beautiful softness. It’s my staple oil because it has a health profile akin to olive oil but without a strong flavor. Perfect for baking.
- Buttermilk: This ingredient is packed with phospholipid emulsifiers. These allow the fats to disperse evenly within the batter, and the fat doesn’t separate from the water as it naturally would. They also stabilize the foam within the batter and cake crumb making for a softer, more tender cake.
- Orange juice: Use freshly squeezed orange juice if possible. This will make a difference to the flavor for sure. Note that three oranges equal 1 cup of juice and two tablespoons of zest.
- Butter: You’ll need unsalted butter for the frosting. Ensure it’s soft or at least room temperature so it whips up quickly and aerates to a lovely fluffy frosting.
- Cocoa powder: This imparts a rich, dark-chocolate flavor. You can use natural cocoa powder or dutch-processed in this recipe.
How to make Chocolate Orange Cake
This is a relatively straightforward cake to make.
The dry ingredients are combined in a stand mixer. After that, the wet ingredients get added in. The cake is baked, cooled, and iced with a delicious, whipped frosting.
Here are the steps to making the dreamy cake layers:
- First, set your oven to 350ºF and fit the rack into the center of the oven. Use cooking spray to grease two 9-inch cake pans. Line the bottoms with parchment paper. Dust them with cocoa powder.
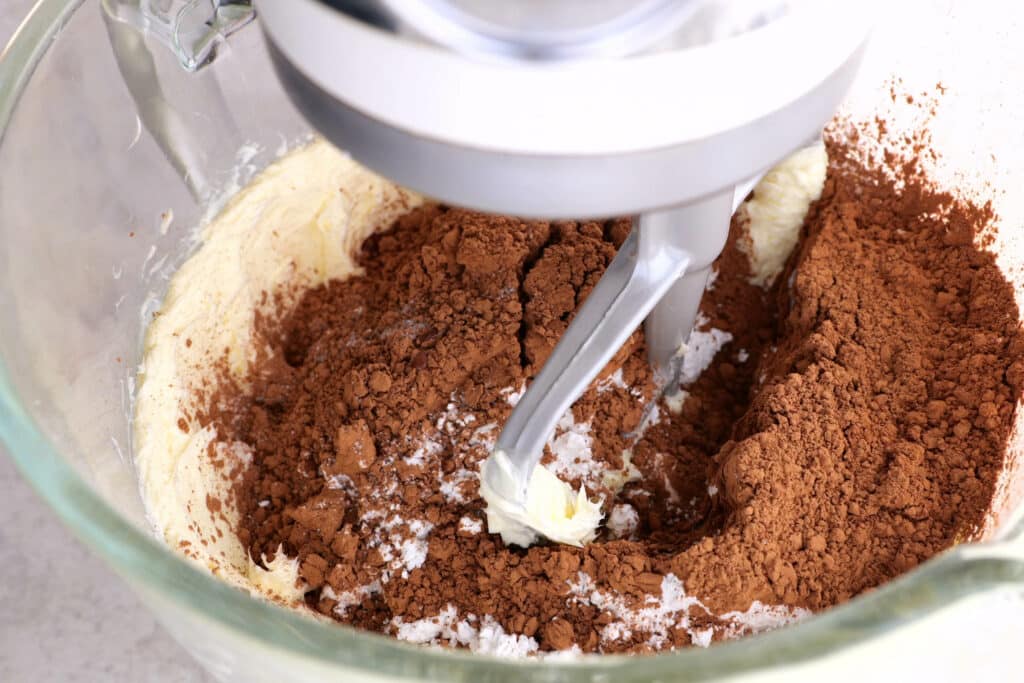
- Fit the bowl of a standing mixer with a paddle attachment. Add the all-purpose flour, sugar, cocoa powder, baking soda, and salt. Mix the ingredients slowly until they have combined thoroughly.
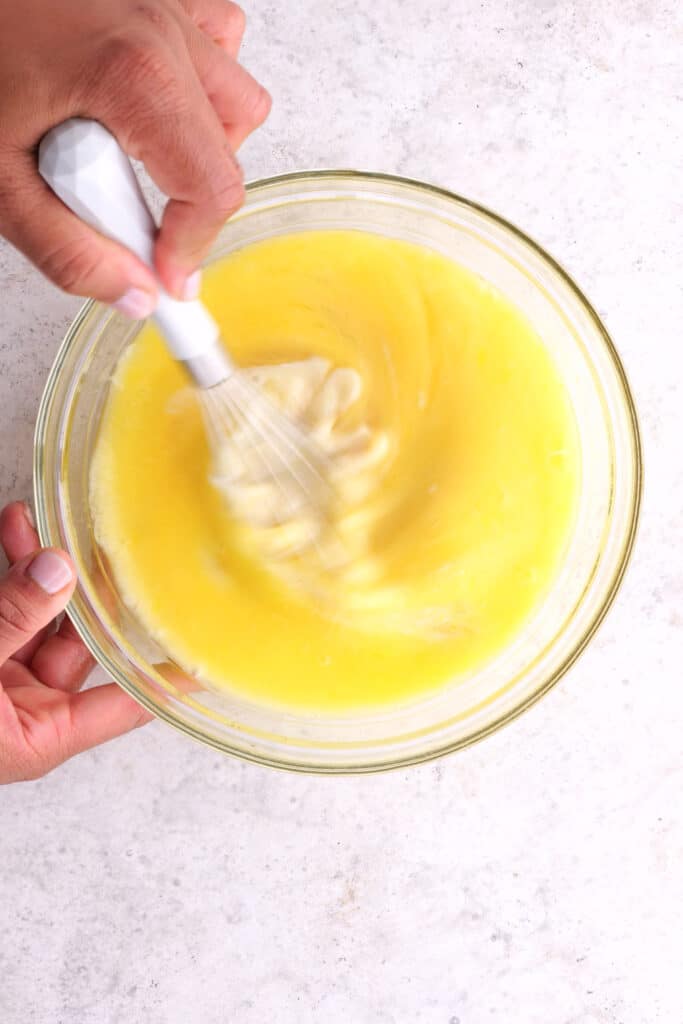
- In another large bowl, beat the eggs lightly. Whisk in the oil, vanilla extract, buttermilk, orange zest, and juice.
- Add the wet ingredients to the stand mixer bowl and beat everything together on a medium speed for about 15 seconds. In that process, pause and scrape the sides and bottom of the bowl. Continue beating until everything has come together for another 20 seconds.
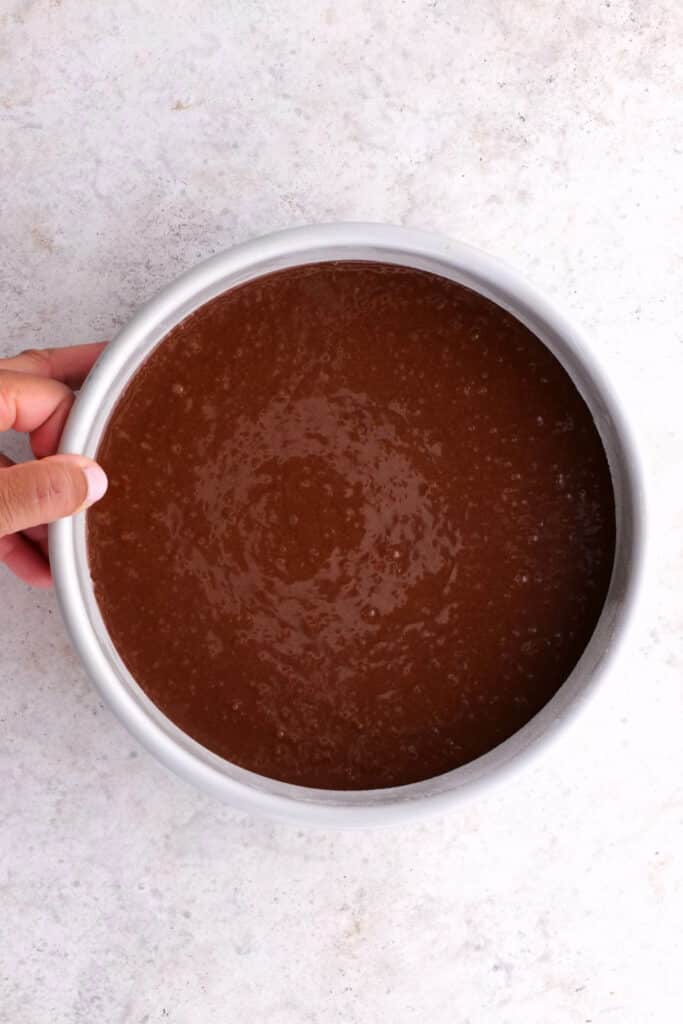
- Divide the cake batter between the two prepared pans. Bake them on the center rack for about 25 minutes or until the internal temperature measures 190ºF.
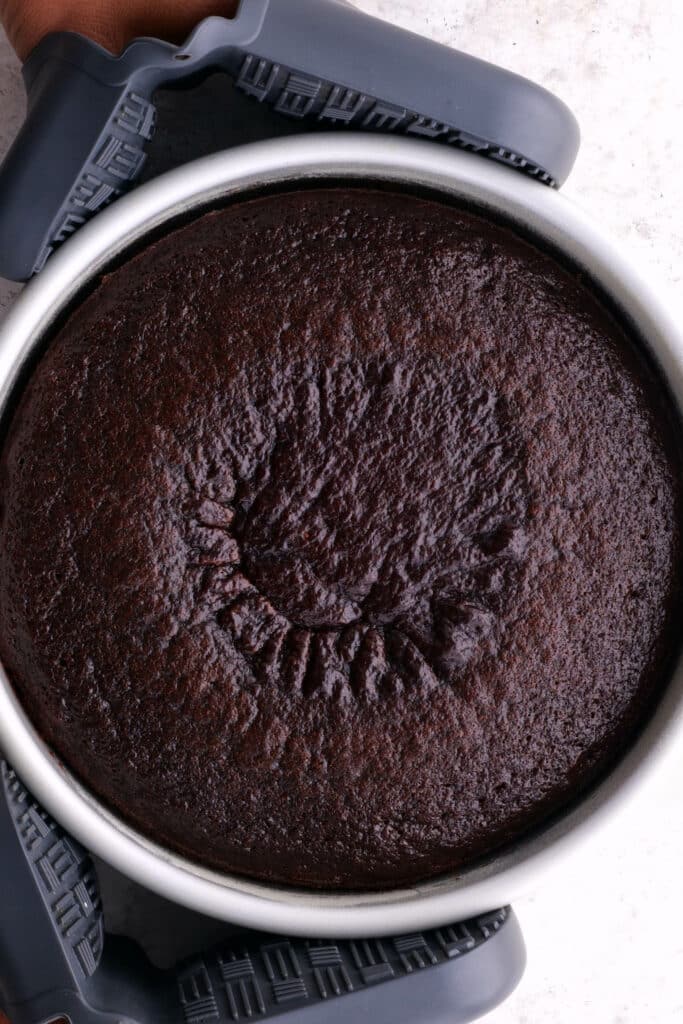
- Cool for 10 minutes in the pans, then invert them onto two parchment-lined cooling racks.
Here are the steps to making the frosting for this cake:
- Place the room-temperature butter into the stand mixer. Beat for 1 minute to aerate the butter.
- Sieve in the cocoa and powdered sugar.
- Add the remaining ingredients and then beat for another 2 minutes until the finish is light in color and satiny. The frosting should double in size by the time it’s ready.
Finally, here are the instructions to assemble the cake.
You can simply slather on the icing if you’re after that rustic look. Here are some guidelines to achieve a neatly-presented cake:
- Place the bottom layer of the chocolate orange cake onto your cake plate. I like to place a few teaspoons of frosting underneath the bottom layer so that it sticks to the plate.
- Place your cake plate on a rotating cake decorating stand. You can work on a flat surface and manually turn the cake if you don’t have a rotating stand.
- Fill your piping bag with a round nozzle and then with frosting. Pipe a spiral of frosting, starting in the center and working outwards until you reach the outside of the first layer. This will help level out your cake.
- Sit the second layer on top of the first. I like to do a crumb coat layer before icing the whole cake. To do this, spread a thin layer of frosting over the entire cake and refrigerate for 20 minutes or until the frosting has set.
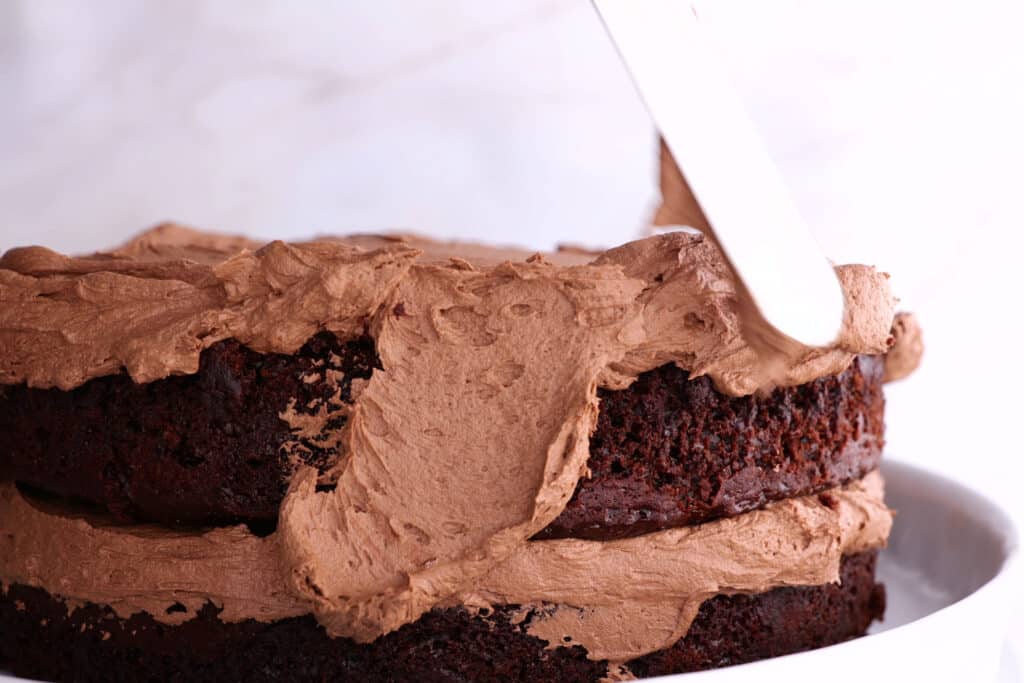
- To finish the cake, slather the sides with icing, using a palette knife or a simple round-edged dinner knife.
- Smooth the frosting out with an offset spatula as you go, turning the cake to get an even coating. Don’t forget the bottom edge.
- Lastly, ice the top by piping in the icing as you did the middle layer. Smooth the icing with a palette knife to get an evened-out surface.
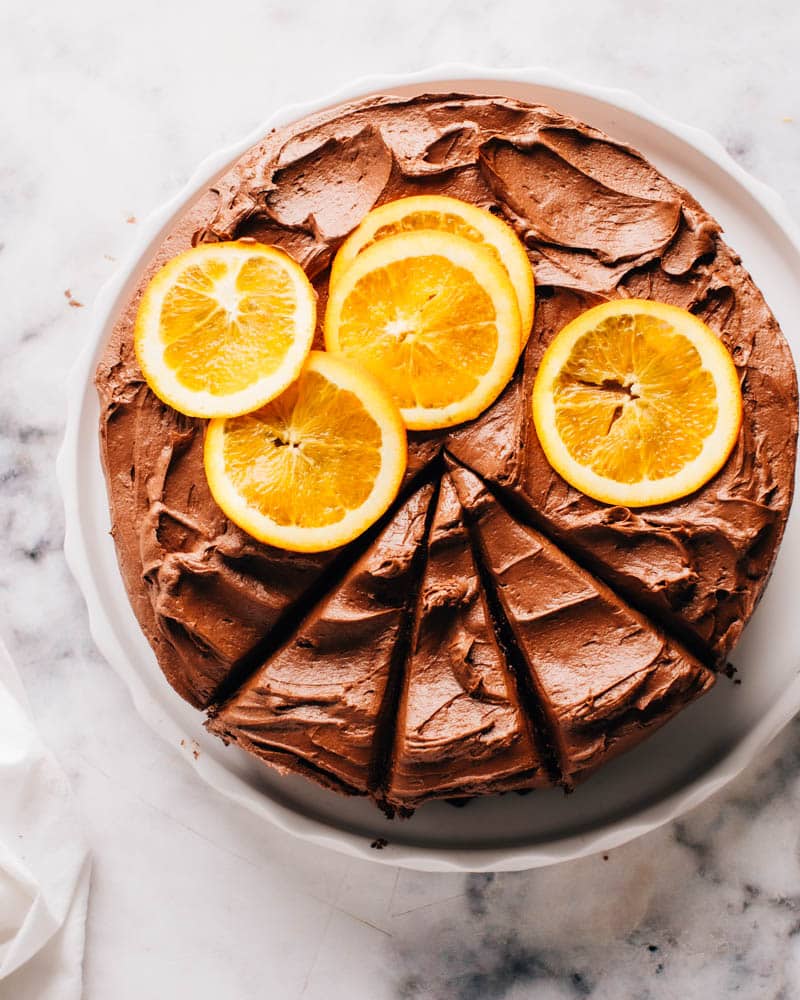
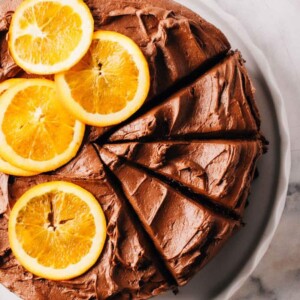
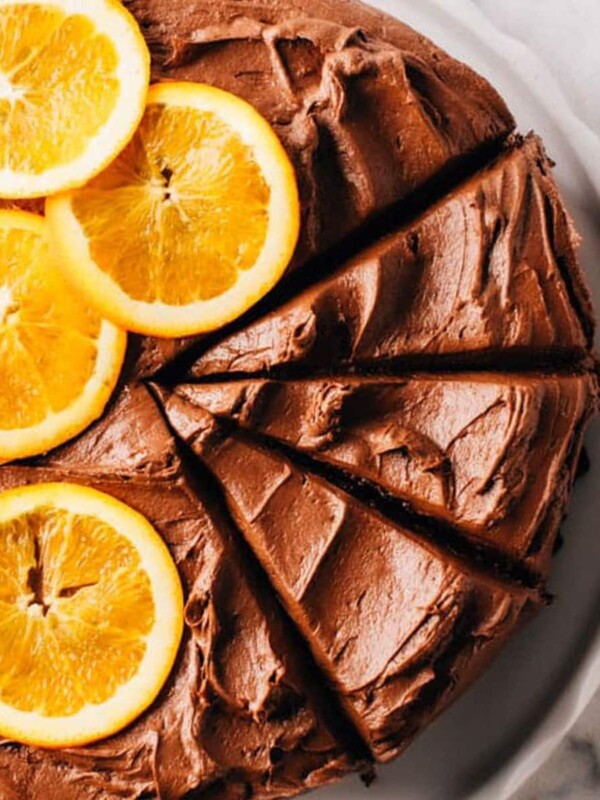
- Decorate the top with piping techniques or even a few orange slices.
Pro tips and tricks
Here are a couple of tips to take this and your other chocolate cake recipes to the next level:
- To get a fluffy and smooth frosting: After you’ve beaten the butter, top the bowl with a sieve and place it on your scale. Weigh the cocoa and butter directly onto the sieve. When you have the right amount, stir the powders with a spatula until your sieve’s load is light enough to shake the rest through. This will give you lump-free icing. Perfect for use with a piping bag.
- Flouring the pan: Consider using cocoa powder to flour your lined cake pans for chocolate cake. This will avoid getting those white flour spots on the baked cake.
- Zesting the oranges: Always zest before juicing them while they are still whole and firm. I use a Microplane to do this; it’s such a helpful tool and does the trick with zesting so you can get that orange flavor out. Remember to wash your oranges before zesting them.
- Juicing the oranges: Choose oranges that yield to pressure when you squeeze them at the grocery store. This ensures a juicy orange that won’t be dry and stringy. Roll it on the counter first to soften it out even more. If you’re using a juicer, push down on the pulp to get more juice out.
- Creating a crumb coat: This layer picks up any loose cake crumbs and traps them into it. Then, when it’s hard from the fridge, and you ice the next layer, your iced cake will be crumb-free and perfect.
- Lining the cooling rack: When baking moist cakes, line the cooling racks with parchment paper to avoid them sticking to the grates. Use two separate frames and flip each cake onto its own rack.
- Use a hand mixer if you don’t have a stand mixer.
What is the secret to making the chocolate orange cake moist?
Here are some tips if you’ve been puzzling around how to make a moist cake with a soft texture, here are some tips.
1. Measure properly: Weighing your ingredients as accurately as possible is critical to getting a lovely moist result. Accidentally measuring too much flour is the #1 reason a cake will have a dry texture.
2. Mix enough and not too much: mixing cake batters too much once the liquids are added can leave them firm and compact instead of fluffy and moist.
3. Know when the cake is baked through and done. FORGET the toothpick test. The safest way to do this is to use your cooking thermometer. It should read 190ºF to be perfectly done in the center and baked through while still moist.
4. Use buttermilk for a lovely moist cake. As mentioned earlier, buttermilk is full of phospholipid emulsifiers that ensure a tender and fluffy cake.
5. Use oil instead of butter: oil-based cakes tend to feel softer than butter-based ones. This is because, once the cake is cooled, butter goes back to being solid at room temperature, while oil is liquid at room temperature.
Avocado oil has a neutral flavor which is perfect for baking. It’s my preferred oil to cook with because of the health profile, but it is expensive. Feel free to swap in your favourite oil like sunflower or canola if you rather.
If you’d like to dive in deeper, I shared all my pro secrets based on the science of baking in this article on Moist Chocolate Cake and this article on Moist Vanilla Cake.
Chocolate Orange Cake
Equipment
Ingredients
For Chocolate Orange Cake:
- 1 ¾ cups all purpose flour
- 2 cups granulated white sugar
- ¾ cup unsweetened cocoa powder plus more for dusting pans
- 1 ½ tsp baking soda
- ½ teaspoon kosher salt
- 2 large eggs
- ½ cup avocado oil or other neutral-tasting vegetable oil
- 2 tsp vanilla extract
- 1 cup buttermilk
- 3 medium oranges to give 2 tbsp zest and 1 cup juice
For Chocolate Orange Buttercream Frosting:
- 1 lb butter 2 cups, softened
- 3 cups confectioners’ sugar
- 1 cup unsweetened cocoa powder
- 1 tbsp orange zest from 1 orange
- 1 tbsp vanilla extract
- 1 tbsp milk
- ⅛ tsp salt
Instructions
For Cake:
- Preheat oven to 350ºF. Prepare 2 9-inch pans by greasing, lining bottoms with parchment paper, then dusting with cocoa powder.
- In a stand mixer bowl fitted with the paddle attachment, combine the flour, sugar, cocoa powder, baking soda and salt. Mix on low speed until thoroughly combined.
- In a separate large bowl, lightly beat the eggs. Whisk in the oil, vanilla, buttermilk, orange zest and juice.
- Pour the wet ingredients into the stand mixer bowl and beat on medium speed for about 15 seconds, pause and scrape down the sides and bottom of the bowl, then continue beating until mostly uniform, about 20 seconds more.
- Divide the batter between the prepared pans and bake on center rack for about 25 minutes, or until internal temperature reaches 190ºF. Cool 10 minutes in pan then invert onto two parchment-lined cooling racks.
For Frosting:
- Place the mixer bowl on the scale and place a large sieve on top of it. Turn on the scale and weigh the sugar and cocoa into the sieve (it’ll stay on the sieve, that’s fine).
- Once you’ve weighed the right amounts, use a large spatula to stir the cocoa and sugar in the sieve. Slowly, it’ll fall down into the mixer bowl with the butter. Once the sieve is less full, you can simply shake it gently back and forth to finish sifting the mixture down.
- This is a crucial step if you are piping frosting onto your cake or cupcakes. Any lumps can cause a blockage in the tip and ruin your design.
- You can skip the sifting step if you’re just going to slather the frosting onto the cake.
- Place butter in stand mixer bowl and beat for 1 minute to aerate it then add remaining ingredients. Beat 2 minutes on high speed then pause and scrape down bottom and sides of mixer. Beat again for 2 minutes more. The frosting will lighten in colour, gain a satiny sheen and be more than doubled in volume when it is done.
To Assemble
- Place the bottom layer of the chocolate orange cake onto your cake plate. I like to place a few teaspoons of frosting underneath the bottom layer so that it sticks to the plate.
- Use about 1/4 of the frosting to frost the bottom section. Place second cake on top. Frost top and sides of cake using remaining frosting. (See detailed notes in post on techniques.)
Video
Notes
- PRO Tip for sifting the frosting ingredients: After you’ve beaten the butter, top the bowl with a sieve and place it on your scale. Weigh the cocoa and butter directly onto the sieve. When you have the right amount, stir the powders with a spatula until your sieve’s load is light enough to shake the rest through. This will give you lump-free icing, important for use with a piping bag.
- Flouring the pan: use cocoa powder to flour your lined cake pans for chocolate cake. This will avoid getting those white flour spots on the baked cake.
- Zesting the oranges: Always zest FIRST before juicing them while they are still whole and firm. I use a Microplane to do this; it’s such a helpful tool and does the trick with zesting so you can get that orange flavor out. Remember to wash your oranges before zesting them.
- Juicing the oranges: Choose oranges that yield to pressure when you squeeze them at the grocery store. This ensures a juicy orange that won’t be dry and stringy. Roll it on the counter first to soften it out even more. If you’re using a juicer, push down on the pulp to get more juice out.
- Line the cooling rack: When baking moist cakes like this, place a layer of parchment paper on the cooling racks first to avoid the cakes sticking to the grates.
Nutrition
Nutrition information is automatically calculated, so should only be used as an approximation.


Just made this cake! I used cara cara oranges and I think the orange flavour came out so well!! Didn’t have buttermilk on hand, but whole milk and vinegar did the trick. Such a lovely, easy, and moist cake. The tip about using a parchment paper to line the cooling rack was great because I can see how the moist cake would have gripped onto the grills! Thank you!!
5 stars all the way. My family LOVED this cake. It was not dry at all, and if you read the tips
it’ll be amazing. We are picky cake eaters and cannot tolerate overly sweet cakes, tiaras perfect. I added chopped almonds on top of the cake and garnished with sliced oranges and found a dark chocolate orange candy bar to also decorate the top of the cake.
That’s amazing, thank you so much!
Palate knife?
Yes, that’s another name for an offset spatula. You could just use a normal knife though!
No; P-A-L-E-T-T-E knife is another word for an offset spatula. The P-A-L-A-T-E is the roof of the mouth. I won’t try using that to spread icing on the cake, hahahaha! But you do you … no offense xoxo
If you love choc and orange, you’ll love this! The photos grabbed my attention straight away and i knew i needed to make it! Thanks for sharing.
Thank you for sharing this amazing cake! It is exactly what I have been looking for to make for my friend’s party!
The texture of this cake is absolutely marvelous! Definitely the recipe to master over the weekend! 😉
Orange chocolate cake looks so rich and I cannot wait to try this recipe. Also, I like that your instruction is easy to follow!
Thanks for sharing.
Chocolate and orange, an amzing combination for a cake! Every spoonful of this cake is just divine.
This cake is absolutely divine. I can’t believe how moist the cake layers are and that frosting is to die for.